When it comes to soldering on a PCB it almost always helps to have some way to hold the board off your workbench, allowing leads to pass though with out making it unstable and keeping it level while working with tiny components. This project sent in by [Mel] was born out of necessity he was going to be teaching a soldering class and needed a way to keep boards in place, and so designed this Print-in-place PCB holder.
While there are certainly a long list of products designed to serve this function [Mel] took advantage of some idle 3D printers to turn out PCB stands that require no assembly, just the addition of a rubber band and they are ready for use. Part of the challenge of print in place 3D prints is dialing in the tolerances of your design and printer, and for this [Mel] printed some smaller slider mechanisms that were quick to print and iterate with until he was happy and could start turning out the larger design using those values.
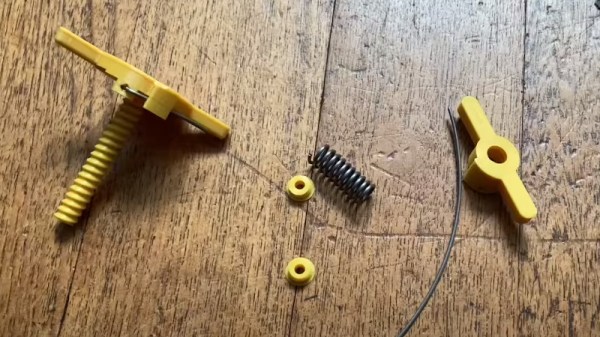
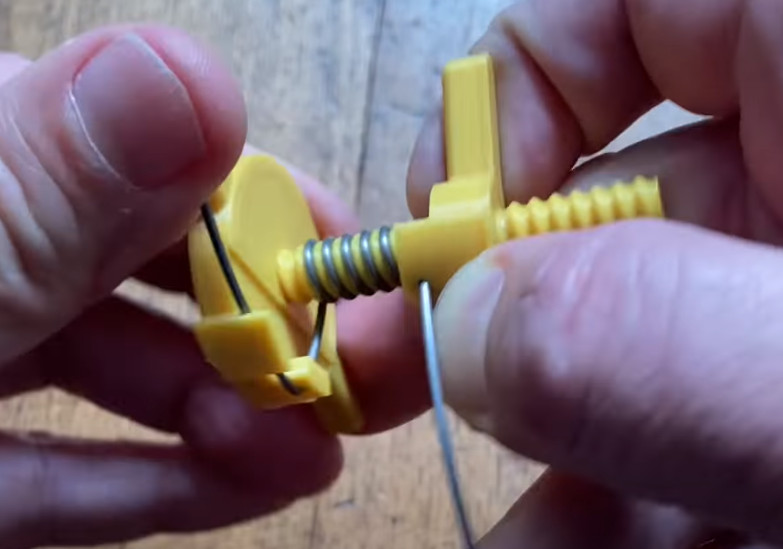
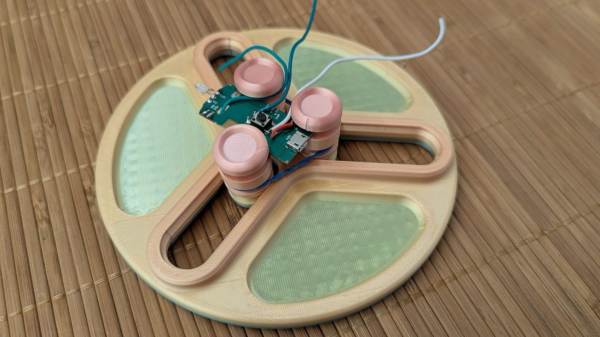
The full PCB holder includes 3 independent sliders allowing for boards of all shapes and sizes to be held. To tension the board mounts there is a slow lower down on the uprights to allow for a rubber band to be added pulling all three towards the center. Finally [Mel] included small trays between the 3 sliders to give you a convenient place to components are you assemble your board. The 3D print falls are all available for download and [Mel] also included the small slider as a 3D print for you to check your printer tollerances before you run off the final design. Thanks [Mel] for sending in your soldering tool design, it’s a great addition to some of our other soldering assistant devices we’ve featured.