As you may have guessed given our name, we do love hacks around here, and this one is a great example of making some common, everyday things work in uncommon ways. [Nathan] sent in his hack to detect the door lock position in his basement.
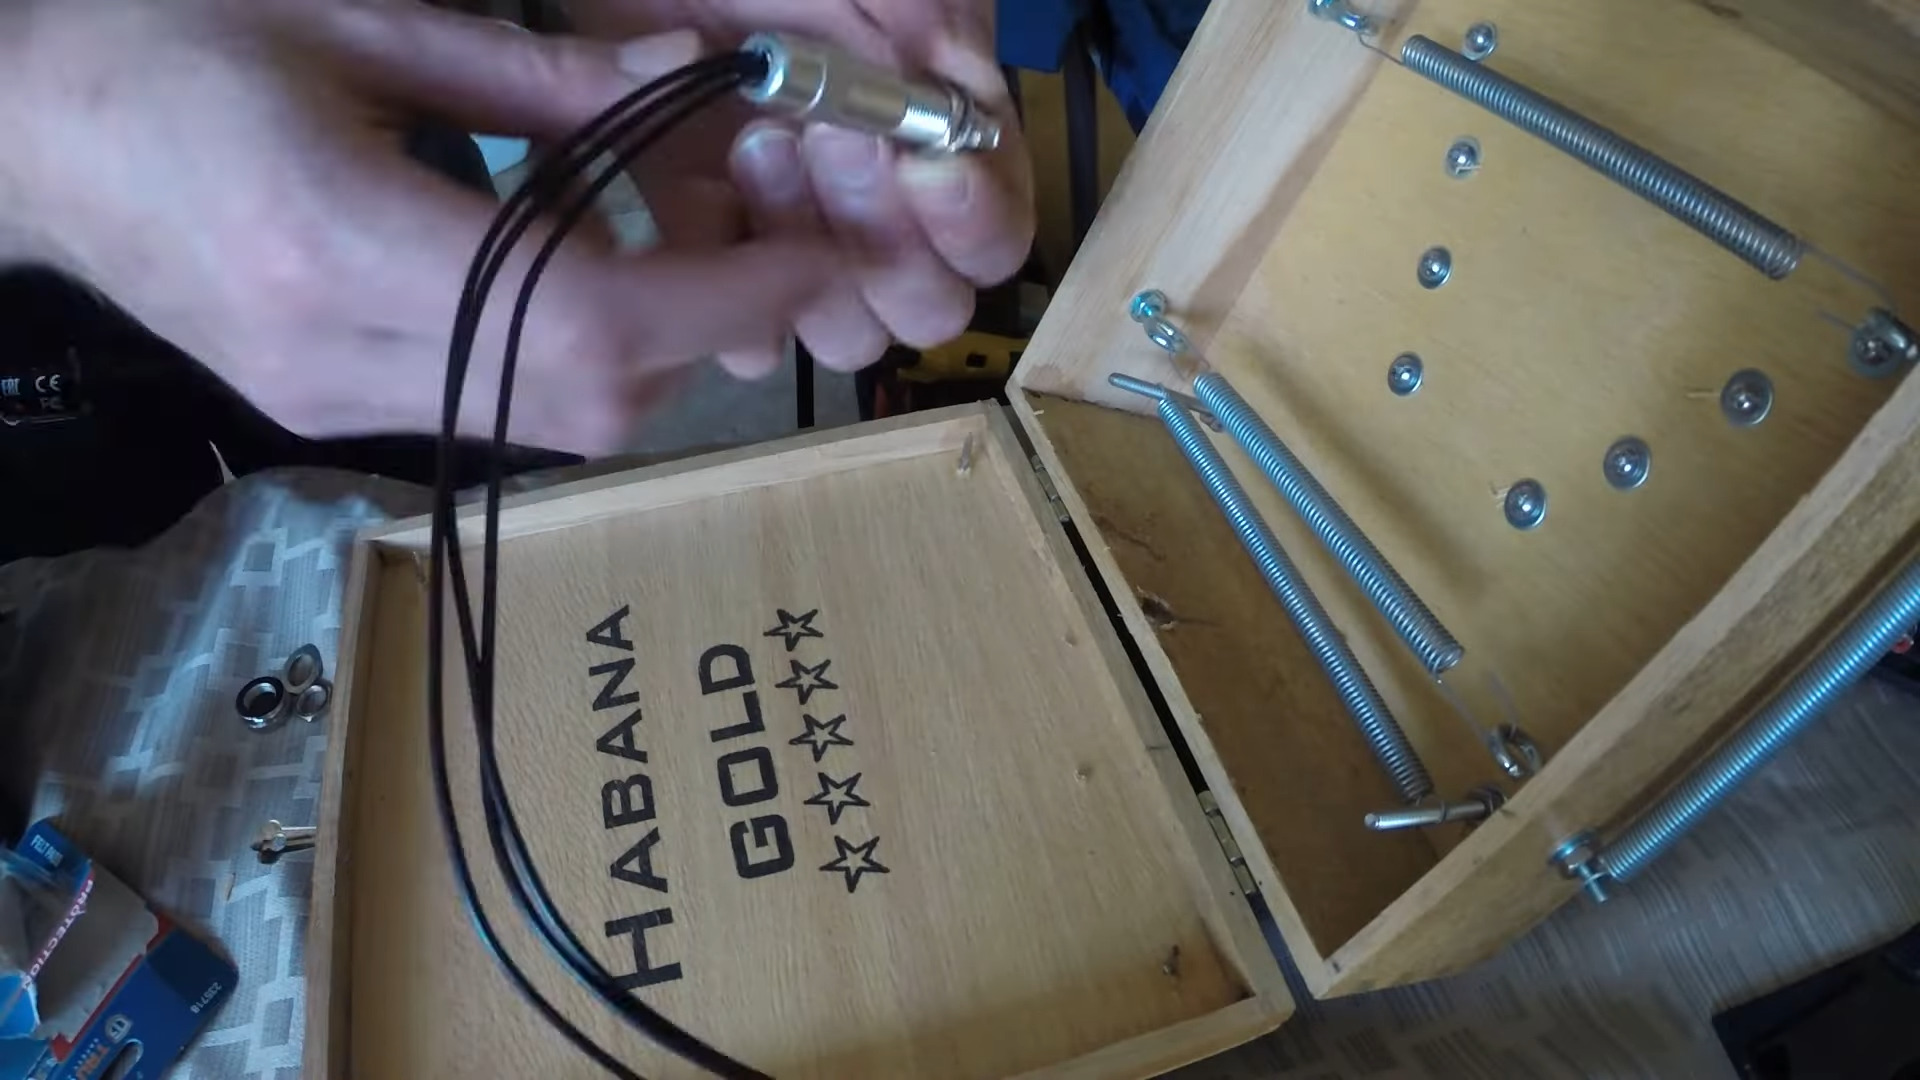
Having a house that dates back to the 1890s, much of it was not very conducive to using off-the-shelf home automation devices. [Nathan] wanted a way to check the status of the basement deadbolt. He went about putting together a custom sensor using some spare parts, including a spare BeagleBone Black. Going full MacGyver, [Nathan] used springs from a ballpoint pen to craft a compliant contact for his sensor.
The pair of springs sat in the door frame and came in contact with the deadbolt; given they are springs, the exact position of the sensor was not very sensitive, as if too close it would just compress the springs slightly more. The springs were wired to the BeagleBone Black’s GPIO, acting as a switch to sense when there was conductivity between the springs through the deadbolt.
This wasn’t just a plug-it-in-and-it-works type of project, mind you; the BeagleBone Black was over 15 ft away from the sensors, lending plenty of opportunity for noise to be introduced into the lines. To combat this, [Nathan] created an RC filter to filter out all the high-frequency noise picked up by his sensor. Following the RC filter, he added in some code to handle the debounce of the sensor, as the springs have some inherent noise in them. Thanks [Nathan] for sending in your resourceful hack; we love seeing the resourcefulness of reusing things already on hand for other purposes. Be sure to check out some of the other repurposed components we’ve featured.