Digitizing film is a tedious process that becomes a lot more fun if you spend more of your time building a digitizer and less time actually working working with old film. [Heikki Hietala] has been at it for years and his Kotokino Mark IV film scanner is a masterpiece of simple machine building.
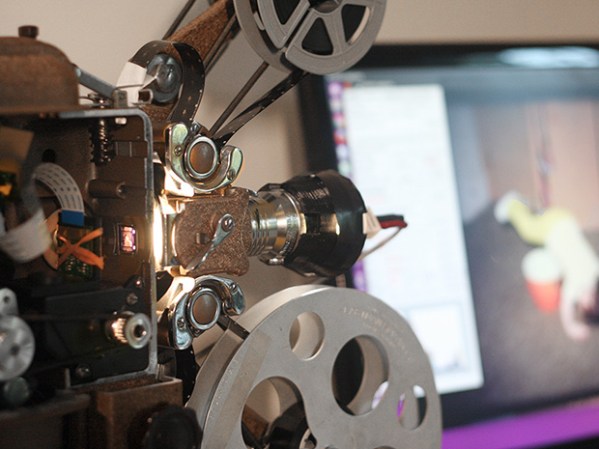
Since we first saw the film scanner four years ago it’s undergone a number of excellent improvements. Most notably, the point-and-shoot camera has been swapped out for a DSLR. With the use of a macro reversing ring a normal lens is flipped around to blow up the 8-millimeter-wide film to take advantage of all the megapixels available on the camera sensor.
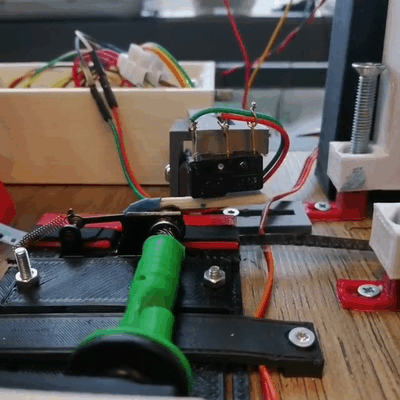 The key to the setup is the film advancer mechanism which takes care of both advancing the film and triggering the camera. As you can see, a servo motor rotating an axle provides the locomotion. The mechanism keys into the perforations in the film to pull it along on the down stroke and closes a switch to trigger the camera on the upstroke. Directly under the lens, the alignment jig uses lens cleaning fabric to avoid scratching the film, while perfectly positioning it over the light source.
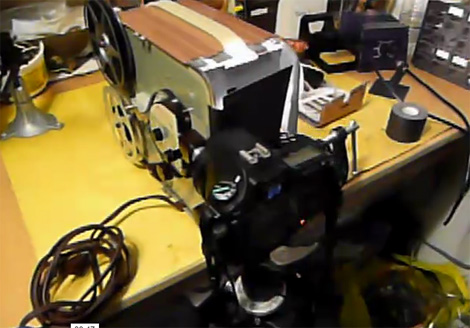
Previous versions have placed the camera on the horizontal plane but it seems some vibrations in the system caused alignment problems between captured frames. This latest version places the camera pointed straight down to solve that issue, and brings the entire thing together into one beautiful finished project. Having gathered numerous fans of the build along the way, [Heikki] has made the design files available so that you may build your own version.