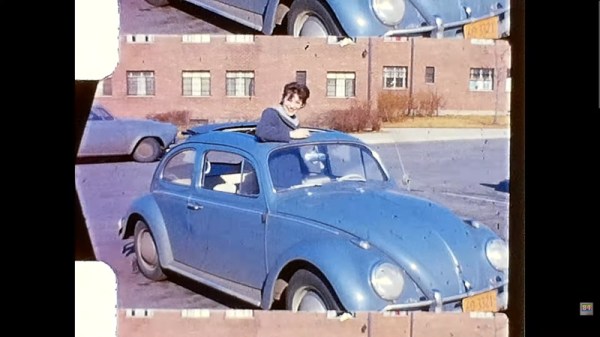
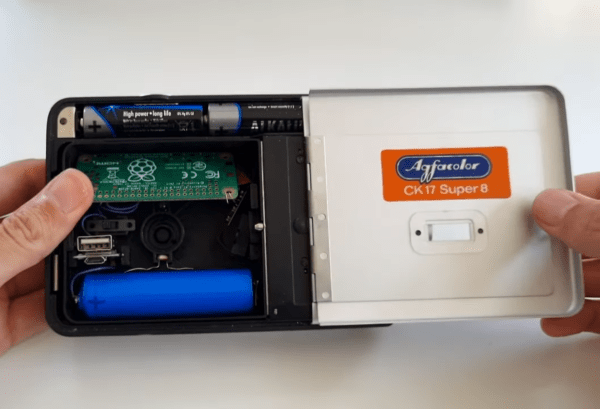
A few years ago, I bought an 8 mm home movie camera in a second hand store. I did a teardown on it here and pulled out for your pleasure those parts of it which I considered interesting. My vague plan was to put a Raspberry Pi in it, but instead it provided a gateway into the world of 8mm film technology. Since then I’ve recreated its Single 8 cartridge as a 3D printable model, produced a digital Super 8 cartridge, and had a movie camera with me at summer hacker camps.
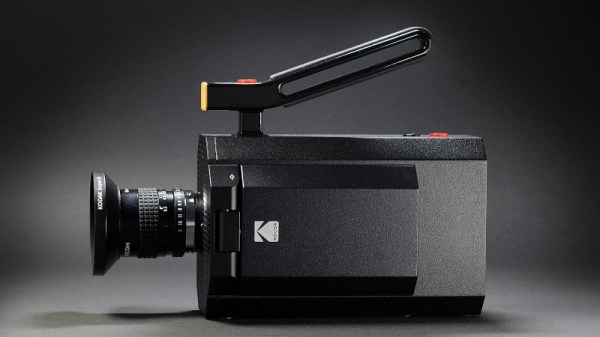
When I tore down that Single 8 camera though, I don’t feel I did the subject justice. I concentrated on the lens, light metering, and viewfinder parts of the system, and didn’t bring you the shutter and film advance mechanism. That camera also lacked a couple of common 8 mm camera features; its light metering wasn’t through the lens, and its zoom lens was entirely manual. It’s time to dig out another 8 mm camera for a further teardown.
Continue reading “Returning To An Obsolete Home Movie Format”