Bad Apple!! Via The Arduino Mega

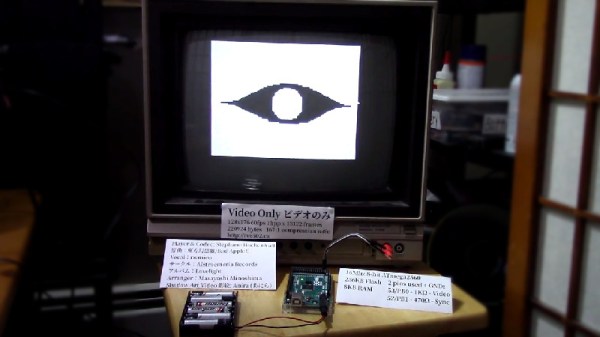
The Arduino Mega is a useful tool for the maker. Generally, once one has come up with plans for blinking LEDs that require more IO than is available on the Arduino Uno, one graduates to the Mega and goes for broke. However, it’s not typically what we’d consider as our first choice for video work. [Stephane] begs to differ, and coded this Bad Apple!! demo for the Arduino Mega 2560.

For those unfamiliar, video on the Arduino is actually somewhat of a solved problem – merely requiring a pair of resistors and some nifty code. The real meat of this hack is the video storage itself. It’s been done before, but by streaming data off an SD card or serial link. [Stephane] was determined to store everything on the Arduino itself, and thus the hack begun. Video data is stored as 1 bit per pixel, as it’s a simple black and white video as per the original inspiration. LZ77 compression was used to cram the data down without requiring too much RAM, which is a limited resource on the Mega. It’s video only, as the Mega is tapped out handling 3 minutes and 39 seconds of video storage, but future work may include syncing with a second Arduino to deliver the soundtrack.

It’s a hack that shows off [Stephane]’s ability to get impressive performance out of limited platforms. We’ve seen this before, with his excellent Star Fox port to the Arduboy. Video after the break.

Continue reading “Bad Apple!! Via The Arduino Mega”

Adventures In Small Screen Video

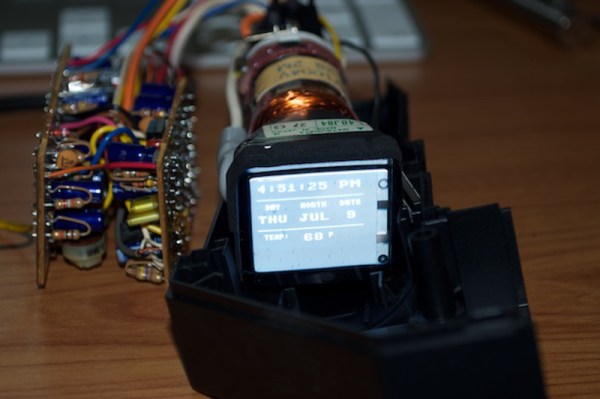
[Kevin] wanted to make something using a small CRT, maybe an oscilloscope clock or something similar. He thought he scored big with a portable black and white TV that someone threw away, but it wouldn’t power on. Once opened, he thought he found the culprit—a couple of crusty, popped capacitors. [Kevin] ordered some new ones and played with the Arduino TVout code while he waited.

The caps arrived, but the little TV still wouldn’t chooch. Closer inspection revealed that someone had been there before him and ripped out some JST-connected components. Undaunted, [Kevin] went looking for a new CRT and found a vintage JVC camcorder viewfinder on the electronic bay with a 1-1/8″ screen.

At this point, he knew he wanted to display the time, date, and temperature. He figured out how the viewfinder CRT is wired, correctly assuming that the lone shielded wire is meant for composite video. It worked, but the image was backwards and off-center. No problem, just a matter of tracing out the horizontal and vertical deflection wires, swapping the horizontal ones, and nudging a few pixels in the code. Now he just has to spin a PCB, build an enclosure, and roll his own font.

[Kevin]’s CRT is pretty small, but it’s got to be easier on the eyes than the tiniest video game system.

The guts of a Z80 MicroTV Clock

A Z80 Micro TV Clock

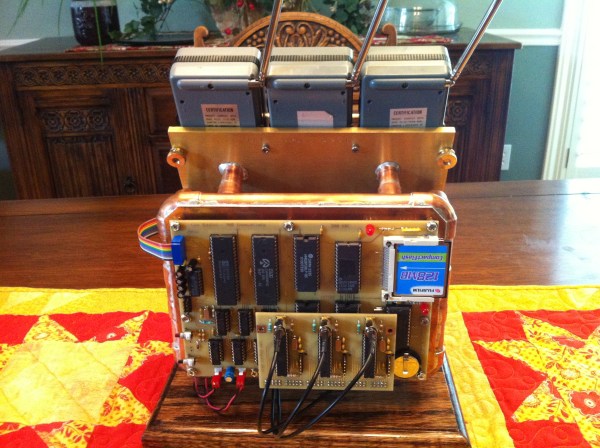
As an adventure in computer history, [Len] built up a clock. The Z80 Micro TV Clock brings together a homebrew computer and three Micro TVs into a rather large timepiece.

The computer powering the clock runs the CP/M operating system. This OS was eventually released as open source software, and a variety of homebrew computer projects have implemented it. This clock is based on an existing breadboard CP/M machine, which includes schematics and software.

With an OS running, [Len] got a text editor and C compiler working. Now custom software could be written for the device. Software was written to interact with a Maxim DS12885 Real Time Clock, which keeps the time, and to output the time to the display controllers.

The Micro TVs in this build are Sony Watchman displays featuring a 2″ CRT. The devices had no video input port, so [Len] ripped them open and started poking around. The NTSC signal was found by probing the board and looking for the right waveform.

To drive the TVs from CP/M, a custom video driver was built. This uses three relatively modern ATmega328P microcontrollers and the arduino-tvout library. All of these components are brought together on a stand made from wood and copper tubing, making it a functional as a desk top clock