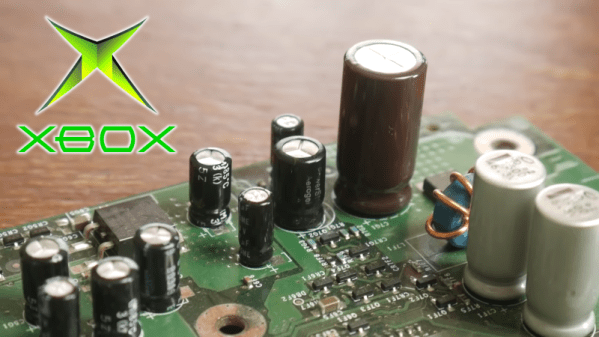
Somewhere between the period of 1999 and 2007 a plague swept through the world, devastating lives and businesses. Identified by a scourge of electrolytic capacitors violently exploding or splurging their liquid electrolyte guts all over the PCB, it led to a lot of finger pointing and accusations of stolen electrolyte formulas. In a recent video by [Asianometry] this story is summarized.
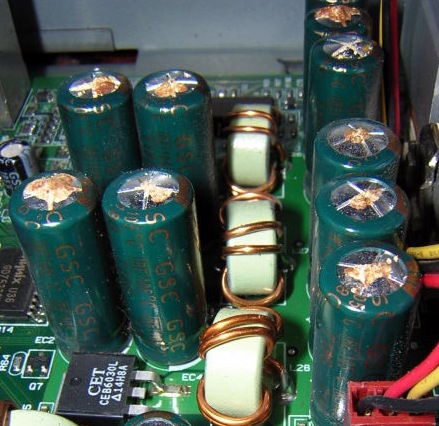
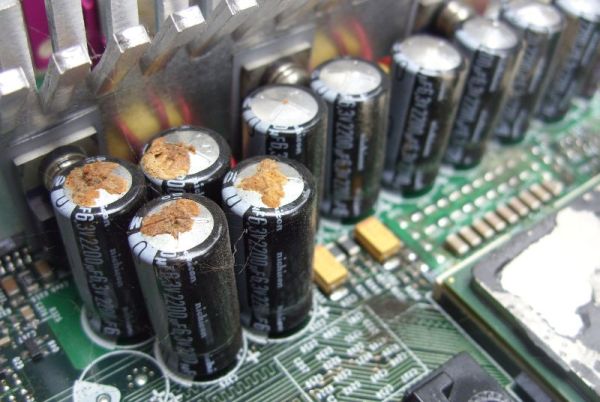
The bad electrolyte in the faulty capacitors lacked a suitable depolarizer, which resulted in more gas being produced, ultimately leading to build-up of pressure and the capacitor ultimately failing in a way that could be rather benign if the scored top worked as vent, or violently if not.
Other critical elements in the electrolyte are passivators, to protect the aluminium against the electrolyte’s effects. Although often blamed on a single employee stealing an (incomplete) Rubycon electrolyte formula, the video questions this narrative, as the problem was too widespread.
More likely it coincided with the introduction of low-ESR electrolytic capacitors, along with computers becoming increasingly more power-hungry, and thus stressing the capacitors in a much warmer environment than in the early 1990s. Combine this with the presence of counterfeit capacitors in the market and the truth of what happened to cause the Capacitor Plague probably involves a bit from each column, a narrative that seems to be the general consensus.