Last time in Life on Contract, I discussed ways to figure out a starting point on how much to charge for your services. However, sometimes you and a client may wish to work together but for some reason they cannot (or do not wish to) pay what you have decided to charge. If you are inexperienced, it can be tempting to assume you have overpriced yourself and discount down to what they are willing to pay. But if your price is a number you have chosen for reasons you can explain, dropping it is not something you should do unless you have thought about it carefully.
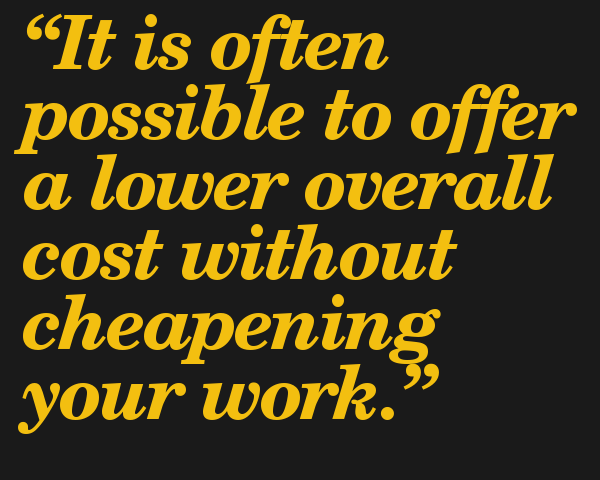
Instead of just agreeing to do the same work but for less money, it is often possible to offer a lower overall cost without cheapening the value of your work. I’ll share a process I use to find opportunities to make this happen.
It Should be Win-Win, Not Hard Sell
 The best case scenario is a client wants your service, your cost is within their budget, and everyone agrees to work together. Tragically, the process isn’t always that smooth. If cost is an issue, the alternative to lowering your price is to fine-tune what you provide to better fit the actual needs. To do that, you will need two things:
- A detailed understanding of your own time and costs for the work.
- Knowledge of what things your client considers most important.
By intimately knowing your own costs, you can figure out where to make savings without scrimping on the things your client considers important.
Continue reading “Life On Contract: Lowering Your Cost Without Dropping Your Price”