KiwiDrive HouseBot

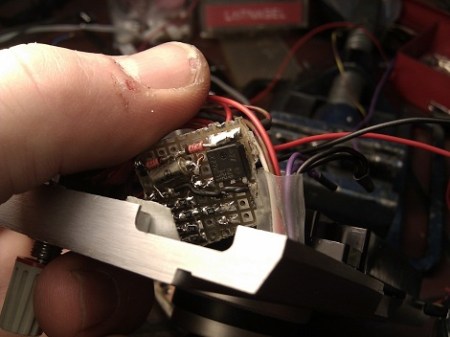
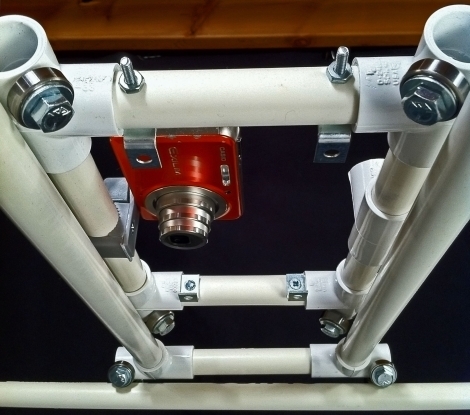
Forskningsavdelningen, a Swedish hackerspace, had a hackathon last weekend and the KiwiDrive HouseBot is one of the items that resulted from the group effort. They set a goal to use standard, easy to obtain parts, so that the robotic platform would be accessible for reproduction by individuals or at other hackerspaces. The three-limbed device rolls around on a triad of omni-directional wheels -which are probably the hardest part to source but you can always print your own. An Arduino Uno was used as the hardware interface, driving the three stepper motors for locomotion.

It’s not pictured above, but the fourth generation of the little guy also includes a webcam. The camera rides in the center of the body and is mounted on a servo. This makes it possible to turn the camera, meaning there’s no real front or back to this design. Future plans include adding an on-board computer (this is larger than it appears) and implementing emoticons on an 8×8 LED matrix, presumably so you can tell how the bot is feeling today.

[Thanks KiwiRay]

Bellows Camera To DSLR

[Jonas Kroyer] is a digital  photographer, with a fascination with old cameras and pairing the two together sounded like a fun idea. Searching around on the net he fell in love with the design of the Zeiss Ikon Ikonette (1929-31), and found one with a chipped lens.

After dismantling the camera completely, it was found out that he needed the lens/shutter mechanism, the bellows, and the rails that allow the lens to slide back and forth. The bellows were glued to the body of the camera, but some careful prying and they were quickly removed unharmed. Next was to make an adapter so he could attach the lens to a digital DSLR camera, a steel plate and a Nikon Bayonet swiped off of a no name lens holds everything together. Rails were reattached using rivets, and the bellows were glued onto the plate. Other mods include adding small brass knobs to aid in adjustments, and a spring from a ballpoint pen to hold the original shutter open.

The new old lens is said to be easy to operate, and produces some beautiful images. Though since the lens does not have any modern day coatings it does have its drawbacks, like a diamond shaped flare in the middle of the image, which can be good when you want it, or partially removed in photoshop if you don’t.

Is Your Camera Lying?

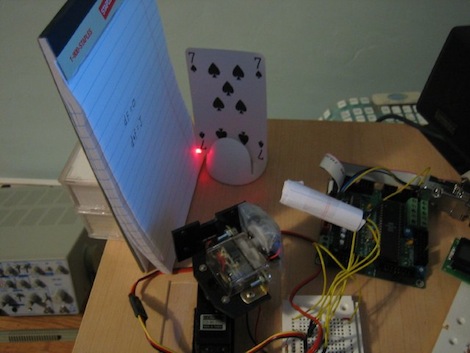
It is easy to rely on the ratings marked on different tools, whether it is a power supply, scale, or speedometer. However calibration is essential for any part that is relied upon either professionally or for a hobby. [Jeremy] wanted to see if his Lomography camera shutter really was only open for 1/100ths of a second when set to that. In order to test his rig, he set up an LED on one side of the shutter, and a high speed phototransistor to gauge the time spent open, using an oscilloscope to measure the time the reference point was pulled low. In his case, when the camera was set to 1/100, the shutter was actually open for closer to 1/150th of a second (the mean was 1/148ths of a second, with a standard deviation of 417 uSecs). This difference can make a large difference in picture brightness.

Be sure to check his blog for more pictures of the setup, as well as some useful part references and circuit diagrams.

Lego Pinhole Camera

[Bshikin] built a pinhole camera out of Lego pieces (translated). It is a fully automated unit thanks to the integration of the NXT pieces. It took a bit of careful calculation to get the film spacing adjusted to match the focal length, and quite a bit of tape was necessary to keep light out of the film chamber. But in the end, it’s an amazing build that takes decent pictures. The software has settings for film size and speed, and takes care of exposing and advancing the frame at the click of a button. See for yourself after the break.

If you hunger for some more camera building goodness check out this SLR hand crafted from scratch.

Continue reading “Lego Pinhole Camera”

Upgrading An Old Polaroid Land Camera For 35mm Rolls

Ok, we recognize that this is a bit of an odd upgrade, since many would probably think that a digital upgrade would be more appropriate. However, we found this interesting anyway. [Marker1024] has taken this old Polaroid land camera and modified it to accept a standard 35mm roll. His list of materials may sound fairly MacGyver-ish with foil and sculpey, but his results look to be well done and fairly sturdy. We have to say that the aesthetics of the camera itself are quite appealing and we could see carrying one of these around. As interesting as the writeup is though, we can’t help but wonder what the pictures look like that came out of it!

BendDesk Multi-touch Furniture

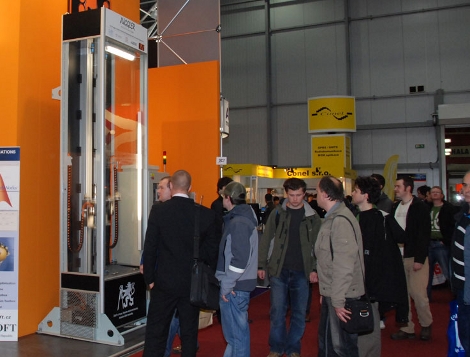
The BendDesk is a horizontal and a vertical multi-touch display connected as one curved surface. Think of it as a smart white-board and a multi-touch desk all in one. It can be used to sort and edit information, or to play games. Check out “Bend Invaders”, a game demonstrated in the video after the break. When you touch two fingers to the display the two points are used to aim a laser at the oncoming monsters.

The system uses a combination of two projectors shining on the surface from underneath and behind. A series of LEDs around the edges of the display bathe it in infrared light. Three cameras with IR filters peer at the underside of the acrylic surface and detect touches by distinguishing variances in the IR pattern through a process called Frustrated Total Internal Reflection. If you’re interested in more of the math and science involved there are a couple of papers available from the project site linked at the top of this post.

We’ve seen so many displays using the Kinect lately, it’s refreshing to see one that doesn’t.

Continue reading “BendDesk Multi-touch Furniture”

Timelapse Circuit For Point And Shoot Cameras

[Andyk75] has done some fantastic work documenting his timelapse addition to his digital camera.  Most of the more expensive models of cameras have a remote shutter release, but the point and shoot jobs usually don’t. He decided to add the ability to turn the camera on, then shoot a picture, then turn it back off. Pretty smart, since these things tend to eat batteries pretty quickly if left on.  He is using an ATtiny24 for the brains, but the circuit should be pretty adaptable to others. The final piece has several features, like the ability to change the length of time between shots and automatically shut down when it gets too dark outside to continue. He has posted the schematics as well as the board layouts if you can find them amongst the ads in instructibles. You can check out a video of a sunset taken with this camera after the break.

Continue reading “Timelapse Circuit For Point And Shoot Cameras”