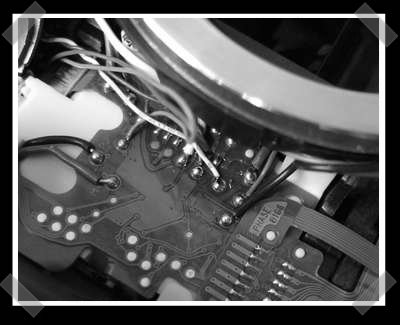
[kitesurfer1404] put together a nice looking vintage photobooth with WiFi capability. He’s using an arduino to monitor the state of the buttons, LED lighting control, seven segment display AND the DSLR camera. He then uses a Raspberry Pi to control imagine processing and to provide scaling and other effects, which can take up to 20 seconds per image. The Pi runs in WiFi Access Point mode, so anyone with a WiFi capable device can connect to the photo booth and view the images.
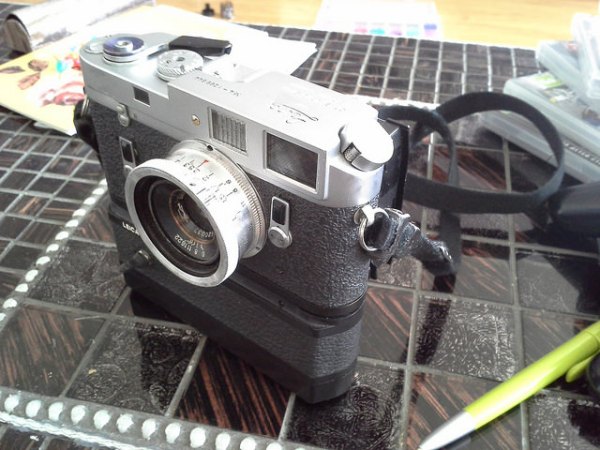
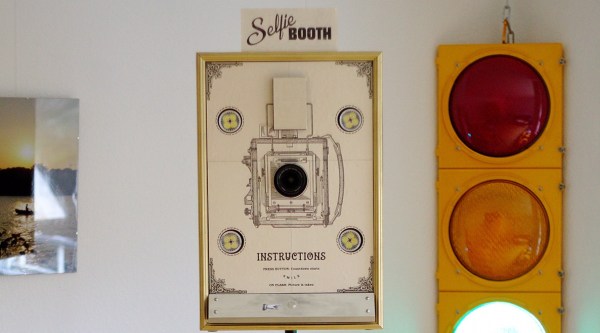
We’ve seen some interesting twists on photo booths before. But [kitesurfer1404’s] vintage style makes his stand out all on its own. He designed the graphics with Inkscape and printed them on thick paper. He then soaked the graphics in tea for several hours and dried then for several more days to get that nice rustic look.
Be sure to check out [kitesurfer1404’s] site for full details and an assortment of high resolution images of his project.