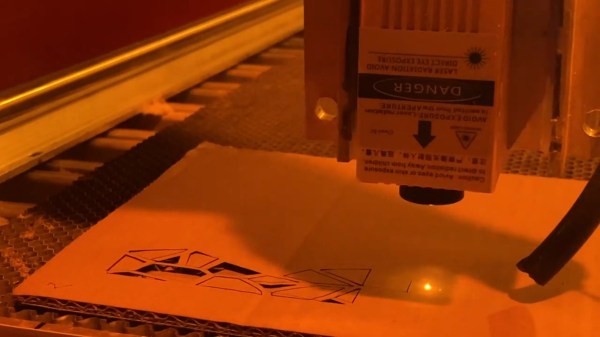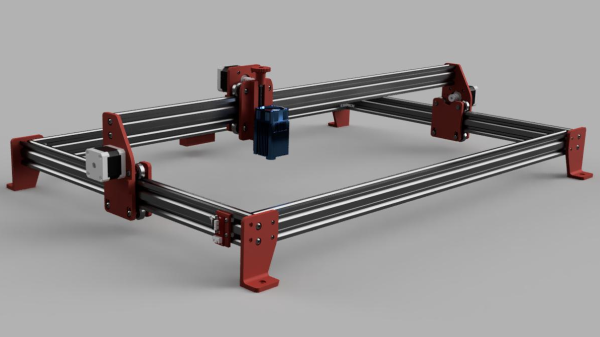
[Mark aka Mokey] borrowed his friend’s open-frame laser engraver for a while, and found it somewhat lacking in features and a bit too pricey for what it was. Naturally, he thought he could do better (video, embedded below.) After a spot of modelling in Fusion 360, and some online shopping at the usual places, he had all the parts needed to construct an X-Y bot, and we reckon it looks like a pretty good starting point. [Mark] had a Sainsmart FL55 5.5W laser module kicking around, so that was dropped into the build, together with the usual Arduino plus CNC shield combo running GRBL.
[Mark] has provided the full F360 source (see the mokeylaser GitHub) and a comprehensive bill-of-materials, weighing in at about $400, and based upon the usual 2040 aluminium extrusions. This makes MokeyLaser a reasonable starting point for further development. Future plans include upgrading the controller to something a bit more modern (and 32-bits) as well as a more powerful laser (we do hope he’s got some proper laser glasses!) and adding air assist. In our experience, air assist will definitely improve matters, clearing out the smoke from the beam path and increasing the penetration of the laser significantly. We think there is no need for more optical power (and greater risk) for this application. [Mark] says in the video that he’s working on an additional build video, so maybe come by later and check that out?
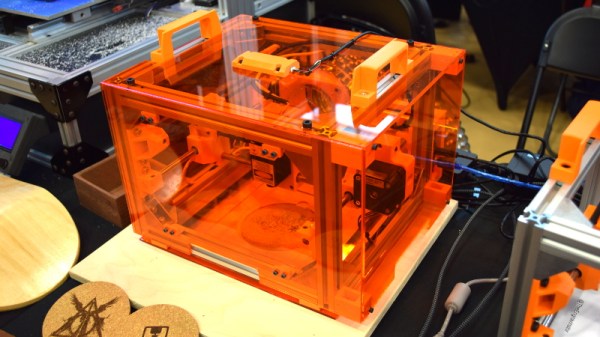
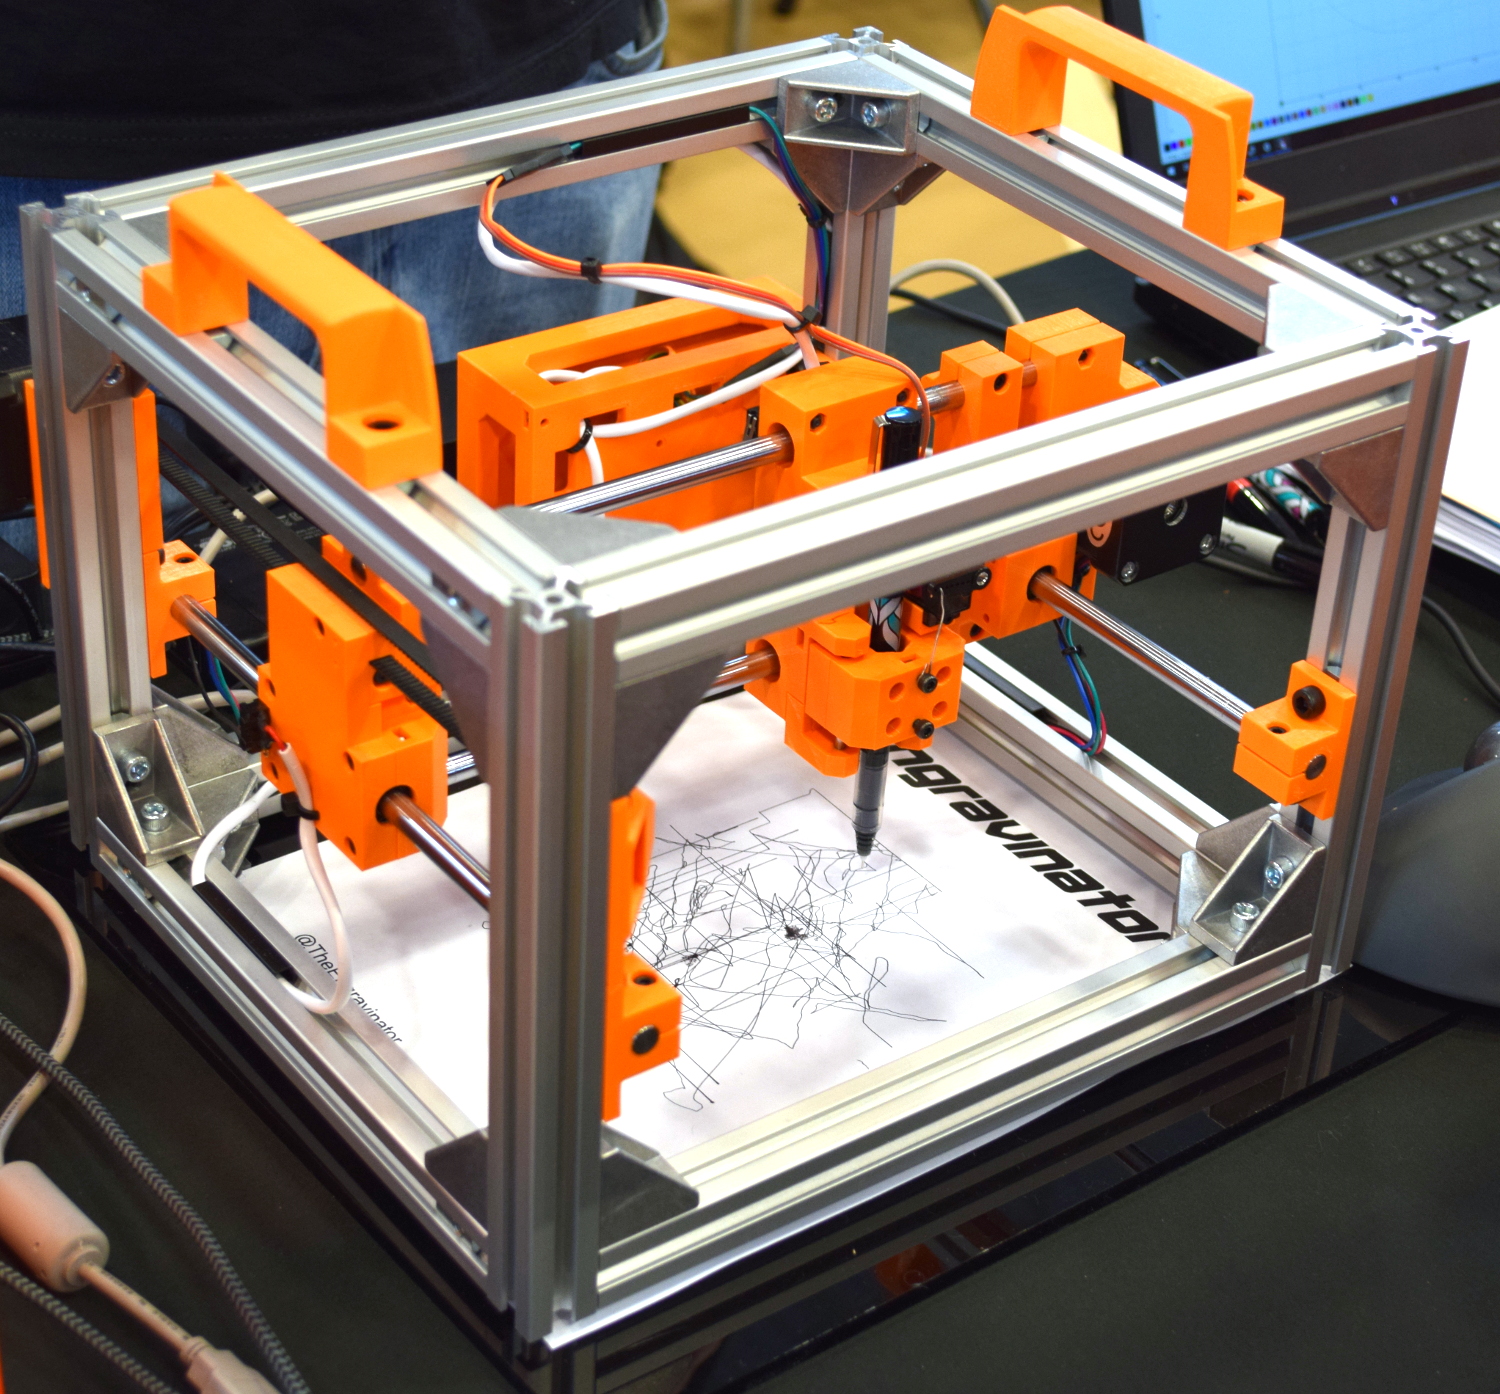
Obviously, MokeyLaser is by no means the only such beast we’ve featured, here’s the engravinator for starters. For even more minimalism, we covered a build with some smart optics doing all the work. But what if you don’t happen to have a 5W laser module “lying around” then perhaps try a more natural heat source instead?
Continue reading “Mokeylaser: A DIY Laser Engraver That You Can Easily Build”