In March of 2014, I knew my eight year old daughter was sick. Once borderline overweight, she was now skeletally thin and fading away from us. A pre-dawn ambulance ride to the hospital gave us the devastating news – our daughter had Type 1 diabetes, and would be dependent on insulin injections for the rest of her life.
This news hit me particularly hard. I’ve always been a preparedness-minded kind of guy, and I’ve worked to free myself and my family from as many of the systems of support as possible. As I sat in the dark of the Pediatric ICU watching my daughter slowly come back to us, I contemplated how tied to the medical system I had just become. She was going to need a constant supply of expensive insulin, doled out by a medical insurance system that doesn’t understand that a 90-day supply of life-saving medicine is a joke to a guy who stocks a year supply of toilet paper. Plus I had recently read an apocalyptic novel where a father watches his 12-year old diabetic daughter slip into a coma as the last of her now-unobtainable insulin went bad in an off-grid world. I swore to myself that I’d never let this happen, and set about trying to find ways to make my own insulin, just in case.
Continue reading “The Biohacking Movement And Open Source Insulin”

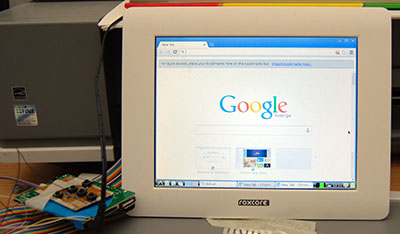 So you have a credit card sized Linux computer and a small, old LCD panel. If it doesn’t have HDMI, VGA or composite input, there’s probably no way of getting this display working, right? Nope.