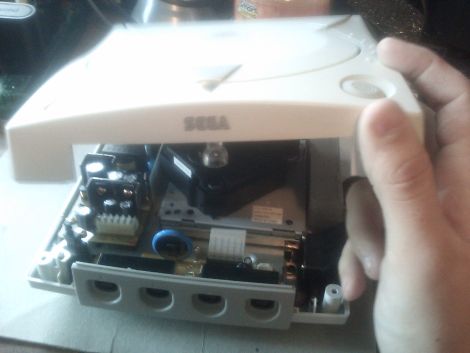
The hairclip-embedded tool being used on a Tiger 99x game console, clipped onto a spot where the plastic ribbon meets the LCD panel itself, heating it up

World’s Smallest Hair Straightener For Fixing Old LCD Ribbons

[Stephen] writes to us about an LCD repair tool he has created. We’ve all seen old devices with monochrome LCDs connected by thin film, where connections between the PCB and the LCD have deteriorated and the LCD would no longer show parts of the picture. This is a connection heating gadget, that [Stephen] affectionately dubs as World’s Smallest Hair Straightener, made specifically to bring cool old tech back to life.

A resin-printed mold houses a coil of Kanthal wire, easy to source and simple to make. He reuses a hair clip as a housing for the heating element, which also provides pressure needed to squish the film-printed conductive traces into the LCD as the adhesive melts. High-temperature epoxy brings the two together, and with a variable power supply, this tool successfully brought an old Tiger 99x handheld back to life.

This hack was made possible, in part, because of [JohnDevin Duncan] in Hackaday comment section sharing his experience on repairing LCD ribbons back in 2015, giving valuable insights on the problem that we initially thought would be solve-able with a soldering iron. The knowledge shared was distilled by [Stephen] into a tool that we all can now use when we encounter a device we really, really want to revive.

Last time we covered this topic, quite a few hackers popped up with their stories and suggestions. Old game console fix stories are a staple here on Hackaday, a few pop to mind – this high-effort trace repair of a water-damaged GameBoy cartridge, a badly designed NES cartridge socket reinvention, and this GameBoy LCD sunburn damage restoration guide.

Simple Fixes Breathe New Life Into Aging Game Consoles

dreamcast_repair

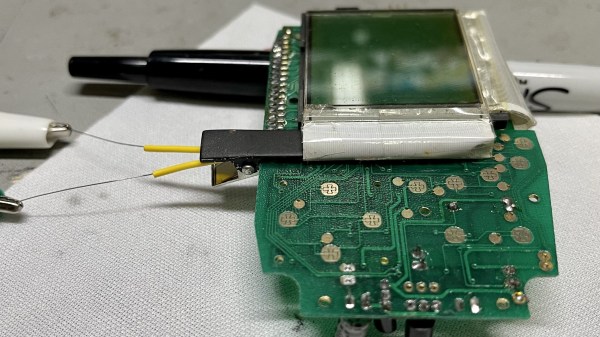
While the Sega Dreamcast has long been out of production, there is an avid fanbase that loves the console dearly. As with many CD/DVD-based consoles, the Dreamcast can sometimes run into issues reading discs, at which point all games are unplayable.

Instructables user [Andrew] got his hands on a pair of the consoles and found that one could not read CDs, while the other suffered from a fried controller interface board, the result of a controller wiring mix-up on his part. Determined to get the consoles up and running again, he disassembled them and got to work, sharing his fixes with us.

The CD drive fix is a pretty standard one. He first needed to locate the potentiometer that regulates the laser. Once he did, a slight counter-clockwise turn is all it required in order to increase the laser’s voltage. Once he did this, he popped in a game to see if it worked. No longer greeted with a disc read error when he powered on his Dreamcast, he reassembled the console and began work on the other one.

To fix his controller issues, [Andrew] had to remove the entire controller board from the console. He eventually located a resistor that had been damaged by his wiring mishap, and replaced it. The console was tested and seeing that the controllers worked again, he put everything back together.

While this pair of fixes is not incredibly complex, it’s nice to see people sharing their tips for bringing these consoles back to life.