How we missed this one from a few years ago is unknown, but we’re glad to catch up with it now. Have you ever needed to measure how thick the ink in a Sharpie line is? Of course you haven’t. But if you needed to, how would you do it? Using a wicked-sensitive indicator gauge and levering an interesting test setup.
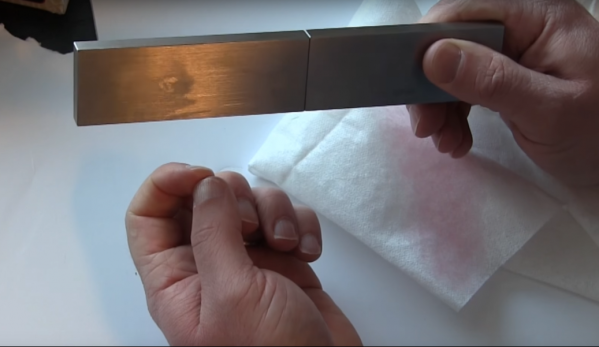
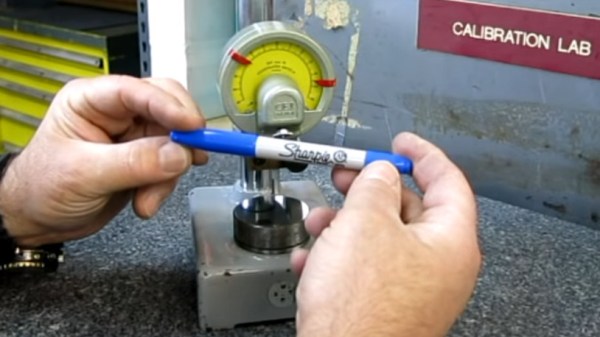
 [Tom] from [oxtoolco] got his hands on a tool that measures in 1/10,000,000th (that’s one ten-millionth) increments and was wondering what kind of shenanigans you can do with this Lamborghini of dial indicators. It’s one thing to say you’re going to measure ink, but coming up with the method is the leap. In this case it’s a gauge block — a piece of precision ground metal with precise dimensions and perfectly perpendicular faces. By zeroing the indicator on the block, then adding lines from the Sharpie and measuring again, you can deduce the thickness of the ink markings.
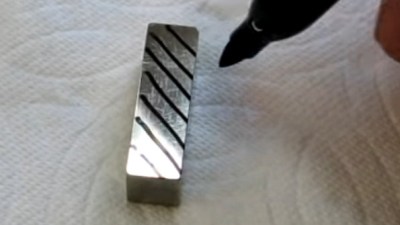
After arraying diagonal lines on the gauge block it is placed lines-down under the dial indicator. This distributes the ink layer across a larger area, as probing the ink line directly would likely result in inaccurate readings. On that topic the gauge block is moved using pliers, as introducing heat from your fingers could result in expansion of the metal upsetting the readings.
The results? Black, blue, and red Sharpie were all tested, alongside blue and black Dykem layout fluid. Ten samples of each were run and the readings were all very close, save a couple of obvious outliers. Clocking in the thinnest is black Sharpie at about 118 millionths of an inch (~30 microns) and blue Dykem was the thickest at 314 millionths (86 microns). [Tom] quips that since we now know the thickness, you could even use ink as a shim.
If you can’t get enough Sharpie in your life, try it as an extremely satisfying add-on for your plasma cutter.
Continue reading “Measuring Sharpie Thickness… The Ink Itself, Not The Pen!”