In the older days of open source software, major projects tended to have their Benevolent Dictators For Life who made all the final decisions, and some mature projects still operate that way. Guido van Rossum famously called his language “Python” because he liked the British comics of the same name. That’s the sort of thing that only a single developer can get away with.
However, in these modern times of GitHub, GitLab, and other collaboration platforms, community-driven decision making has become a more and more common phenomenon, shifting software development towards democracy. People begin to think of themselves as “Python programmers” or “GIMP users” and the name of the project fuses irrevocably with their identity.
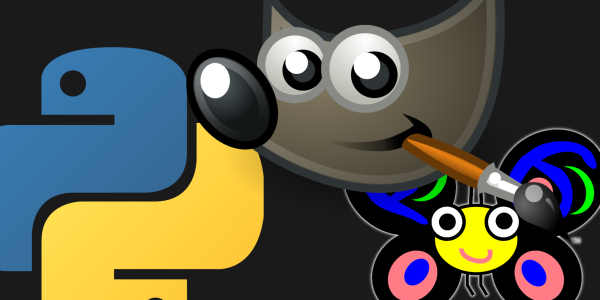
What happens when software projects fork, develop apart, or otherwise change significantly? Obviously, to prevent confusion, they get a new name, and all of those “Perl Monks” need to become “Raku Monks”. Needless to say, what should be a trivial detail — what we’ve all decided to call this pile of ones and zeros or language constructs — can become a big deal. Don’t believe us? Here are the stories of renaming Python, Perl, and the GIMP.
Continue reading “What’s In A Name? Tales Of Python, Perl, And The GIMP”