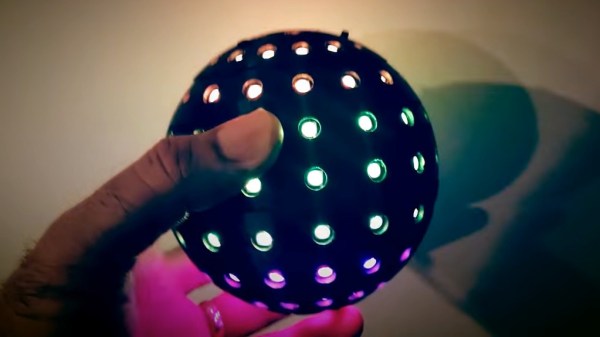
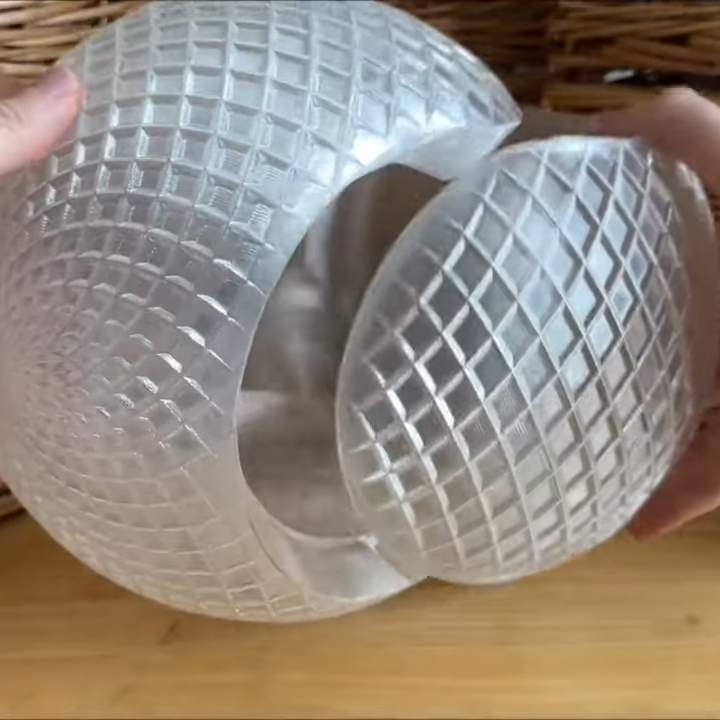
The Las Vegas Sphere is great and all, but few of us can afford the expense to travel to out there to see it on the regular. If you’re looking for similar vibes you can access at home, you might enjoy the desk toy that [AGBarber] has designed.
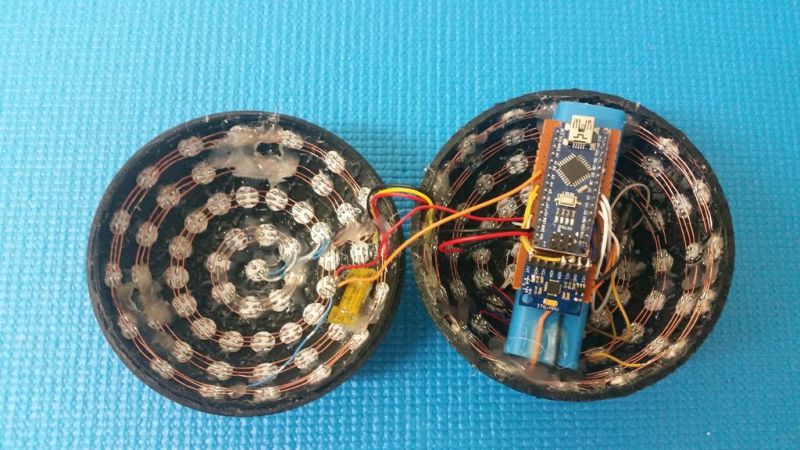
The scale is small — the sphere measures just 98 mm (3.6 inches) in diameter — but that just means it’s accessible enough to be fun. The build is based around various sizes of WS2812B addressable LED rings, and contains 120 individual RGB LEDs in total. They’re wrapped up in a 3D printed housing which does a great job of diffusing the light. Transparent filament was used to print parts that light up with a richly-saturated glow with few visible hotspots. Commanding the LEDs is an ESP8266 microcontroller in the form of a Wemos D1 Mini, which provides plenty of grunt to run animations as well as great wireless connectivity options. [AGBarber] relied on their own Pixel Spork library to handle all the cool lighting effects. Files are on GitHub for the curious.
Maybe you don’t like spheres, and icosahedrons are more your speed. Well, we’ve featured those too—with 2,400 LEDs, no less.

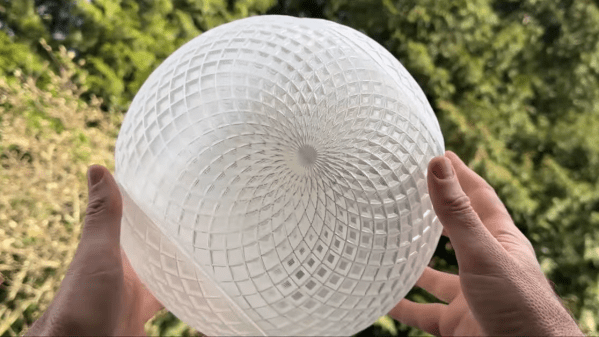

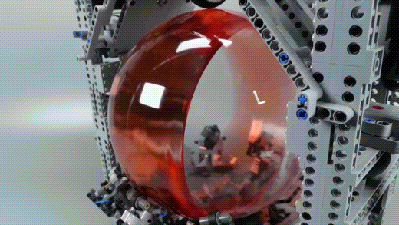 Naturally, though, the video saves the best for last. The big transparent sphere is installed in a rig that surrounds it completely. The sphere itself is spun up thanks to wheels installed on two different axes. This allows the sphere to be spun in various directions under command from a PlayStation controller, creating more complicated vortexes and flow patterns. A set of swiveling casters are provided to hold the sphere in place as it rotates in various directions, and are damped with springs and rubber bands to stop the rig shaking itself apart.