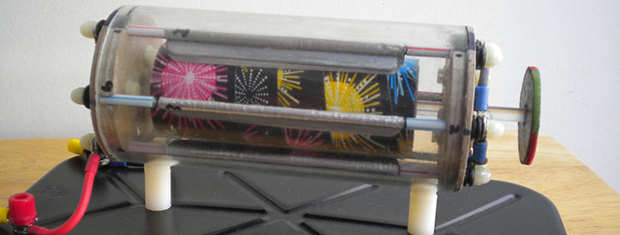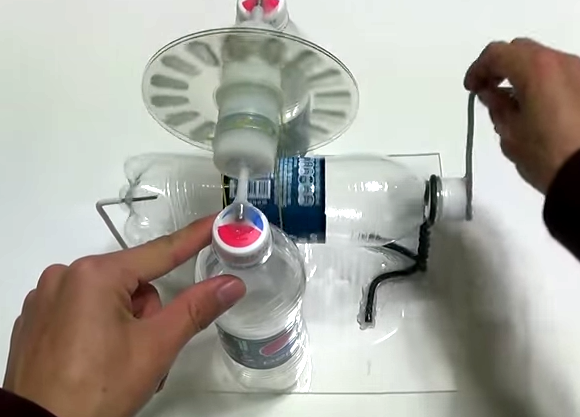
Got some empty plastic bottles in your recycling bin or cluttering up your desk? Then you’ve got a large portion of the material you need for building your own Wimshurst machine like [Thomas Kim] did. This demonstration and build video is one of the many treasures of his YouTube channel. He shows the machine in operation and then spends several real-time minutes showing how he made the heart of it using plastic bottles, the conductive brush from a laser printer, discarded CDs, and a bunch of copper wire. As a bonus, he removes the conductive material and paint from a CD with a homemade taser. As a super special bonus, there’s no EDM soundtrack to this video, just the sounds of productivity.
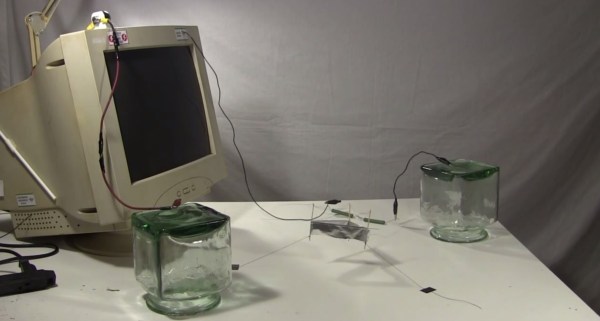
The Wimshurst machine is an electrostatic generator that slightly predates the Tesla coil. It works by passing a charge from one spinning disk to another disk spinning in the opposite direction. When the charge reaches the collecting comb, it is stored in Leyden jars. Finally, it gets discharged in a pretty spark and the cycle begins anew. Once you’re over shocking your friends, use your Wimshurst machine to make an electrostatic precipitator.