Macropads can be as simple as a few buttons hooked up to a microcontroller to do the USB HID dance and talk to a PC. However, you can go a lot further, too. [CNCDan] demonstrates this well with his sleek macropad build, which throws haptic feedback into the mix.
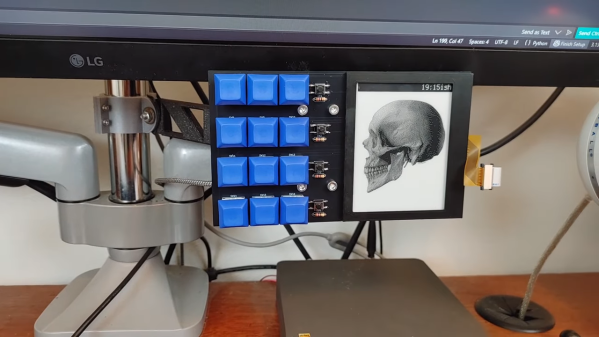
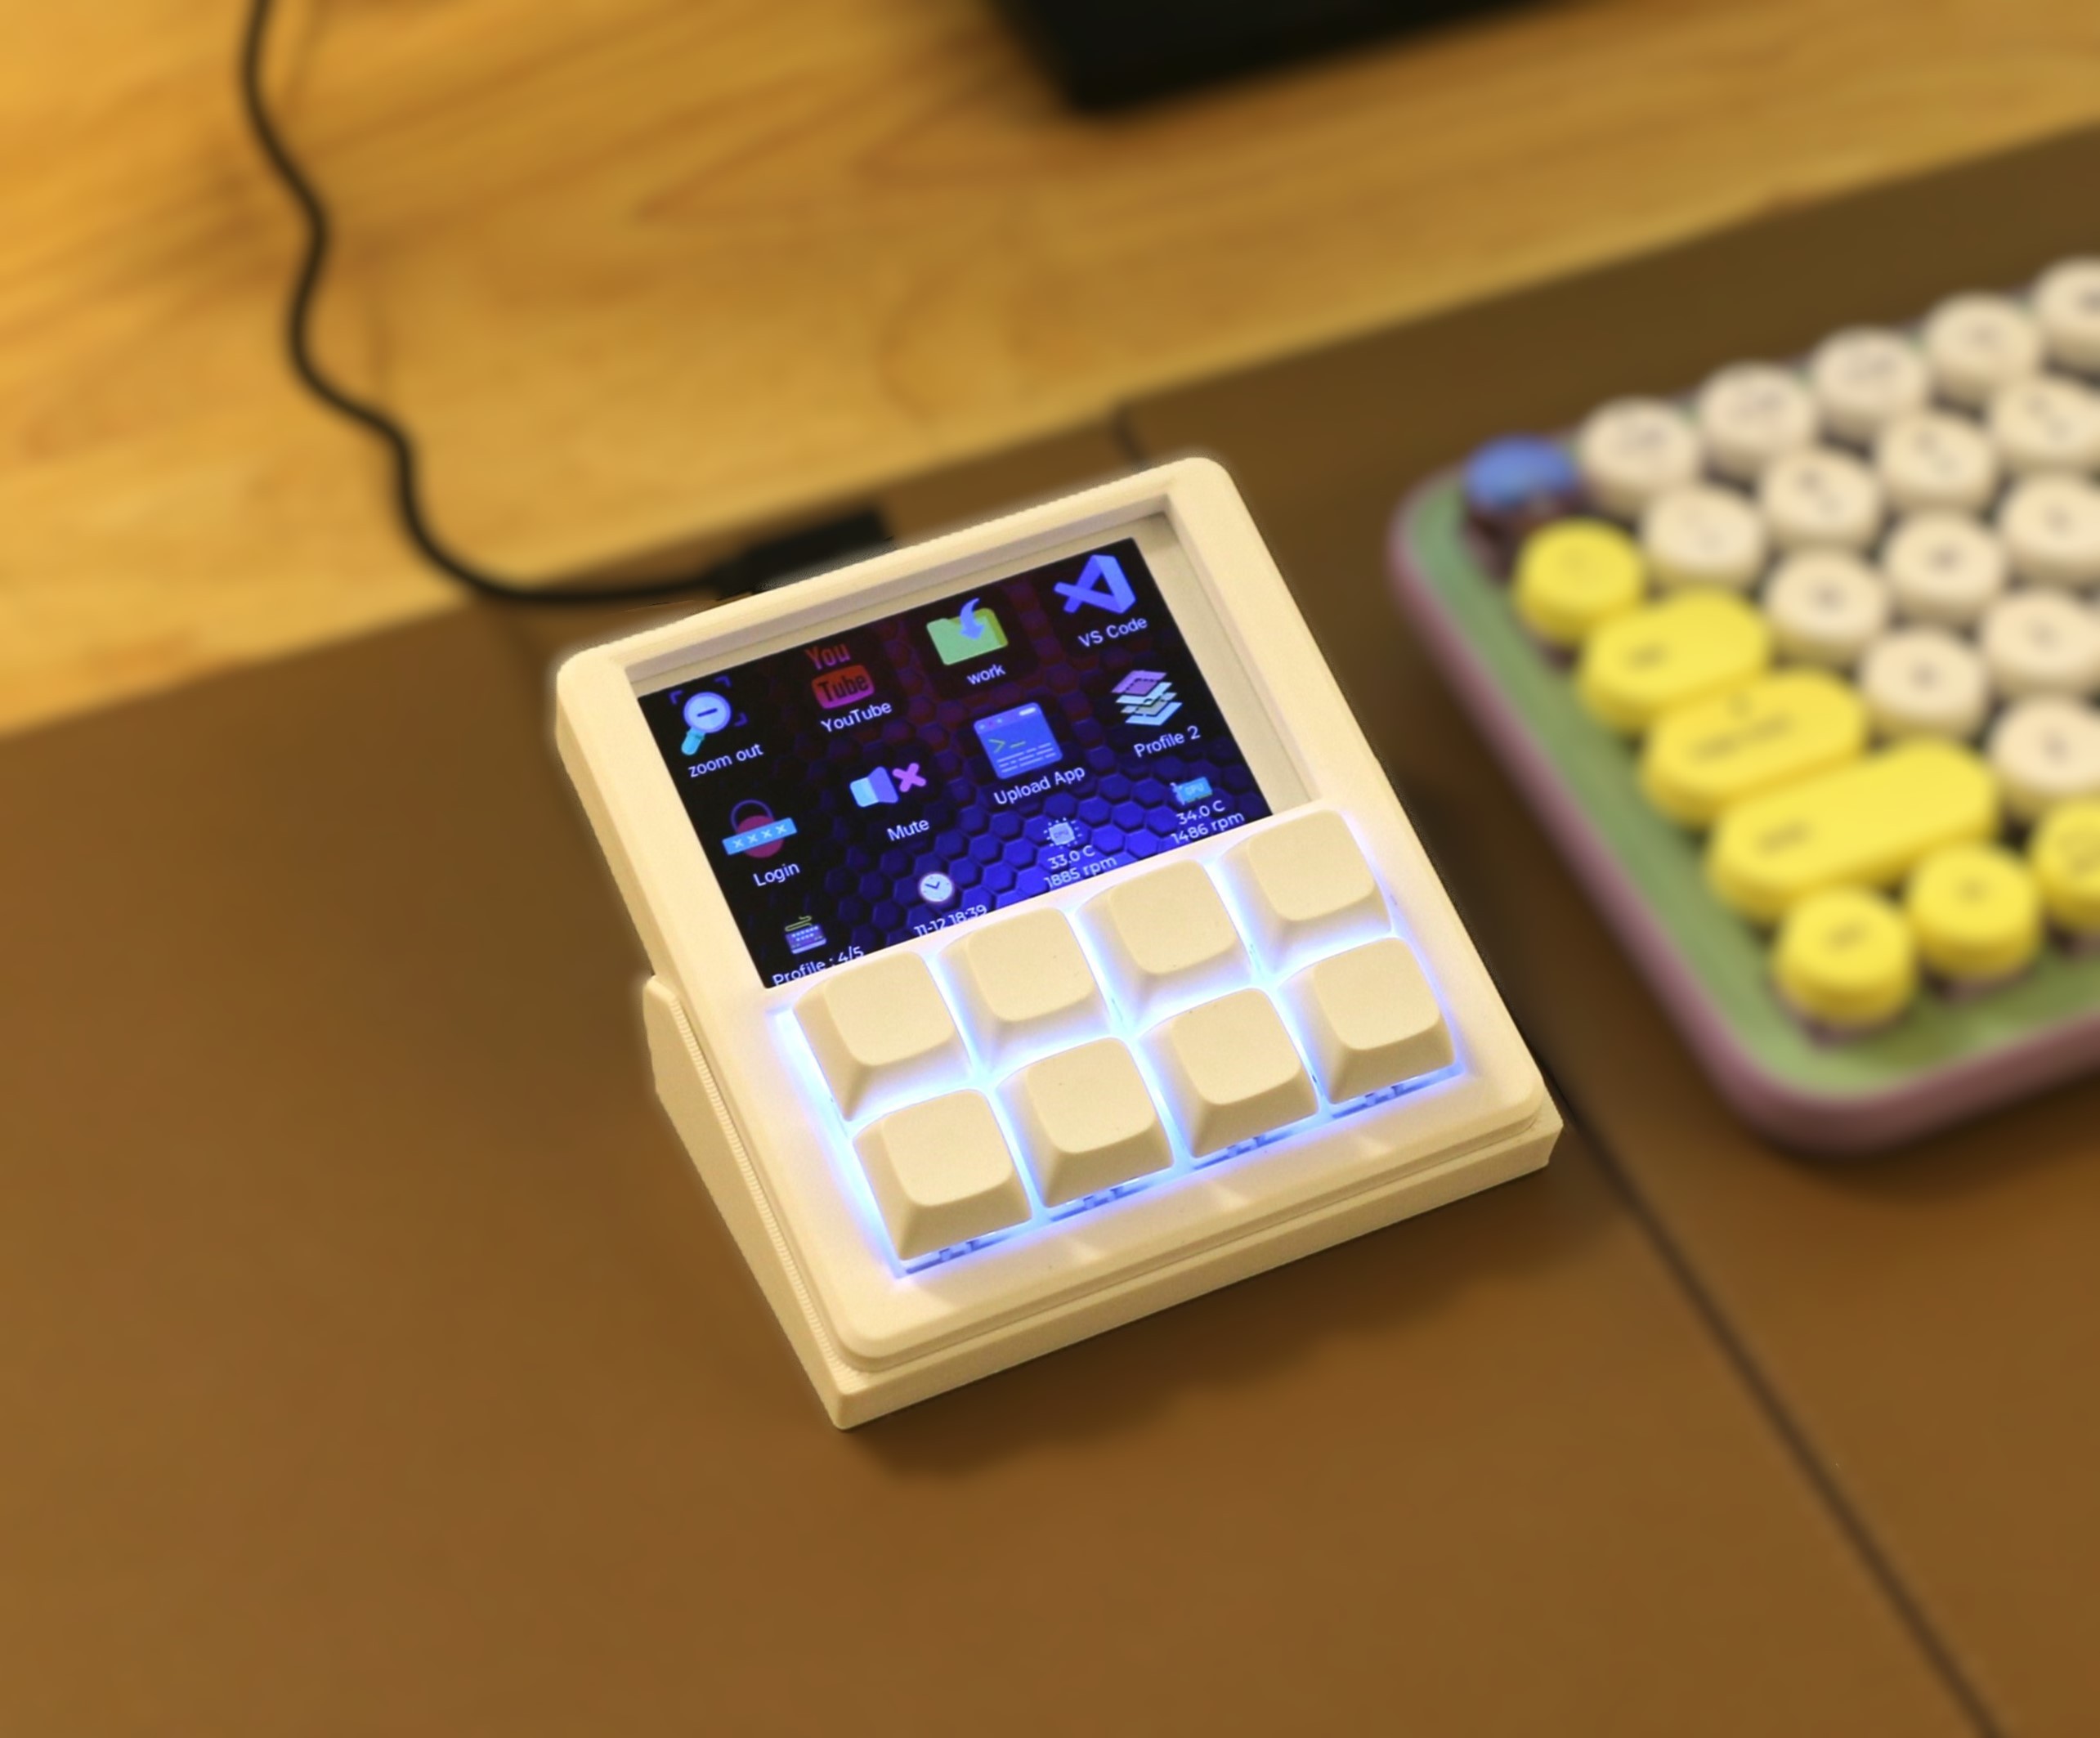
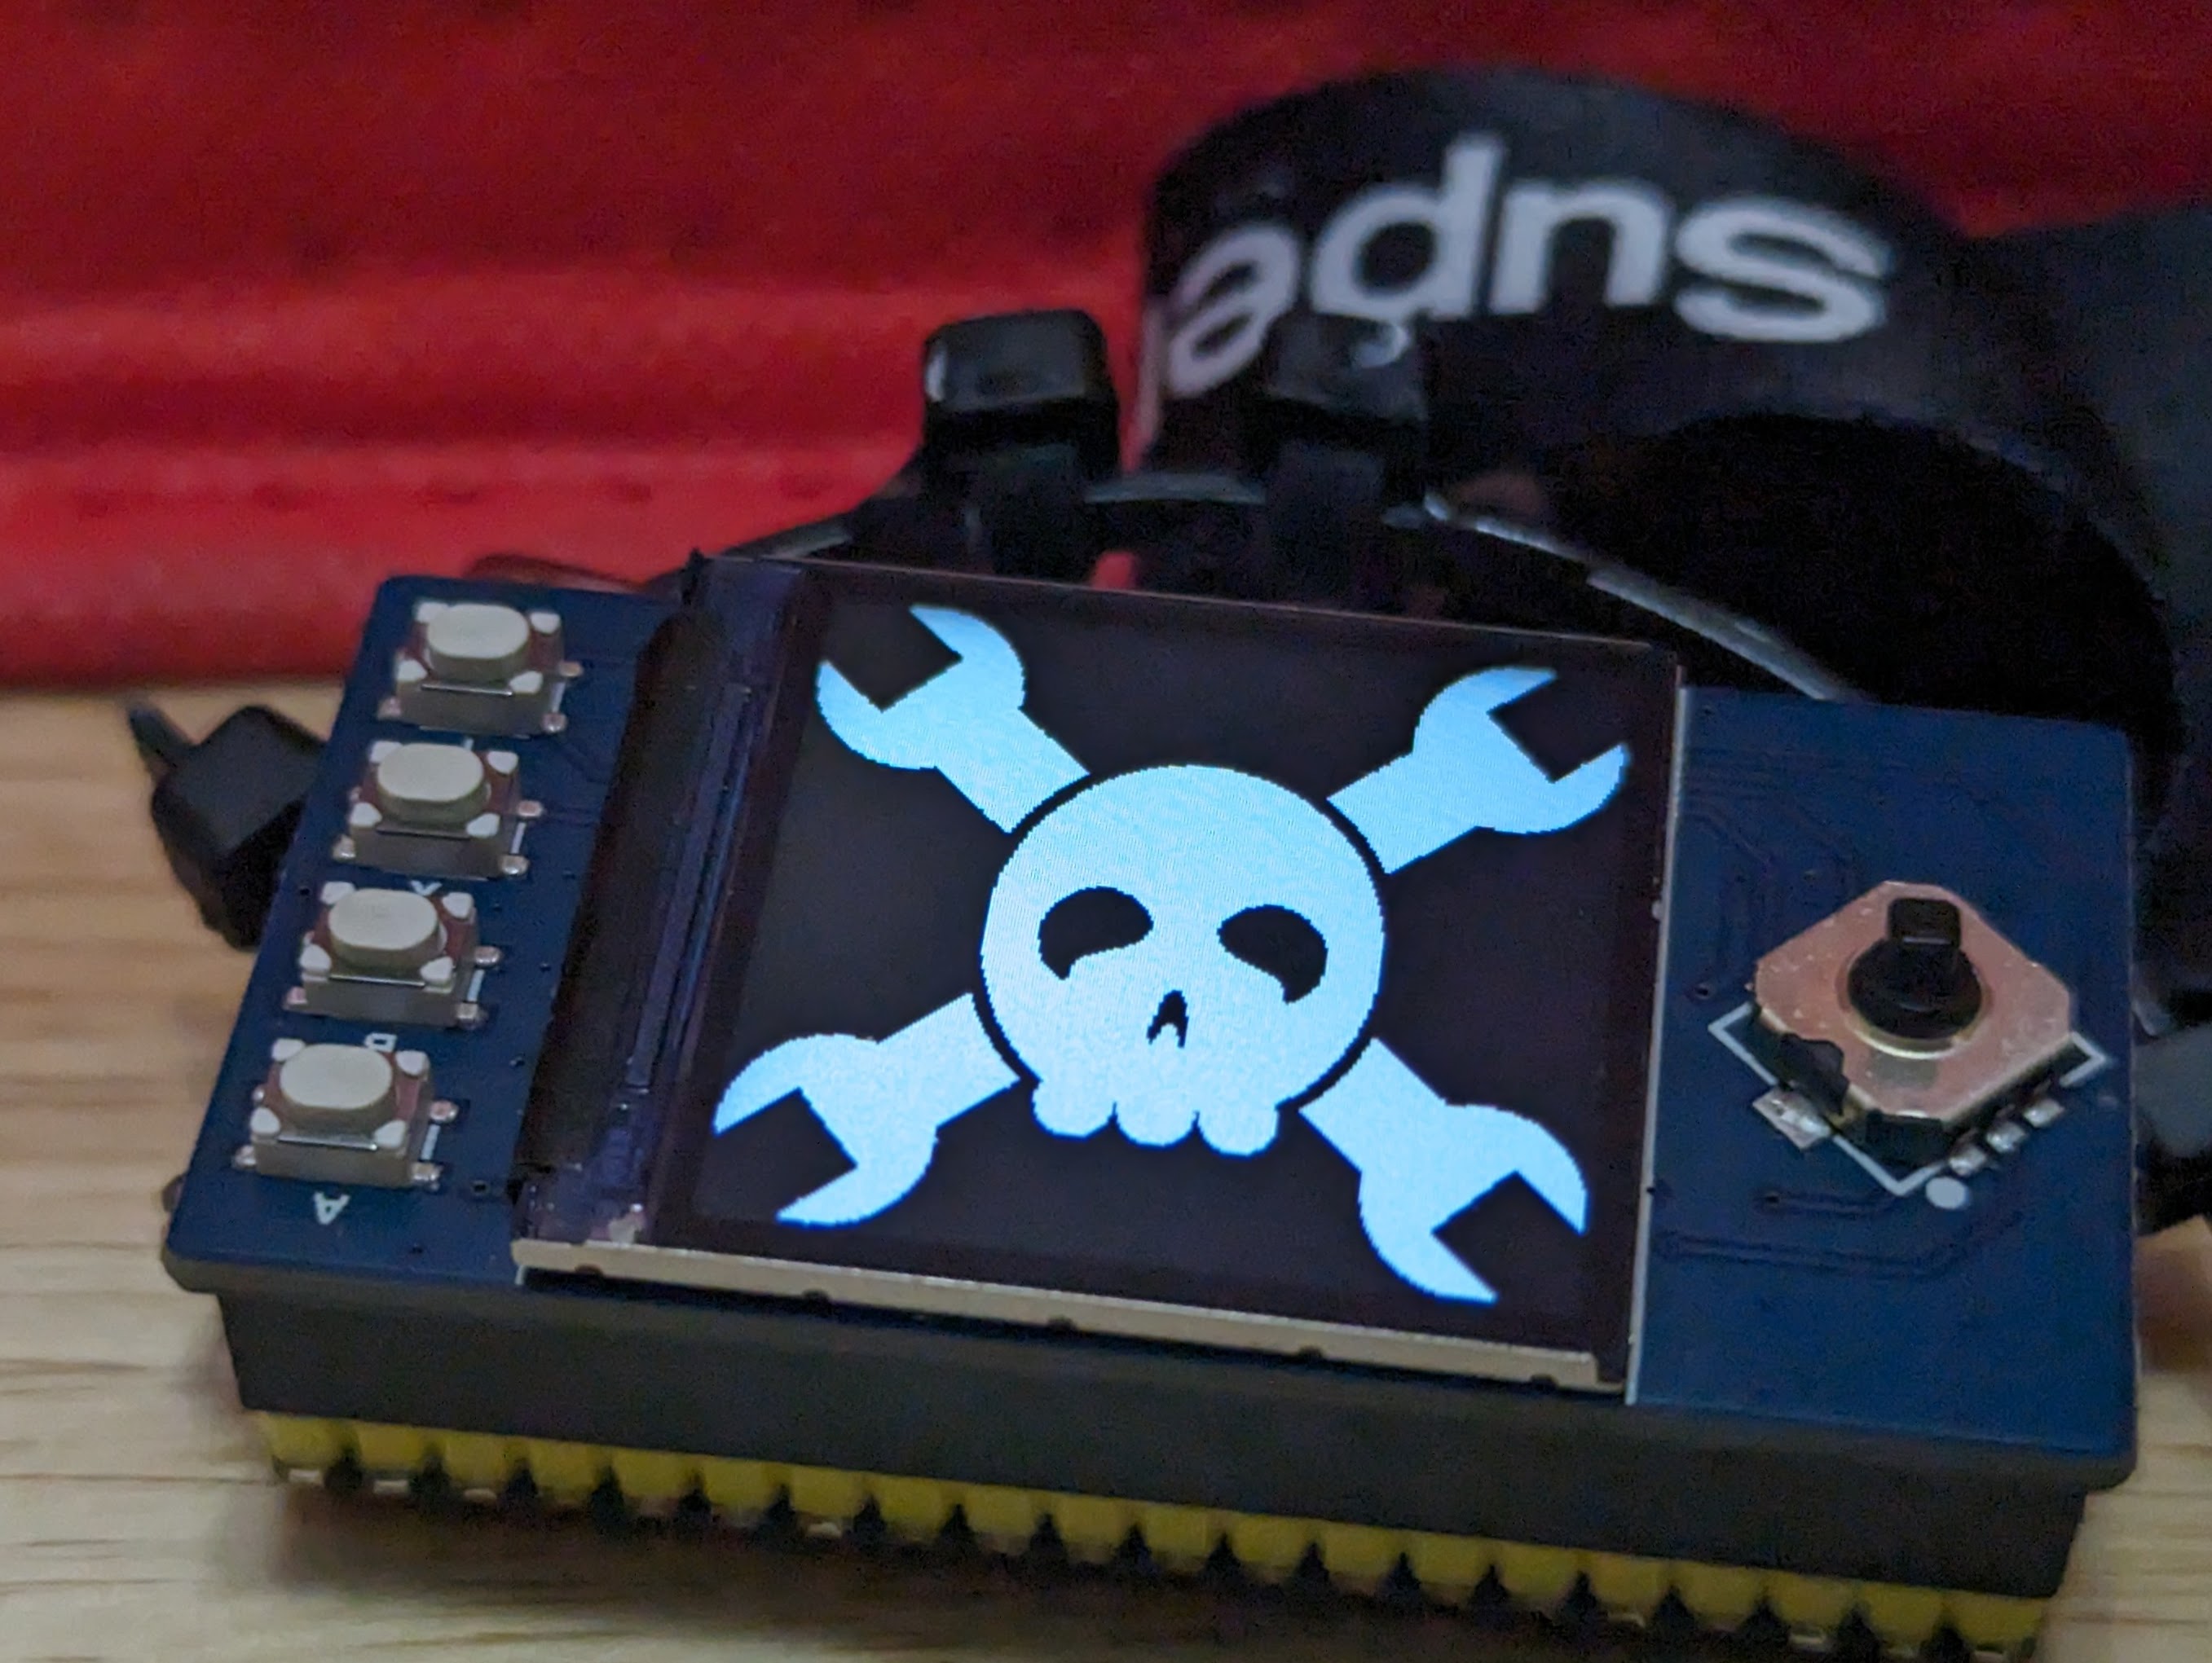
The build features six programmable macro buttons, which are situated either on side of a 128×64 OLED display. This setup allows the OLED screen to show icons that explain the functionality of each button. There’s also a nice large rotary knob, surrounded by 20 addressable WS2811 LEDs for visual feedback. Underneath the knob lives an an encoder, as well as a brushless motor typically used in gimbal builds, which is driven by a TMC6300 motor driver board. Everything is laced up to a Waveshare RP2040 Plus devboard which runs the show. It’s responsible for controlling the motors, reading the knob and switches, and speaking USB to the PC that it’s plugged into.
It’s a compact device that nonetheless should prove to be a good productivity booster on the bench. We’ve featured [CNCDan’s] work before, too, such as this nifty DIY VR headset.
Continue reading “DIY Macropad Rocks A Haptic Feedback Wheel”