Printable mecanum wheel

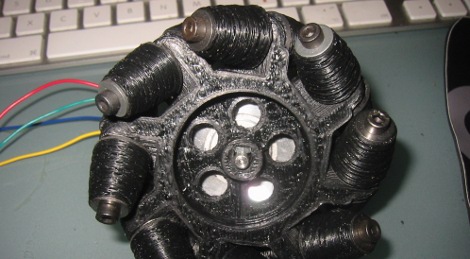
[Zaggo] developed a printable mecanum wheel. These are designed to allow a wheeled vehicle to move in any direction. He uses parts printed with a Makerbot along with commonly available bearings, bolts, washers, and nuts. Download the STL files need for printing and watch the assembly video after the break. We’ve also included a clip of an unrelated robot project using mecanum wheels so you can see what [Zaggo] will have once he fabricates the rest of the of the wheels. Continue reading “Printable mecanum wheel”

Makerbot Clone

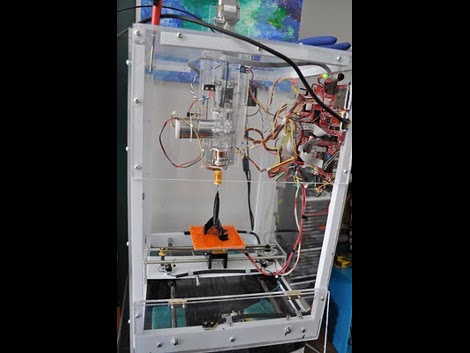
This table-top extruder was modeled after the Makerbot. Instead of laser-cut wood this is built from acrylic, uses salvaged rods from laser printers, some inexpensive stepper motors, and a homemade extruder. All said and done, [Peter Jansen] figures this build came in somewhere around $200-300. It may not look as nice, but at half the price of the Makerbot base kit you also get the fun of building from scratch. Hopefully your fabrication skills are up to the challenge. If so, you’ll be printing useful items soon enough.

Heated Aluminum Bed For MakerBot

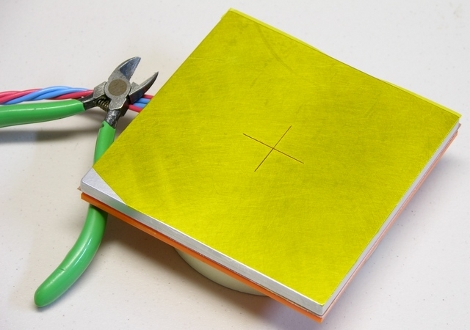
[Keith] built this aluminum-plate heated build stage for his MakerBot 3D printer. We just saw a different MakerBot heated build stage yesterday that relied on glass as the printing surface. Keith’s design is similar to the aluminum RepRap bed but scaled down for the MakerBot. He had a piece of aluminum machined the to correct dimensions, and perfectly flat to use as the printing surface. The yellow surface is caused by Kapton tape applied to the top of the plate. This heat-resistant covering is perfect to print on, resulting in glossy smooth surfaces that are easy to remove once the printed part has cooled. He’s working on improving his mounting technique to achieve prefect level so that he can print without a raft.

[Keith’s] writeup is phenomenal. He’s sharing knowledge in a way that is useful even if you’re not building the exact same kind of project. Follow his lead with your own write-ups, then let us know once you’ve posted them.

[Thanks Marty]

Heated MakerBot Build Stage

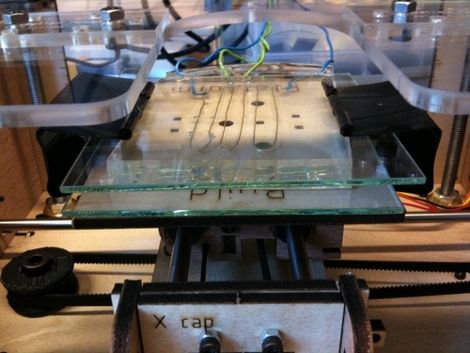
This heated build stage seeks to make 3D printing with the MakerBot a little easier. When hot ABS or PLA meet the cold, cruel world they have a tendency to warp. This was concern for [Devlin Thyne] when he was developing our Hackaday badges. What you see above is 10 Ohm nichrome embedded in clear silicone, then sandwiched in between two plates of glass. The device is made to interface with the MakerBot and includes a thermister for temperature sensing. With a small firmware upgrade you can now set the build stage temperature which should make larger printed objects a bit easier to deal with. A while back we saw a hotbed for the RepRap, but this implementation should be cheaper and easier for the smaller MakerBot applications.

CES Update: CES Badges

In a previous post we had given one of our badges out to [Bre Pettis] at the MakerBot booth. We have been called the “Skull Guys” around CES and were stopped multiple times by people that did not know of this site. [Bre] got an extra of the size we are wearing around. [Leo Laporte] received the very first prototype which he promptly placed in his mouth. The badges are made from natural ABS plastic in [Devlin]’s CupCake CNC machine. There will be a post-CES follow-up with the release of the STL files to make the badge on Thingiverse as well as a step-by-step breakdown of the build process.