Let’s talk about computer keyboards for a second. The worst keyboards in the world are the cheap ‘rubber dome’ keyboards shipped with every Dell, HP, and whatever OEM your company has a purchasing agreement with. These ‘rubber dome’ keyboards use a resistive touchpad to activate a circuit, and the springiness of the key comes from a flexible rubber membrane. Mechanical keyboards are far superior to these rubber dome switches, using real leaf springs and bits of metal for the click clack happiness that is the sole respite of a soul-crushing existence. MX blues get bonus points for annoying your coworkers.
Mechanical key switches like the Cherry MX, Gateron, or whatever Razer is using aren’t the be-all, end-all mechanical keyswitch. History repeats, horseshoe theory exists, and for the best mechanical keyswitch you need to go back to rubber domes. Torpre switches are surprisingly similar to the crappy keyboards shipped out by OEMs, but these switches have actual springs, turning your key presses into letters through a capacitive touchpad. Is this a superior switch? Well, a keyboard with Torpre switches costs more than a keyboard with Cherry MX switches, so yeah, it’s a better switch.
It seems everyone is building their own mechanical keyboards these days, and the recipe is always the same: get a few dozen Cherry MX (or clone) switches, build a PCB, grab a Teensy 2, and use the tmk keyboard firmware. There’s not much to it. DIY Torpre boards are rare because of the considerations of building a capacitive switching PCB, but now there’s a DIY guide to making the perfect rubber dome keyboard.
[tomsmalley] put together this guide after reviewing a few amazing projects scattered around the web. Over on Deskthority, [attheicearcade] is building a custom, sculpted, split Torpre board and a split Happy Hacking Keyboard. These are projects worthy of a typing god, but so far there has been no real beginner’s guide for interfacing with these weird capacitive switches.
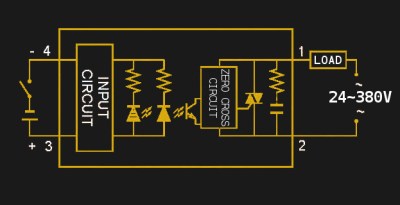
As far as circuitry goes on these capacitive boards, the PCB is the thing. Each key has a pair of semi-circular pads on the PCB to serve as plates on a capacitor. These pads are connected to a microcontroller through an analog mux, with a little opamp magic thrown into the mix.
With a relatively decent guide to the hardware, [tomsmalley] has also been working on his own firmware for capacitive switches. Shockingly, this firmware is compatible with the Teensy 3.0, which will provide enough horsepower to read a bunch of analog values and spit out USB.
Mechanical keyboards are great, and we really like to see all these hardware creators pushing the state of the art. You can only see so many custom sculpted keycaps or DIY MX boards, though, and we’re really eager to see where the efforts to create a custom Torpre board take us. If you’re building one of these fantastic keyboards, send it in on the tip line.

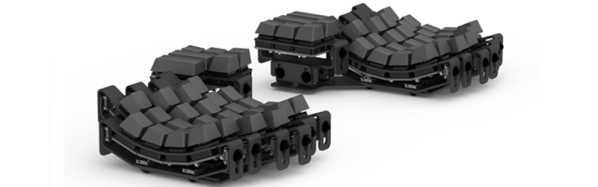
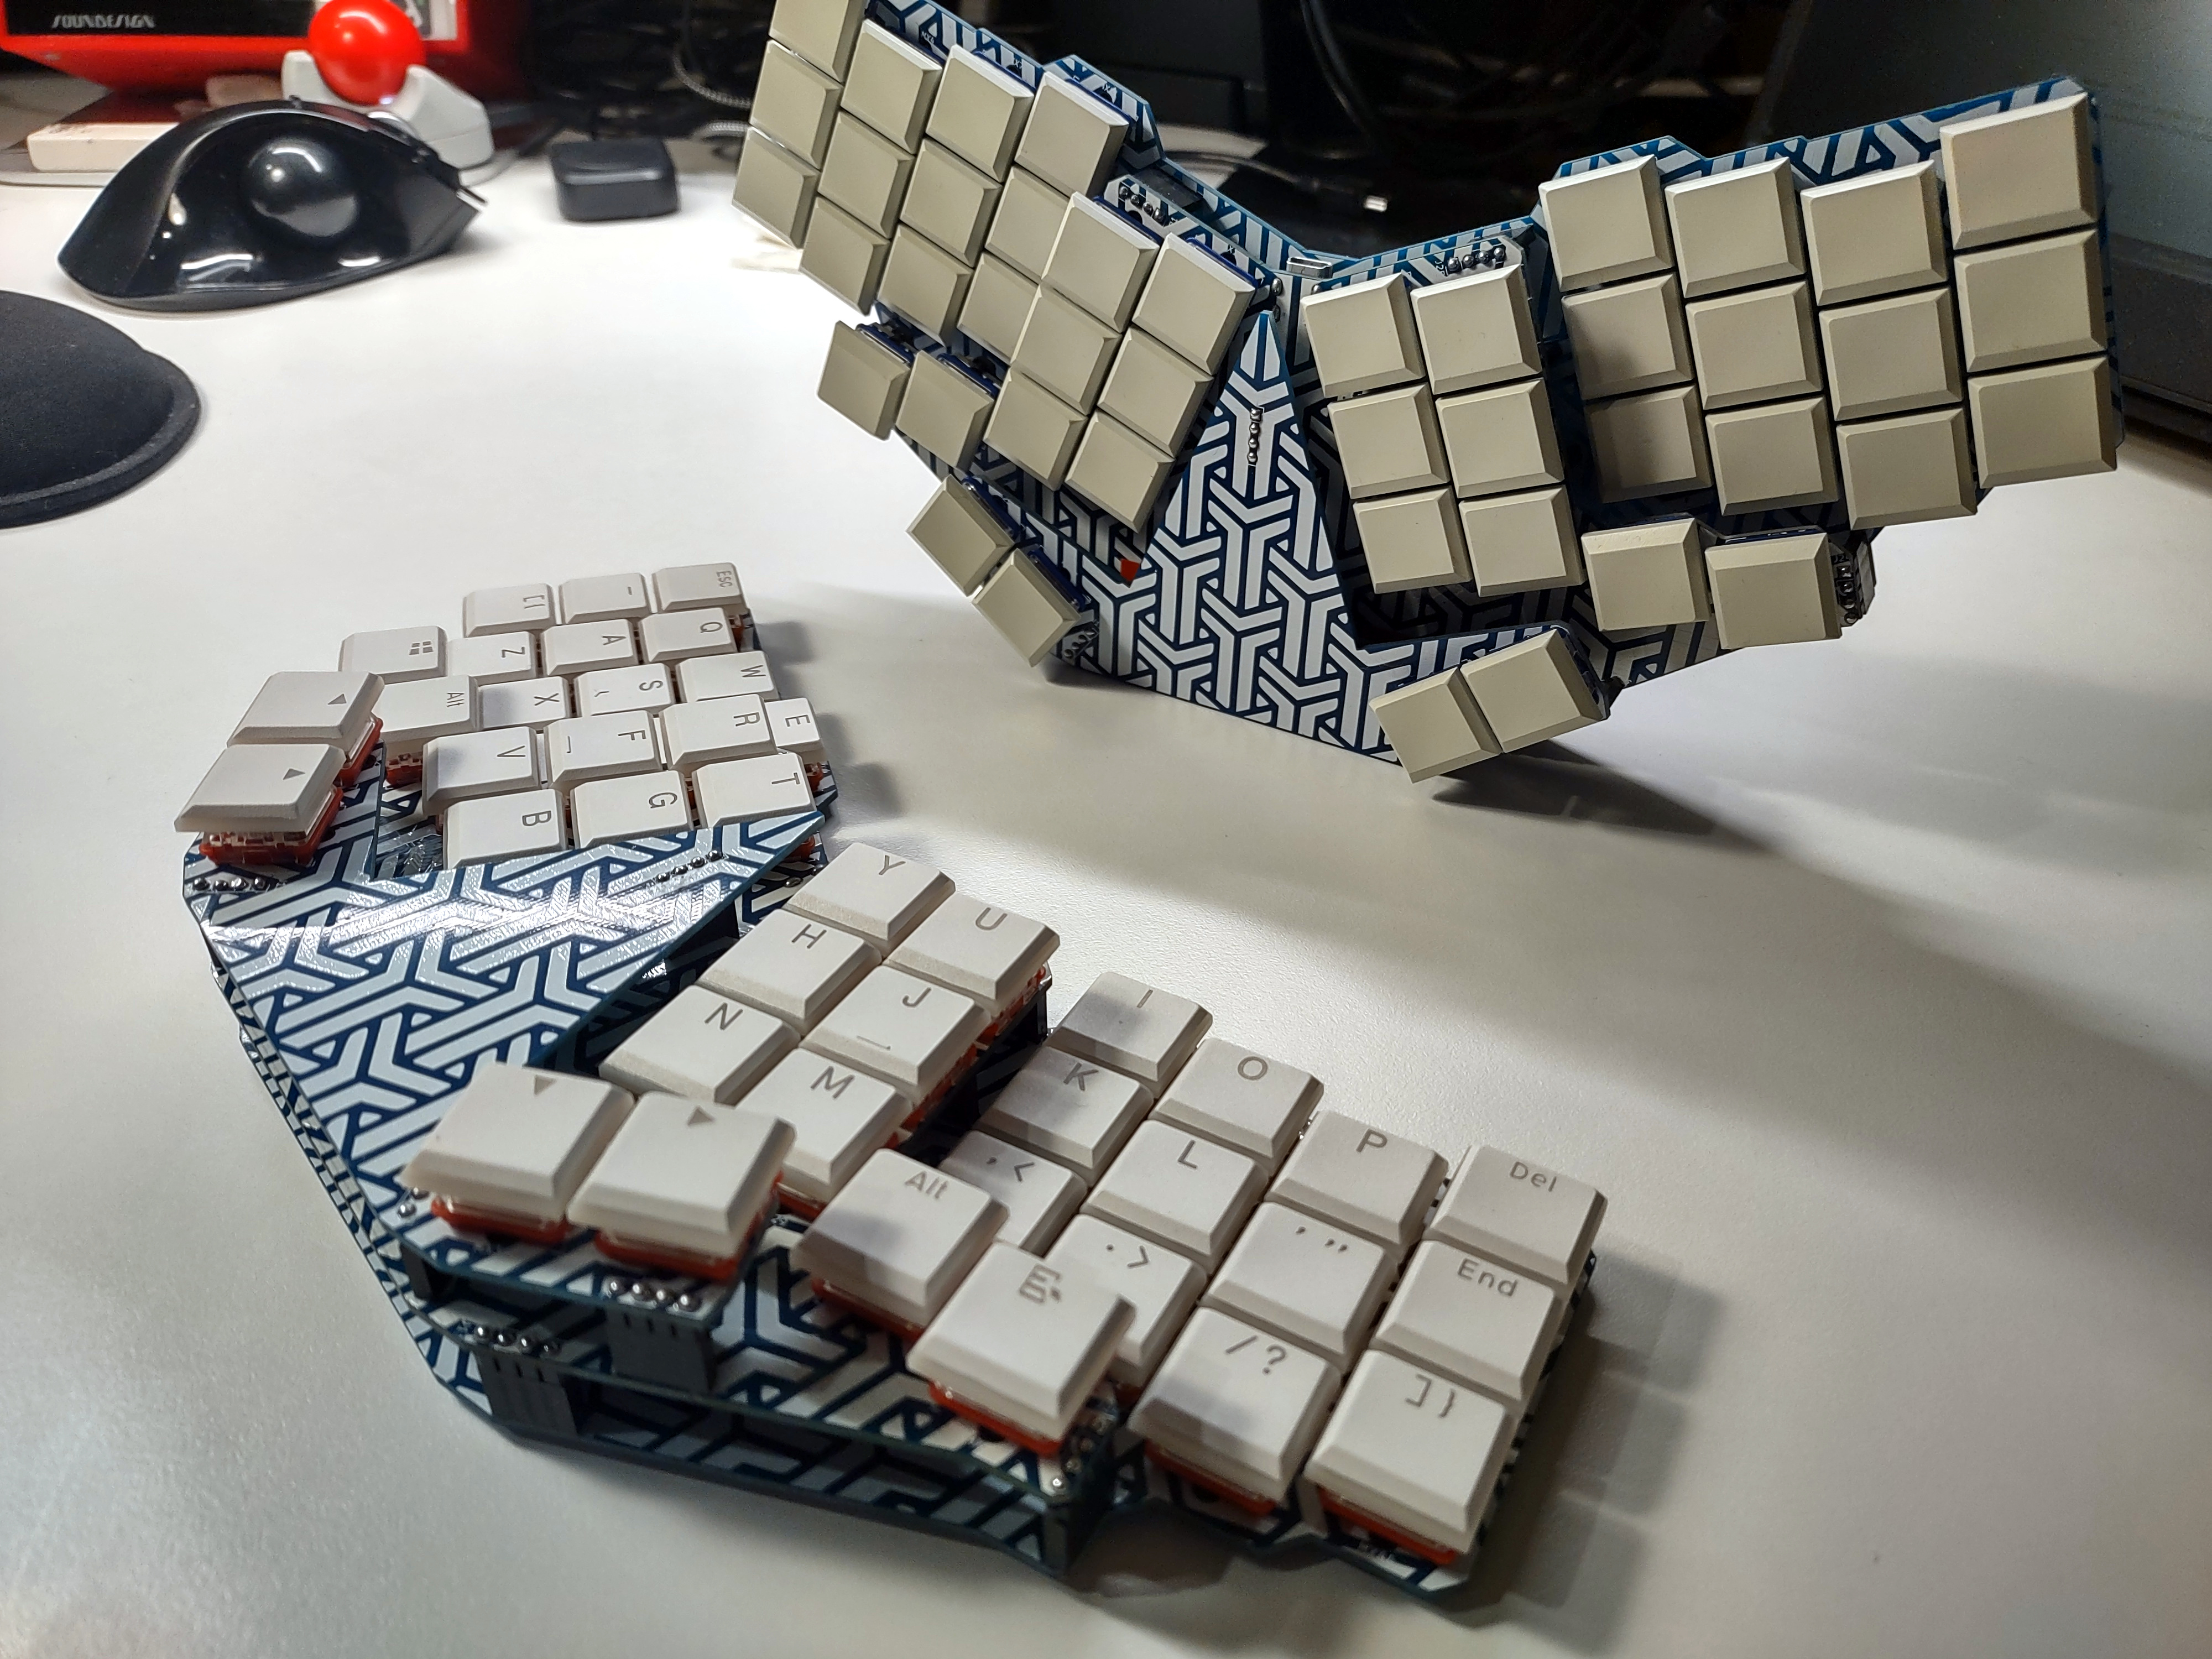 Thumbs Up! comes in both monoblock and full split versions, but both are designed for Kailh chocs. Fans of the Kinesis Advantage will dig the key wells and possibly the thumb cluster, which in this case is raised up a bit from the mainlands. I’m pretty fond of the naked PCB approach to keyboard building, especially when they’re stacked and look as good as these do.