Mining Bitcoin On The Nintendo Game Boy

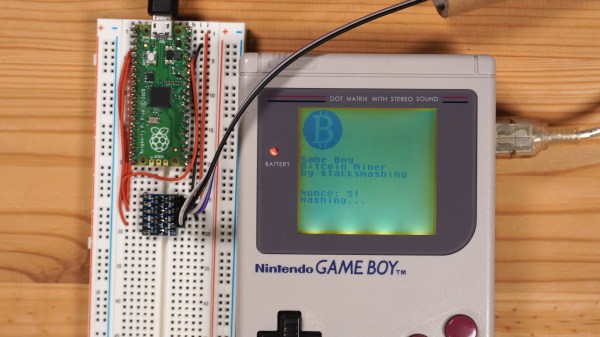
Mining cryptocurrency is a power intensive business, with big operations hoarding ASIC rigs and high-end GPUs in an endless quest for world domination money. The Bitcoin-mining Game Boy from [stacksmashing] is one of them. (Video, embedded below.)

The hack is relatively straightforward. The Game Boy is hooked up to a PC via a Raspberry Pi Pico and a level shifter to handle the different voltage levels. The Game Boy runs custom software off a flash cart, which runs the SHA hash algorithm on incoming data from the PC and reports results back to the PC which communicates with the Bitcoin network.

[stacksmashing] does a great job of explaining the project, covering everything from the Game Boy’s link port protocol to the finer points of the Bitcoin algorithm in explicit detail. For the technically experienced, everything you need to know to recreate the project is there. While the Game Boy manages just 0.8 hashes per second, trillions of times slower than cutting edge hardware, the project nonetheless is amusing and educational, so take that into consideration before firing off hot takes in the comments below. If you’re really interested in the underlying maths, you can try crunching Bitcoin hashes with pen and paper.

Continue reading “Mining Bitcoin On The Nintendo Game Boy”

Use Your Game Boy As A Wireless Controller

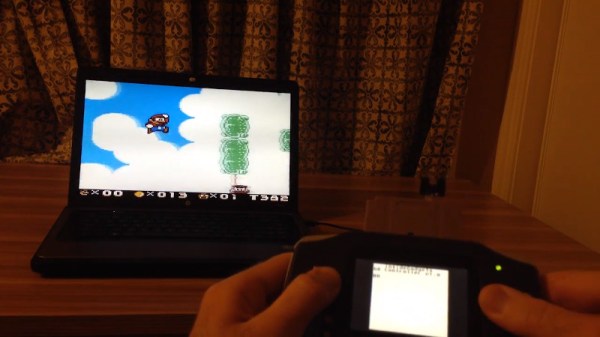
Like many retro favourites, the Game Boy is in no way dead — development continues apace through its many fans.But what about the hardware side? This is a particularly interesting one: [Alex] wondered if a Game Boy could be readily used as a wireless controller. Set out to make it happen, the final product is a game cartridge that makes the classic handheld a wireless controller.

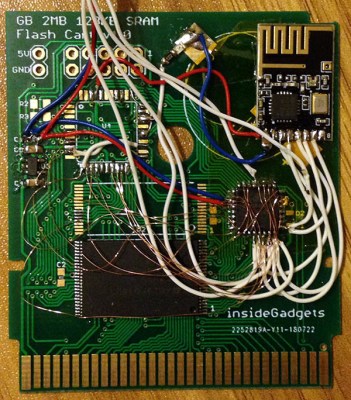
It’s achieved quite elegantly, with a custom cartridge used to turn the Game Boy into a controller while requiring no modification to the handheld. The cartridge contains a flash chip to store the ROM, along with an ATmega48PA microcontroller and an NRF24L01 to do the talking. Upon powerup, the Game Boy runs code from the ROM, and the microcontroller is in charge of reading button states and sending them to the NRF24L01 for transmission. The program stored on the ROM also allows configuration changes to be made from the Game Boy itself, such as choosing the appropriate wireless channel.

The cartridge transmitter can be used with a variety of receivers. [Andy] has developed a USB HID joystick emulator to allow the Game Boy to be used with PCs, as well as a receiver for the GameCube, too. Yes, that’s right — you can now play Super Smash Bros. with a weirder controller than all your friends. A Super Nintendo version is also in the works. Perhaps the coolest feature, however, is that the cart can use its radio link to communicate with another Game Boy running the same cartridge. [Andy] demonstrates this with a basic game of Pong being played between two Game Boy Advances.

Working on retro hardware can be great fun — things are well documented, parts are cheap, and there’ll be plenty of fans cheering you on, too. [Andy] has even made the hardware available for purchase on Tindie and his website if you’re not quite comfortable rolling your own.

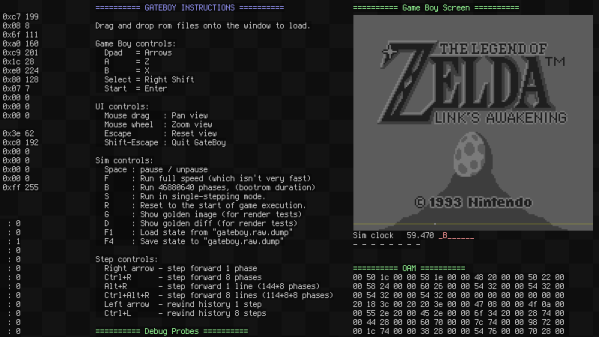
The Game Boy platform remains ripe for hacking – you can even take screenshots with a logic analyzer these days. Video after the break.

Continue reading “Use Your Game Boy As A Wireless Controller”

Gameboy Camera Becomes Camcorder

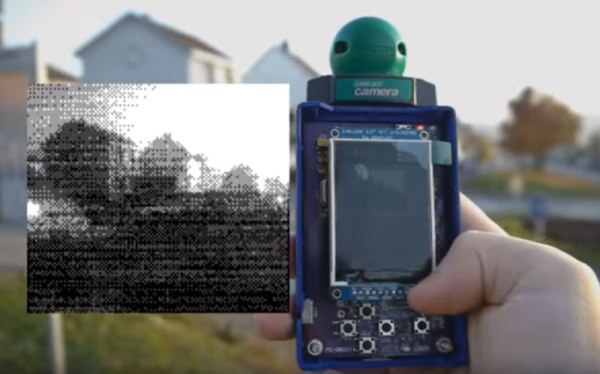
[Furrtek] is a person of odd pursuits, which mainly involve making old pieces of technology do strange things. That makes him a hero to us, and his latest project elevates this status: he built a device that turns the Nintendo Gameboy camera cartridge into a camcorder. His device replaces the Gameboy, capturing the images from the camera, displaying them on the screen and saving them to a micro SD card.

Before you throw out your cellphone or your 4K camcorder, bear in mind that the captured video is monochrome (with only 4 levels between white and black), at a resolution of 128 by 112 pixels and at about 14 frames per second. Sound is captured at 8192Hz, producing the same buzzy,  grainy sound that the Gameboy is famous for. Although it isn’t particularly practical, [Furrtek]s build is extremely impressive, built around an NXP LPC1343 ARM Cortex-M3 MCU processor. This processor repeatedly requests an image from the camera, receives the image and then collects the images and sound together to form the video and save it to the micro SD card. As always, [Furrtek] has made all of the source code and other files available for anyone who wants to try it out.

For those who aren’t familiar with his previous work, [Furrtek] has done things like making a Speak & Spell swear like a sailor, adding a VGA out to a Virtualboy, and hacking a Gameboy Color to control electronic shelf labels.

Continue reading “Gameboy Camera Becomes Camcorder”

Original Gameboy Gets Stuffed Full Of Cool Parts

Raspberry Pi Gameboy

One day at Good Will, [microbyter] came across an original Gameboy for $5. Who reading this post wouldn’t jump on a deal like that? [microbyter] was a little disappointed when he got home and found out that this retro portable did not work. He tried to revive it but it was a lost cause. To turn lemons into lemonade, the Gameboy was gutted and rebuilt into a pretty amazing project.

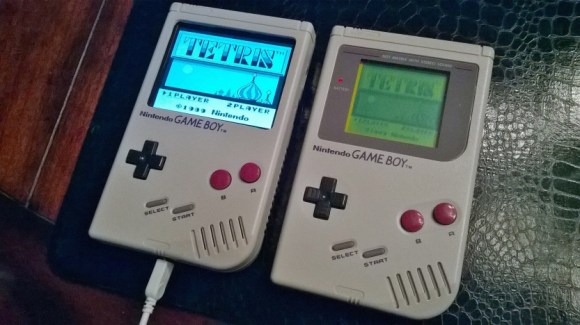
Looking at the modified and unmodified units, it is extremely obvious that there is a new LCD screen. It measures 3.5″ on the diagonal and is way larger than the 2.6″ of the original screen. Plus, it can display colors unlike the monochrome original. Flipping the unit over will show a couple of buttons have been added to the battery compartment door to act as shoulder buttons.

The brains of the project is a Raspberry Pi running Retropie video game system emulation software which will emulate a bunch of consoles, including the original Gameboy. The video is sent to the LCD screen via the composite video output. The Pi’s headphone jack is connected to a small audio amplifier that powers the original speaker that still resides in the stock location. Connecting the controller buttons got a little more complicated since the original board was removed. Luckily there is a replacement board available for just this type of project that bolts into the stock location, allows the use of the original iconic buttons and has easily accessible solder points. This board is wired up to the Pi’s GPIO pins.

Continue reading “Original Gameboy Gets Stuffed Full Of Cool Parts”

Spoofing Pokemon Trades

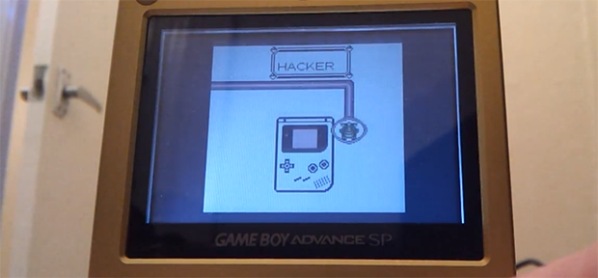
[Adan] had an old Game Boy sitting around, and without anything better to do decided to investigate the link cable protocol with a microcontroller. He had a Stellaris Launchpad for the task, but initially had no project in mind. What he came up for this adventure in serial protocols is a first gen Pokemon trade spoofer that allows him to obtain pokemon without having two Game Boys, or for the weird ones out there, “friends.”

The Game Boy link protocol is extremely well documented (dead link, try Internet Archive), so getting data from the Game Boy to the Launchpad was as simple as a soldering up an old link cable connector to a piece of perf board. After figuring out the electronics, [Adan] looked at what happened when two Pokemon games tried to trade pokemon. When two Game Boys are linked, there are two in-game options: trade or battle. Looking at the data coming after the ‘trade’ option, [Adan] found something that could possibly be the data structure of the Pokemon being sent. He reverse-engineered this all by himself before discovering this is also  well documented.

Bringing everything together, [Adan] figured out how to trade non-existent Pokemon with a small dev board. Right now he’s only transmitting Pokemon that are hard-coded on the Launchpad, but it’s very possible to transmit the Pokemon values in real-time over USB.

Thanks [Dan] for sending this in, and no, we don’t know what’s up with the influx of Pokemon posts over the last week. Video of the spoof below.

Continue reading “Spoofing Pokemon Trades”