ESP8266 Coaster Keeps Your Drink Warm

Looking for the perfect winter desk accessory? [Wq] has created a beautiful coaster made out of PCBs  that can keep your drink warm with an internal heater. (Chinese).

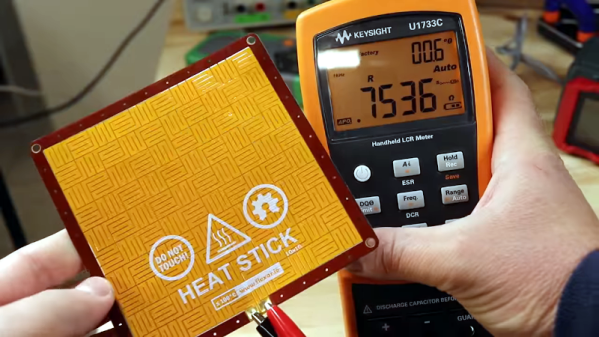
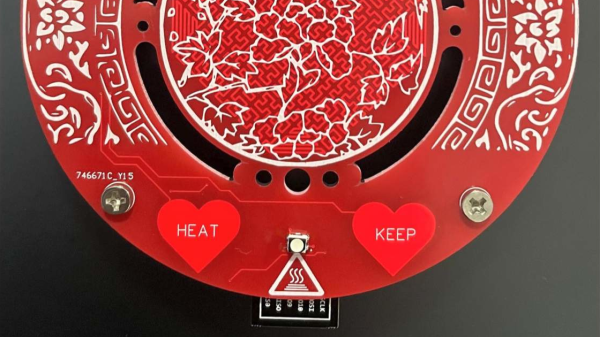
An ESP8266 sits as the main controller, with an additional MQTT control option, where the whole unit is powered over a USB-C connection. On board PCB traces, in the shape of a Hilbert curve, create the heating element used to heat beverages placed on the coaster, where [Wq] reports a measured resistance of the PCB trace network at 1.2 ohms. [Wq] writes that an AON6324 MOSFET replaces the D4184 that was previously being used, but might need some testing to get working properly. There are two capacitive touch sensors which has a TTP223E capacitive touch controller attached to detect input, with a multi-colored FM-3528 RGB LED for user feedback.

We love the artistry that went into building the coaster. For adventurous hackers wanting to build their own, the bill of materials (BOM), source code and board files are all available. We’ve seen everything from coasters and to PCB reflow boards, so it’s nice to see experimentation with a combination of these ideas.

Sticker Brings The Heat

[Carl] is always looking at making heater plates for PCB reflow and other applications. In his latest video, he shows how he is using thin flexible PCBs with adhesive backs as stickers that get hot. You can find gerber files and design files on GitHub.

You might think that this is a pretty simple thing to do with a flex PCB, but it turns out while the PCB might be flexible, the traces aren’t and so the typical long traces you see in a heater won’t allow the sticker to bend, which is a problem if you want to wrap it around, say, a coffee mug.

Continue reading “Sticker Brings The Heat”

Improved Thermochromic Clock Uses PCB Heaters For Better Contrast

We love timepiece projects round these parts, so here we are with another unusual 7-segment clock design. Hackaday’s own [Moritz Sivers] wasn’t completely satisfied with his last thermochromic clock, so has gone away and built another one, solved a few of the issues, and this time designed it to be wall mounted. The original design had a single heater PCB using discrete resistors as heating elements. This meant that the heat from active elements spread out to adjacent areas, reducing the contrast and little making it a bit hard to read, but it did look really cool nonetheless.

This new version dispenses with the resistors, using individual segment-shaped PCBs with heater traces, which gives the segment a more even heat and limited bleeding of heat into neighbouring inactive air-gapped segments.  Control is via the same Wemos D1 Mini ESP8266 module, driving a chain of 74HC595 shift registers and a pile of dual NMOS transistors. A DS18B20 thermometer allows the firmware to adjust for ambient temperature, giving more consistency to the colour change effect. All this is wrapped up in an aluminium frame, and the results look pretty nice if you ask us.

Both PCB designs and the Arduino firmware can be found on the project GitHub, so reproducing this should be straightforward enough for those so inclined, just make sure your power supply can handle at least 3 amps, as these heaters sure are power hungry!

Got a perfectly good clock, but desperately need a thermochromic temperature/humidity display? [Moritz] has you covered. And if this digital clock is just too simple, how about a mad 1024-element analog thermochromic clock instead?

Continue reading “Improved Thermochromic Clock Uses PCB Heaters For Better Contrast”