It’s never a bad time to look at a clock, and one could certainly do worse than this delightful Paper Sunshine Clock by [anneosaur]. The sun-ray display is an interesting take on the analog clock, and its method of operation is not one we see every day, either.
Reading the clock is straightforward: there are twelve rays divided into two segments. Once you figure out that this artful object is a clock, it’s easy enough to guess that the rays give the hours, and half-rays are half-hours. In the photo above, it’s sometime between nine o’clock and nine thirty. Our Swiss readers might not be terribly impressed, but a “fuzzy” clock like this is quite good enough much of the time for many people.

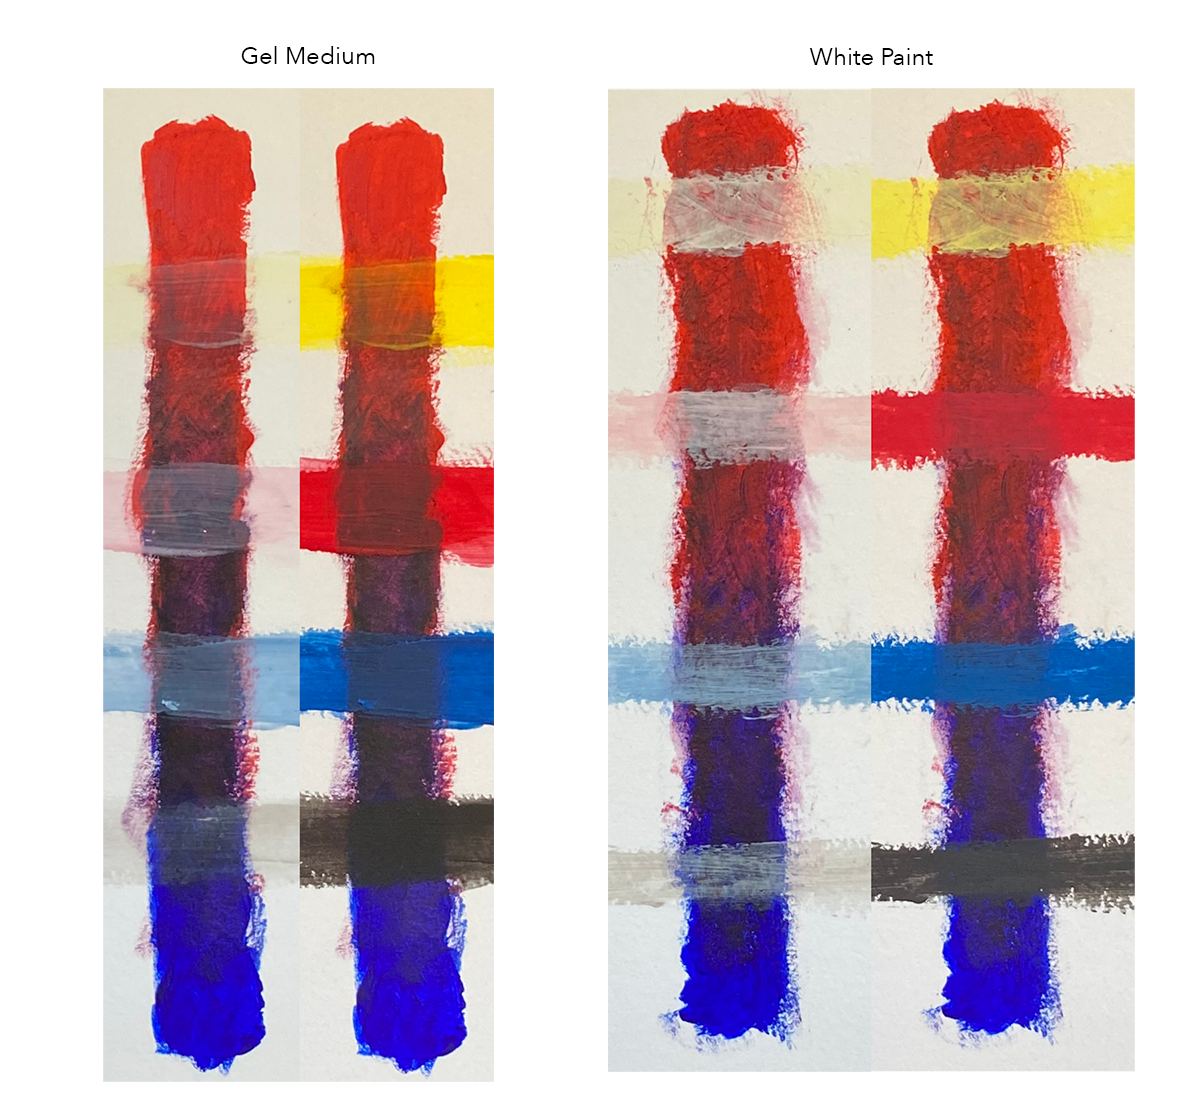
The title gives away its method of operation: it’s thermochromic paint! The paint is printed onto a piece of Japanese awagami paper, which is pressed against a flexible PCB holding an array of resistors. Large copper pads act as heat spreaders for the resistors. For timekeeping and control, an Atmega328PB is paired with a DS3231MZ RTC, with a coin cell for backup power when the unit is unplugged. (When plugged in, the unit uses USB-C, as all things should.) That’s probably overkill for a +/-30 minute display, but we’re not complaining.
The Atmega328PB does not have quite enough outputs to drive all those resistors, so a multiplexing circuit is used to let the 10 available GIPO control current to 24 rays. Everything is fused for safety, and [anneosaur] even includes a temperature sensor on the control board. The resistors are driven by a temperature-compensated PWM signal to keep them from overheating or warming up too slowly, regardless of room temperature. The attention to detail here is as impressive as the aesthetics.
[annenosaur] has even thought of those poor people for whom such a fuzzy clock would never do (be they Swiss or otherwise) — the Paper Sunshine Clock has a lovely “sparkle mode” that turns the rays on and off at random, turning the clock into an art piece. A demo video of that is below. If you find this clock to be a ray of sunshine, everything you need to reproduce it is on GitHub under an MIT or CC4.0 license.
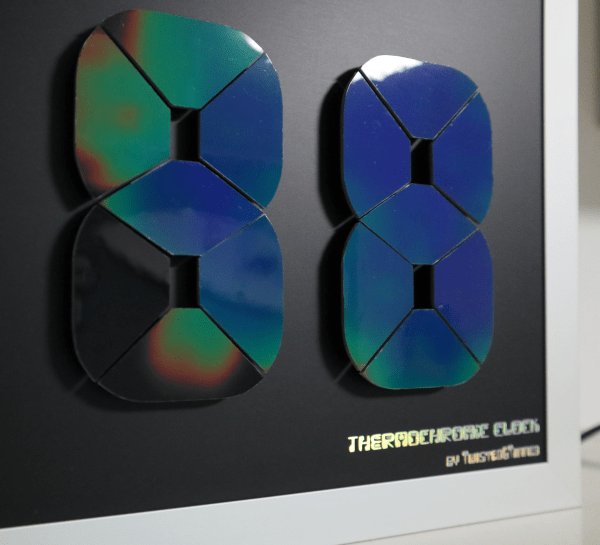
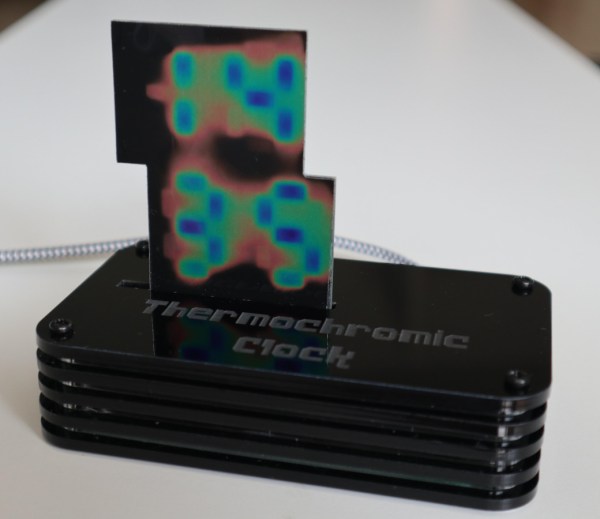
This is not the first thermochromic clock we’ve featured, though the last one was numeric. If you must have minute accuracy in a thermochromic analog clock, we’ve got you covered there, too.
Special thanks to [anneosaur] for submitting the hack. If you’ve seen (or made) a neat clock, let us know! You won’t catch us at a bad time; it’s always clock time at Hackaday.