In the four years since the first Raspberry Pi appeared, there have been many takes on a portable computer based on it. The choice of components is fairly straightforward, there is now a wide selection of suitable keyboards, displays, and battery packs to choose from. You might therefore think that there could be nothing new in the world of the portable Pi, indeed another one might be as mundane as just another PC build.
News reaches us from Japan this morning of [nokton35mm]’s “RasPSION” Pi laptop build (machine translation) inspired by the Psion portable computers of the late 1990s.
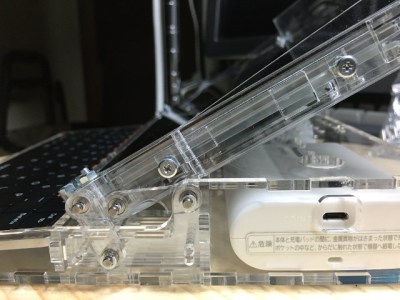
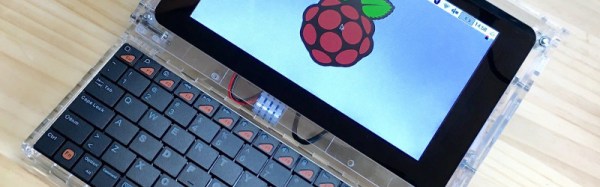
The RasPSION features the Raspberry Pi 7″ display as well as a Bluetooth keyboard, 5V battery pack and the Pi camera. What makes it special is its laser cut case, and in particular its pivoting hinge mechanism. This is the part that takes its inspiration from the Psion machines, and its operation can be seen in the video below the break.
He claims the finished laptop gives him about two hours of battery life, which is no mean feat given that it lacks the sophisticated power management you’ll find in a commercial laptop. We hope that in time we’ll see him posting the details of the build somewhere other than Twitter, as this is a laptop we’d love to know more about.
Continue reading “Beautiful Raspberry Pi Laptop Inspired By Psion”