All-Terrain RC Car Has More Torque Than Your Grandpa’s Wheelchair

20131225_123421

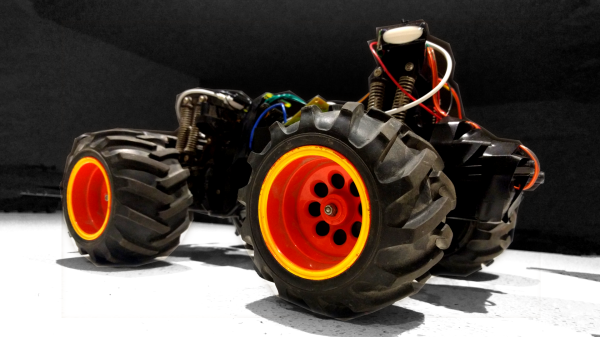
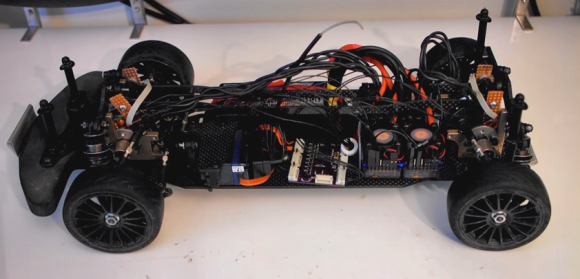
[Charles] and his brother have been members of their school’s FIRST robotics team for many years, and using some of the knowledge they acquired during it, they have put together this awesome all-terrain, super over-powered, RC car — and soon to be robot.

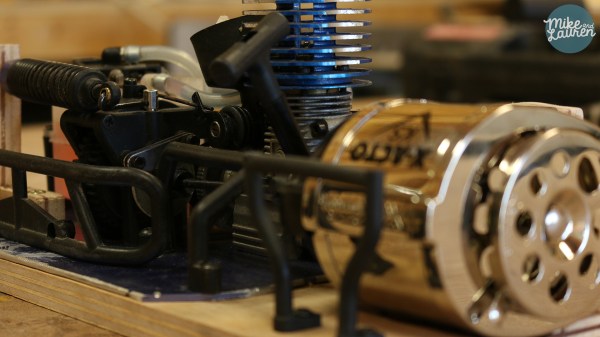
It’s built like a tank using 1″ square steel tubing and custom corner brackets made of 1/8″ thick steel. Heavy duty U-bolts hold the over-sized 5/8″ axles, and everything is driven using #35 roller chain. A large 12V sealed lead acid battery powers two CIMs (FIRST Robotics motor) with the AndyMark CIMple gearbox — these give the car tons of torque, and it can even do wheelies!

The really cool part of this project is the method of remote control. He’s using a regular old Xbox controller that an Arduino Uno listens to through a USB host shield and the original Xbox USB receiver. Simple, but totally effective.

The project is not yet complete, and he’s planning on fully equipping it with lights, a larger battery, a roll-cage, a camera system, and some kind of manipulator tool. Check out the test drive video after the break!

Continue reading “All-Terrain RC Car Has More Torque Than Your Grandpa’s Wheelchair”

Android+Arduino – Face Following RC Car

androidRCcar_01_14

To some of us, hacking an RC Car to simply follow a black line or avoid obstacles is too easy, and we’re sure [Shazin] would agree with that, since he created an RC Car that follows your face!

The first step to this project was to take control of the RC Car, but instead of hijacking the transmitter, [Shazin] decided to control the car directly. This isn’t any high-end RC Car though, so forget about PWM control. Instead, a single IC (RX-2) was found to handle both the RF Receiver and H-Bridges. After a bit of probing, the 4 control lines (forward/back and left/right) were identified and connected to an Arduino.

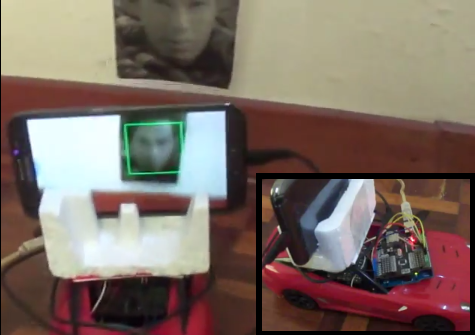
[Shazin] paired the Arduino with a USB Host Shield and connected it up with his Android phone through the ADB (Android Debug Bridge). He then made some modifications to the OpenCV Android Face Detection app to send commands to the Arduino based on ‘where’ the Face is detected; if the face is in the right half of the screen, turn right, if not, turn left and go forward.

This is a really interesting project with a lot of potential; we’re just hoping [Shazin] doesn’t have any evil plans for this device like strapping it to a Tank Drone that locks on to targets!

Continue reading “Android+Arduino – Face Following RC Car”

$13 Homemade RC Blimp

Here’s a great little RC hack you can do with the kids this weekend — make your very own RC Blimp!

First you’ll have to hack apart one of those little 1/64 scale RC cars you can get for a few dollars, and then all you need are a few household supplies, and a helium filled balloon. [Masynmachien] says the total cost of this project can be as little as $13 — depending on where you get your supplies.

So how does it work? Well, an 11″ helium filled party balloon can lift about 10g quite easily — if you strip away the body and chassis of one those RC cars you’ll be well under that weight. The RC cars typically have one small DC motor and a steering actuator, but [Masynmachien] found you can actually connect a second DC motor to the leads for the actuator and it works just fine. Doing this you can create a main prop to drive the blimp, and a secondary tail rotor to steer it. The Instructable uses mostly recycled components, but we’re sure if you had more time you could design and build an even nicer one. When the blimp is properly trimmed it sinks slowly in the air, so the main prop is responsible for keeping it at a certain altitude — this takes a bit of getting used to but it’s an easy way to get around steering in all directions.

Looking for a more advanced project using these little cars? How about building a RC plane with them! Or if you’re feeling ambitious, you can also control them using your computer! Stick around after the break to see it in action!

Continue reading “$13 Homemade RC Blimp”

wifi_car4

A WiFi Controlled RC Car With An IP Camera

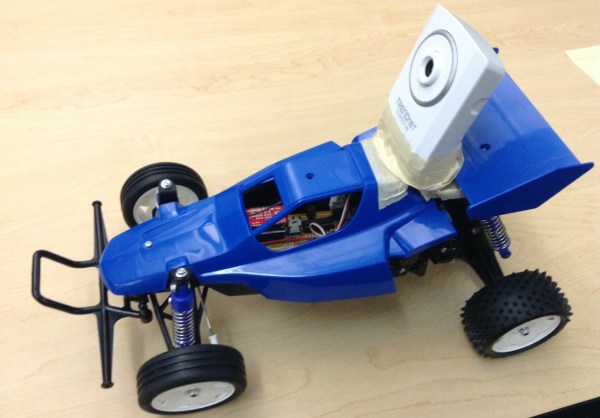
Controlling your car over WiFi is good, but mounting a webcam on it so you can actually see where you’re going is even better. [Michael] goes over how he made his wifi car with some great videos in the post about it.

The car used is a seemingly standard RC unit, which came with a speed controller that was recycled for network use. [Michael] removed the standard radio, but having this controller available kept him from having to engineer an H-bridge circuit. The radio was then replaced with a WiFi module from Sparkfun.

There were a few problems with the IP camera to begin with, as the lag was originally unbearable. After some tricks that would qualify as a good hack in itself, the camera was eventually able to perform on an acceptable level and output data to the FLTK app he used to control everything.  Check out one of his videos below of this car in action. Continue reading “A WiFi Controlled RC Car With An IP Camera”

Coin-op Sega Rally Used To Race RC Cars

Head to head video game action can’t even compare to this use of a coin-op Sega Rally game to race actual RC vehicles. Take a close look at those screens and you’ll see there are no computer graphics, just a feed for a camera on each of the toy cars.

The project was conceived for the Sapo Codebits VI conference in Portugal. The arcade cabinets had their controls connected to an Arduino, but getting video up and running wasn’t nearly as easy. After fruitless attempts to get the original CRTs to work the team ended up replacing them with functioning CRT units of the same size. The cars themselves have two camera, one on top of the vehicle’s cab and one mounted on a boom for a perspective that was above and behind the vehicle. The drivers can switch between either view. The cars were set loose in the room serving as the event’s retro gaming area and players were free to race each other wherever they pleased. Don’t miss the video clip after the break which shows off all of the fun. Continue reading “Coin-op Sega Rally Used To Race RC Cars”

Rebuilding The Electronics In A Remote Control Car

Inspired by the many autonomous rovers such as Curiosity and the self-driving Google car, [Rohit] decided to build his own by taking an off-the-shelf remote control car and adding his own electronics. Unfortunately, he couldn’t find the datasheet for the chip used to receive radio signals and drive the motors, so he ended up building his own electronics and putting them in the car.

[Rohit]’s car – the Thunder Rumbler RC Car – is driven by applying power to two motors. This is an easy system to control, as only two channels are needed to make the car go forward, left, right, or backwards. To drive these two motors, [Rohit] found an SN754410 quadruple half-H bridge driver chip lying in his box of assorted electronic components. Thanks to a helpful instructable, this chip was easily controlled with an Arduino.

That left the problem of sending a wireless signal to the Arduino. [Rohit] accomplished this by relying on an Android phone to provide the remote control.

[Rohit] whipped up a small program running on his desktop that allows him to send ‘L’, ‘R’, ‘U’, or ‘D’ to the Android phone to dictate if the car should go left, right, forward, or reverse. The Android phone receives these commands via the Internet and sends an audio signal through the headphone port. This audio signal is connected to two analog pins of the Arduino. With a little bit of software and a bit of reading up on frequency shift keying, [Rohit] was able to make his car move in any direction.

Even though [Rohit] realized his goal of controlling a remote control car on his own terms, the build is far from done. He plans on adding some ultrasonic sensors and using the Android’s camera for object detection.

programmable-rc-car

How To Control Your Cheap RC Car With A Computer

[Jon] wrote in to tell us about his programmable RC car, and the Howto guide that he’s made. According to him, this project can be constructed with $9 worth of parts plus an Arduino and a small toy car. So around $50 if you’re starting from scratch.

At it’s core, this project is about using the Arduino to allow your computer to send signals to the toy car. For this, [Jon] has included JAVA code that should be able to run on Mac, Linux, and PC operating systems. The Arduino code is also included.

Most small RC cars like those used in this project switch on at full speed or turn off, but this project allows the PC/Arduino to give the car PWM signals to control the speed. As pointed out in the video after the break, this can be a bit jerky at slow speed, but still a neat effect. A decent amount of soldering is required to get this project working, but it may be a good project especially if you have some of the parts already available! Continue reading “How To Control Your Cheap RC Car With A Computer”