Google has patched an Android ADB bug in the May security patch set. If you have a Pixel phone you should already have the patches, and most other major manufacturers should be close behind. Unfortunately, the biggest risk from this patch will be to the vendors who are also the least likely to release timely – or any – security updates.
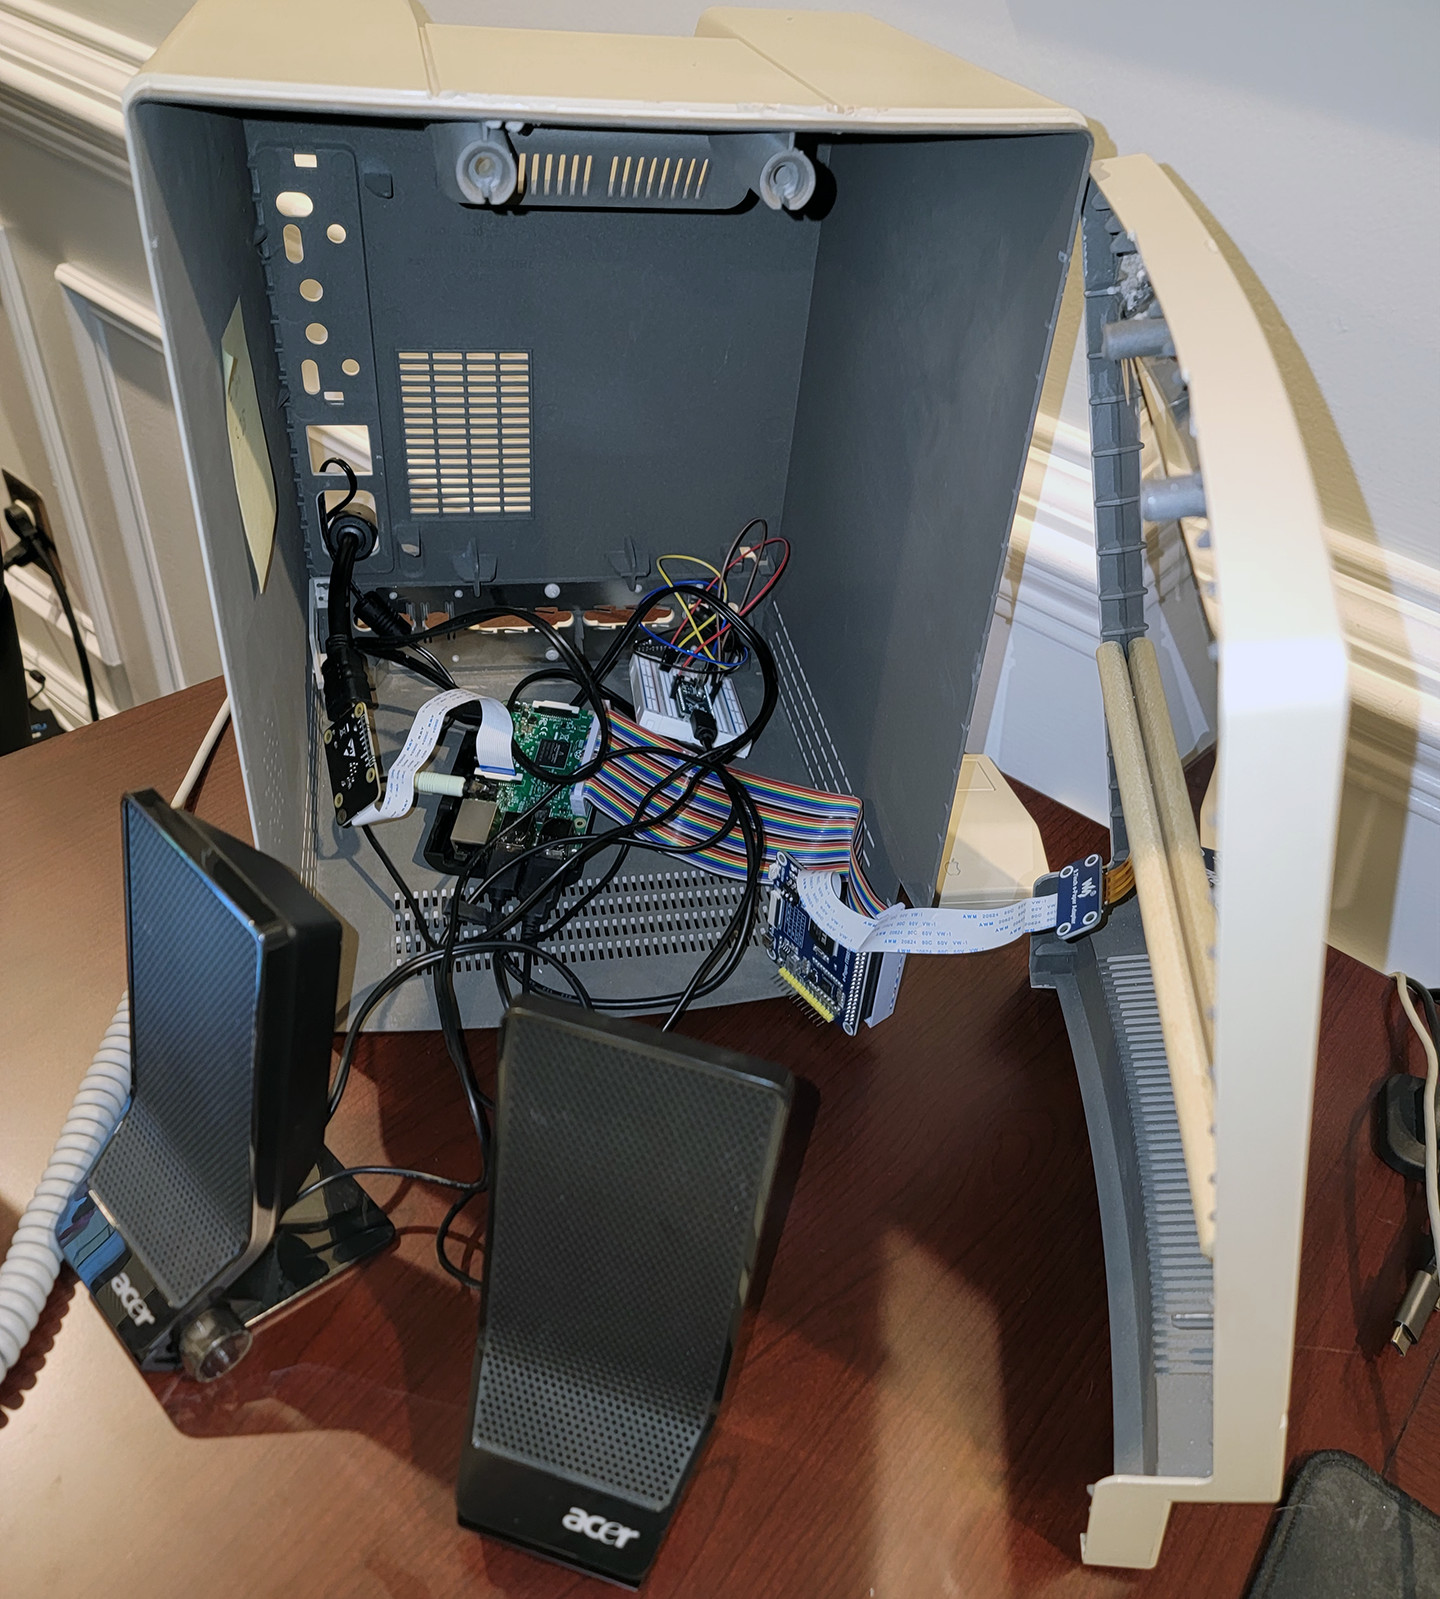
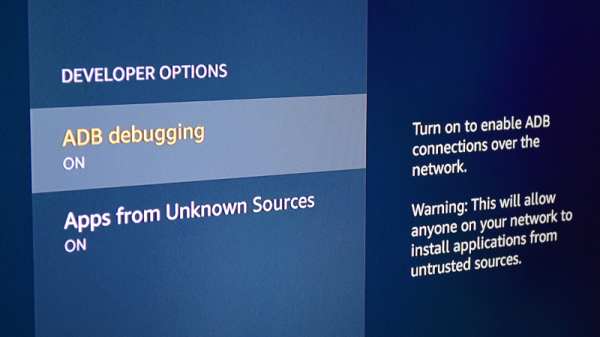
ADB, the Android Debug Bridge, is the main tool for installing apps during development and debugging apps while they’re running. It can also be used to side-load apps from a PC. While most normal users are unlikely to ever enable it, developers typically do and some power users might when jailbreaking a device or setting parameters not exposed in the Android UI. Debugging can be done locally via USB, or optionally over the network. To protect the device, the user must unlock the Android device and authorize each new debug agent.
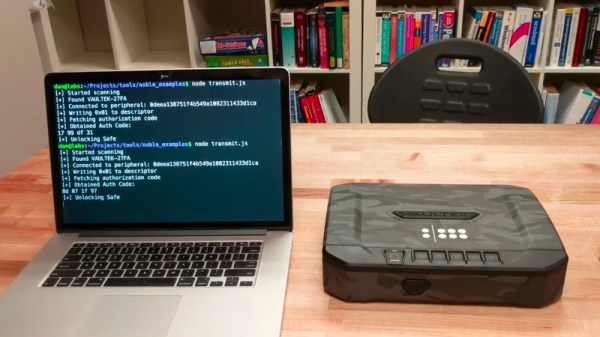
Covered by Risky.Biz, a bug introduced in 2020, and present in every Android release since, allowed bypassing authorization entirely if network debugging was enabled and at least one connection had been made to the ADB service in the past. This happens because ADB compares the certificate of the incoming debug connection with the list of saved certificates. If the certificate type does not match — for instance supplying an Ed25519 certificate instead of a RSA certificate — ADB has been incorrectly handling the error code, and allowing the connection.
In most programming languages, false is considered zero, and true is considered anything not zero. The certificate API returns a 1 for a valid match, a zero for an invalid match, and a negative-one for a type mismatch. Negative one is not zero, so when treated as a boolean value, it becomes true.
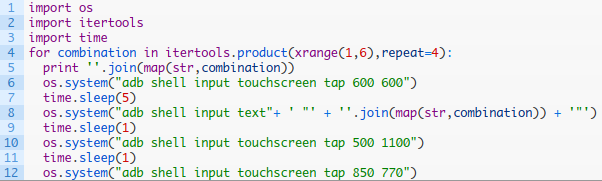
To exploit the bug, ADB must be enabled in wireless mode, and there must be at least one trusted device in the ADB configuration. For the average user this is an unlikely combination, but for developers, the time to update is now.