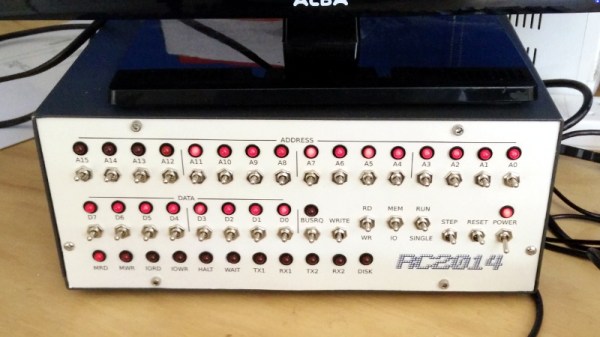
The RC2014 is a slick Z80 computer kit that’s graced these pages a number of times in the past. It allows anyone with a soldering iron and a USB-to-serial adapter to experience the thrill of early 1980s desktop computing. But what if you’re looking for an even more vintage experience? In that case, this custom RC2014 front panel from [James Stanley] might be just the thing to scratch that Altair itch.
The front panel allows you to view and alter the contents of memory with nothing more complex than toggle switches and LEDs, just like on the early microcomputers of the 1970s. If you’ve ever wanted to learn how a computer works on the most basic level, single-stepping through instructions and reading them out in binary is a great way to do it.
[James] says he was inspired to take on this project after reading a 1978 issue of Kilobaud Magazine (as one does), and seeing an article about building a homebrew Z80 machine with a front panel. Obviously he had to modify the approach a bit to mate up with this relatively modern variation on the venerable CPU, but the idea was essentially the same.
His documentation for the project is sure to be fascinating for anyone enamored with those iconic computers of yesteryear, but even readers with more modern sensibilities will likely find some interesting details. The way [James] coaxes the data and various status states out of the kit computer takes up the bulk of the write-up, but afterwards he talks about how he designed the PCB and wraps up with his tips for creating a professional looking front panel.
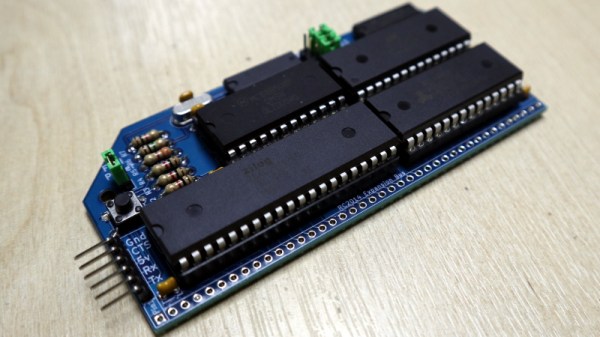
At the end of August I made the trip to Hebden Bridge to give a talk at OSHCamp 2019, a weekend of interesting stuff in the Yorkshire Dales. Instead of a badge, this event gives each attendee an electronic kit provided by a sponsor, and this year’s one was particularly interesting. The RC2014 Micro is the latest iteration of the RC2014 Z80-based retrocomputer, and it’s a single-board computer that strips the RC2014 down to a bare minimum. Time to spend an evening in the hackerspace assembling it, to take a look!
It’s An SBC, But Not As You Know It!
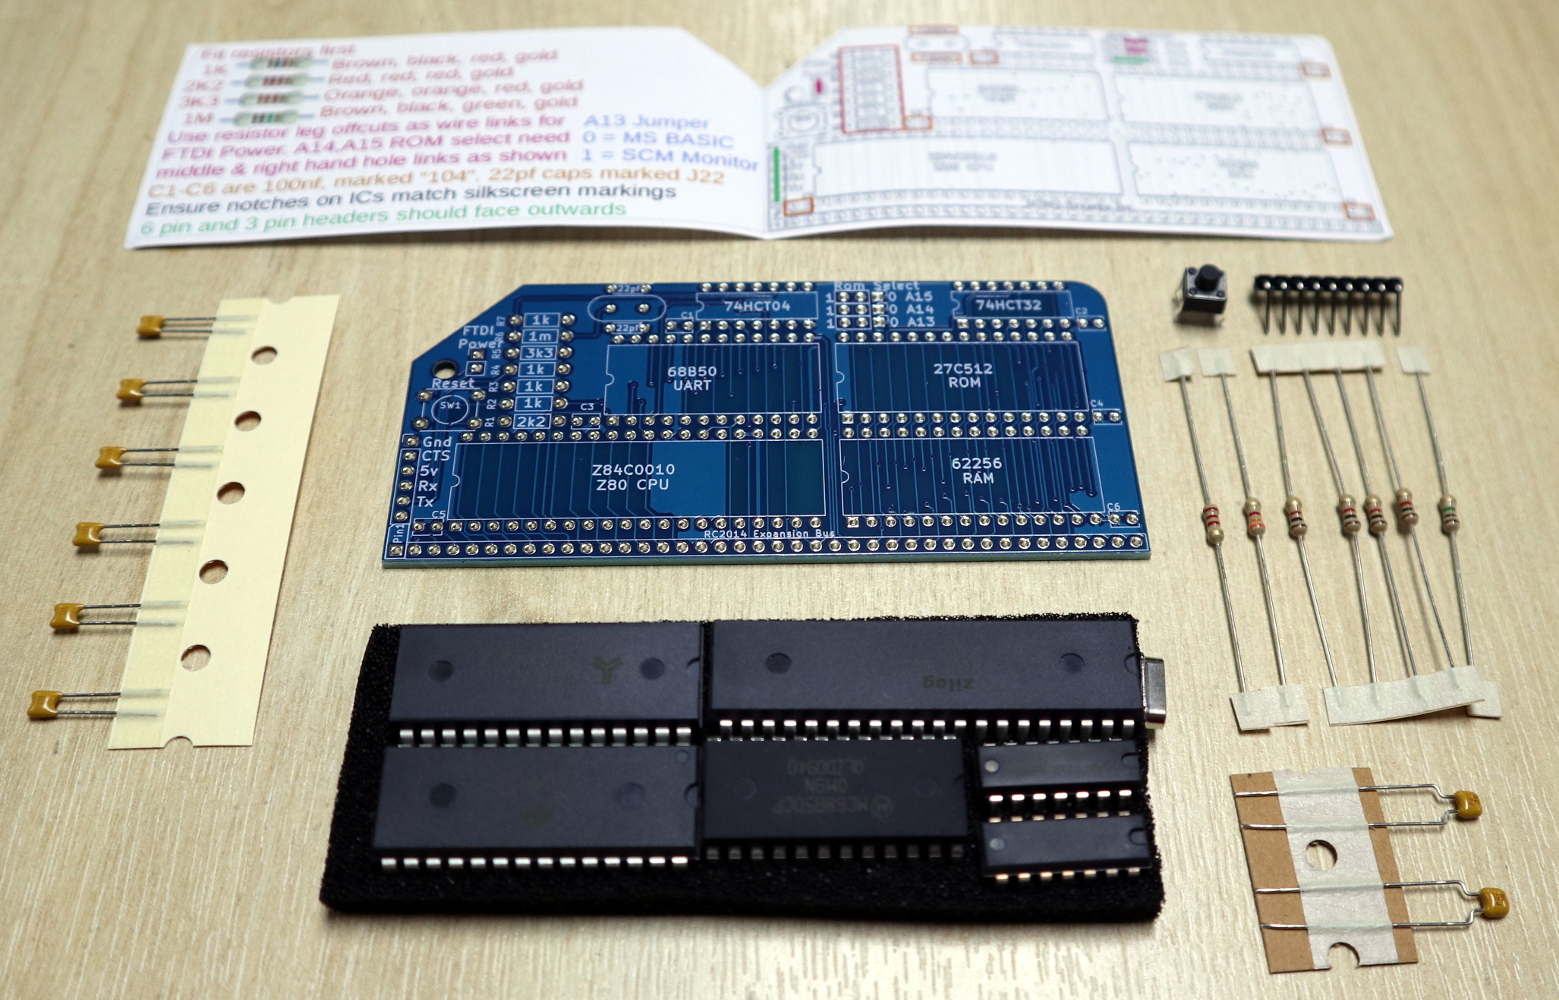
The kit contents
The kit arrives in a very compact heat-sealed anti-static packet, and upon opening was revealed to contain the PCB, a piece of foam carrying the integrated circuits, a few passives, and a very simple getting started and assembly guide. The simplicity of the design becomes obvious from the chip count, there’s the Z80 itself, a 6850 UART, 27C512 ROM, 62256 RAM, 74HCT04 for clock generation, and a 74HCT32 for address decoding. The quick-start is adequate, but there is also a set of more comprehensive online instructions (PDF) available.
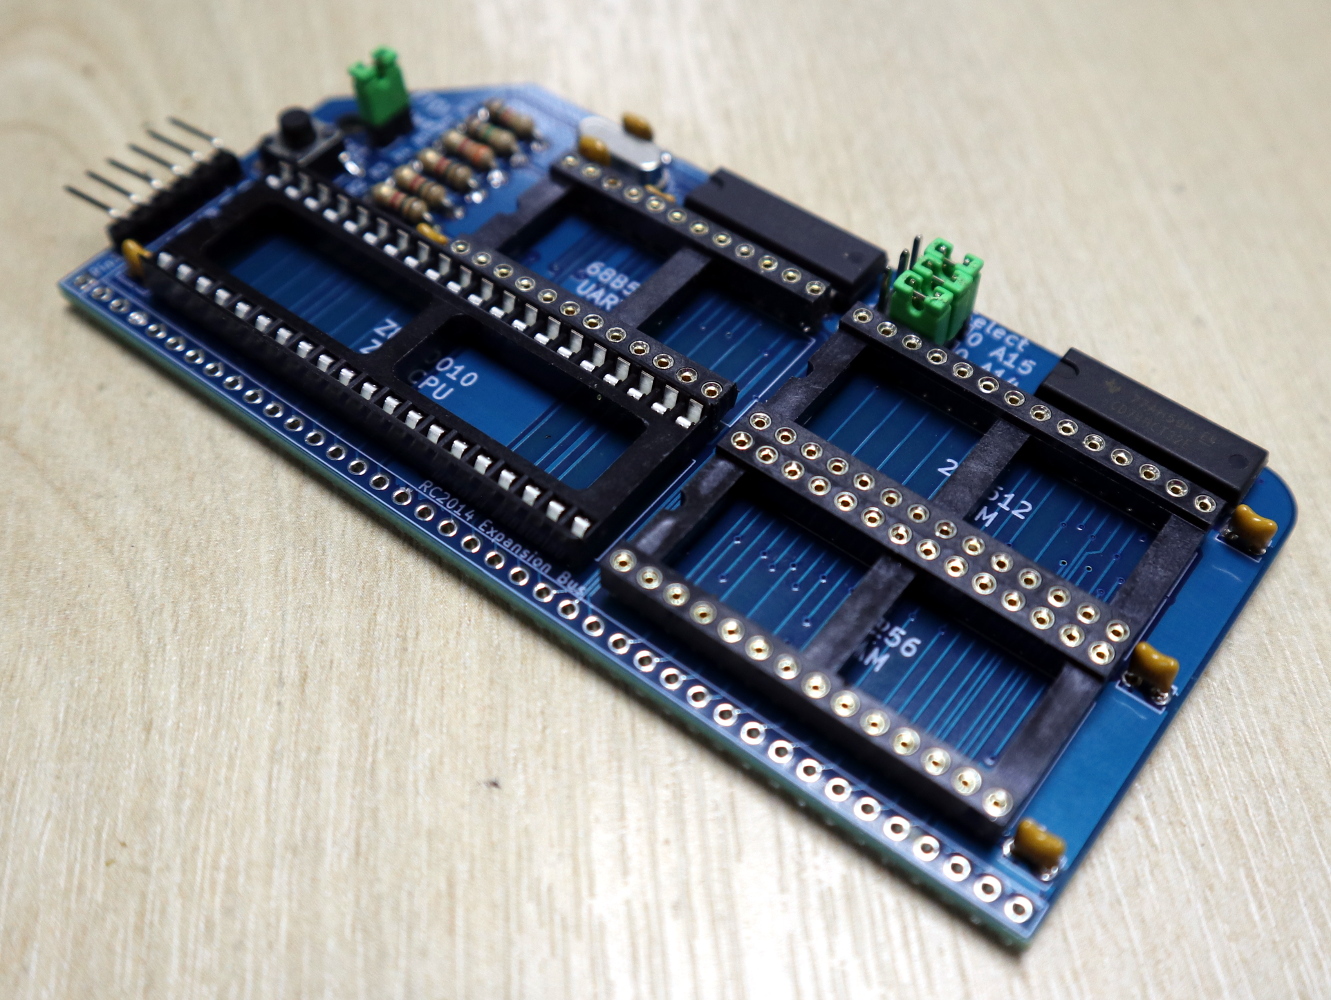
I added chip sockets and jumpers to my kit.
Assembly of a through-hole kit is hardly challenging, though this one is about as densely-packed as it’s possible to make a through-hole kit with DIP integrated circuits. As with most through-hole projects, the order you pick is everything: resistors first, then capacitors, reset button and crystal, followed by integrated circuits.
I’m always a bit shy about soldering ICs directly to a circuit board so I supplemented my kit with sockets and jumpers. The jumpers are used to select an FTDI power source and ROM addresses for Grant Searle’s ROM BASIC distribution or Steve Cousins’ SCM 1.0 machine code monitor, and the kit instructions recommended hard-wiring them with cut-off resistor wires. There was no row of pins for the expansion bus because this kit was supplied without the backplane that’s a feature of the larger RC2014 kits, but it did have a set of right-angle pins for an FTDI serial cable.
Your Arduino Doesn’t Have A Development Environment On Board!
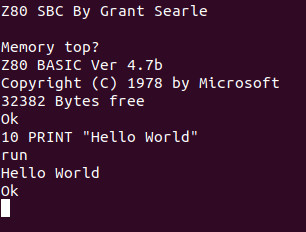
Having assembled my RC2014 Mini and given it a visual inspection it was time to power it up and see whether it worked. Installing the jumper for FTDI power, I attached my serial cable and plugged it into a USB port.
A really nice touch is that the Micro has the colours for the serial cable wires on the reverse side of the PCB, taking away the worry of getting it the wrong way round. A quick screen /dev/ttyUSB0 115200 to get a serial terminal from a bash prompt, hit the reset button, and I was rewarded with a BASIC interpreter. My RC2014 Micro worked first time, and I could straight away give it BASIC commands such as PRINT "Hello World!" and be rewarded with the expected output.
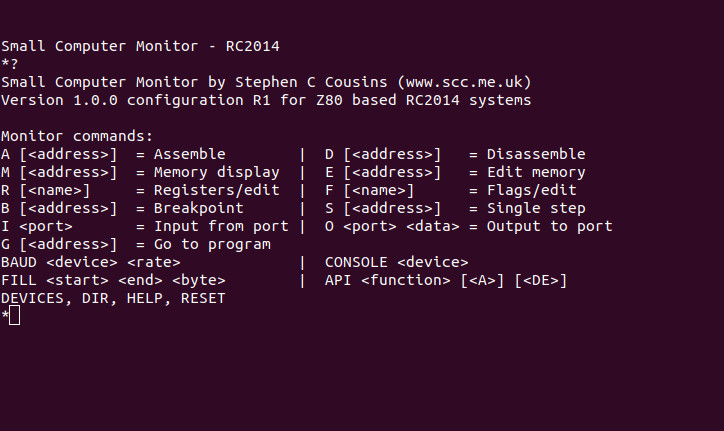
The SCM ROM monitor.
So I’ve built a little Z80 single board computer, and with considerably less work than that required for the fully modular version of the RC2014. Its creator Spencer tells me that the Micro was originally designed as a bargain-basement RC2014 as a multibuy for workshops and similar activities, being very similar to his RC2014 mini board but without provision for a Pi Zero terminal and a few other components. It lacks the extra hardware required for a more comprehensive operating system such as CP/M, so I’m left with about as minimal an 8-bit computer as it’s possible to build using parts available in 2019. My question then is this: What can I do with it?
So. What Can I Do With An 8-bit SBC?
My first computer was a Sinclair ZX81, how could it possibly compare this small kit that was a giveaway at a conference? Although the Sinclair included a black-and-white TV display interface, tape backup interface, and keyboard, the core computing power was not too far different in its abilities from this RC2014 Micro — after all, it’s the same processor chip. It was the platform that introduced a much younger me to computing, and straight away I devoured Sinclair BASIC and then went on to write machine code on it. It became a general-purpose calculation and computing scratchpad for repetitive homework due to the ease of BASIC programming, and with my Maplin 8255 I/O port card I was able to use it in the way a modern tech-aware kid might use an Arduino.
The RC2014 Micro is well placed to fill all of those functions as a BASIC and machine code learning platform on which to get down to the hardware in a way you simply can’t on most modern computers, and though the Arduino represents a far more sensible choice for hardware interfacing there is also an RC2014 backplane and I/O board available for the Micro’s expansion bus should you wish to have a go. Will I use it for these things? It’s certainly much more convenient than its full-sized sibling, so it’s quite likely I’ll be getting my hands dirty with a little bit of Z80 code. It’s astounding how much you can forget in 35 years!
The RC2014 Micro can be bought from Spencer’s Tindie store, with substantial bulk discounts for those workshop customers. If you want the full retrocomputer experience it’s a good choice as it provides about as simple a way into Z80 hardware and software as possible. The cost of simplicity comes in having no non-volatile storage and in lacking the hardware to run CP/M, but it has to be borne in mind that it’s the bottom of the RC2014 range. For comparison you can read our review of the original RC2014, over which we’d say the chief advantage of the Micro is its relative ease of construction.
Of the early crop of personal computers that made their way to market before IBM and Apple came to dominate it, few machines achieved the iconic status that the Sinclair ZX80 did.
Perhaps it was its unusual and appealing design style, or maybe it had more to do with its affordability. Regardless, [Sir Clive]’s little machine sold north of 100,000 units and earned a place in both computing history and the hearts of early adopters.
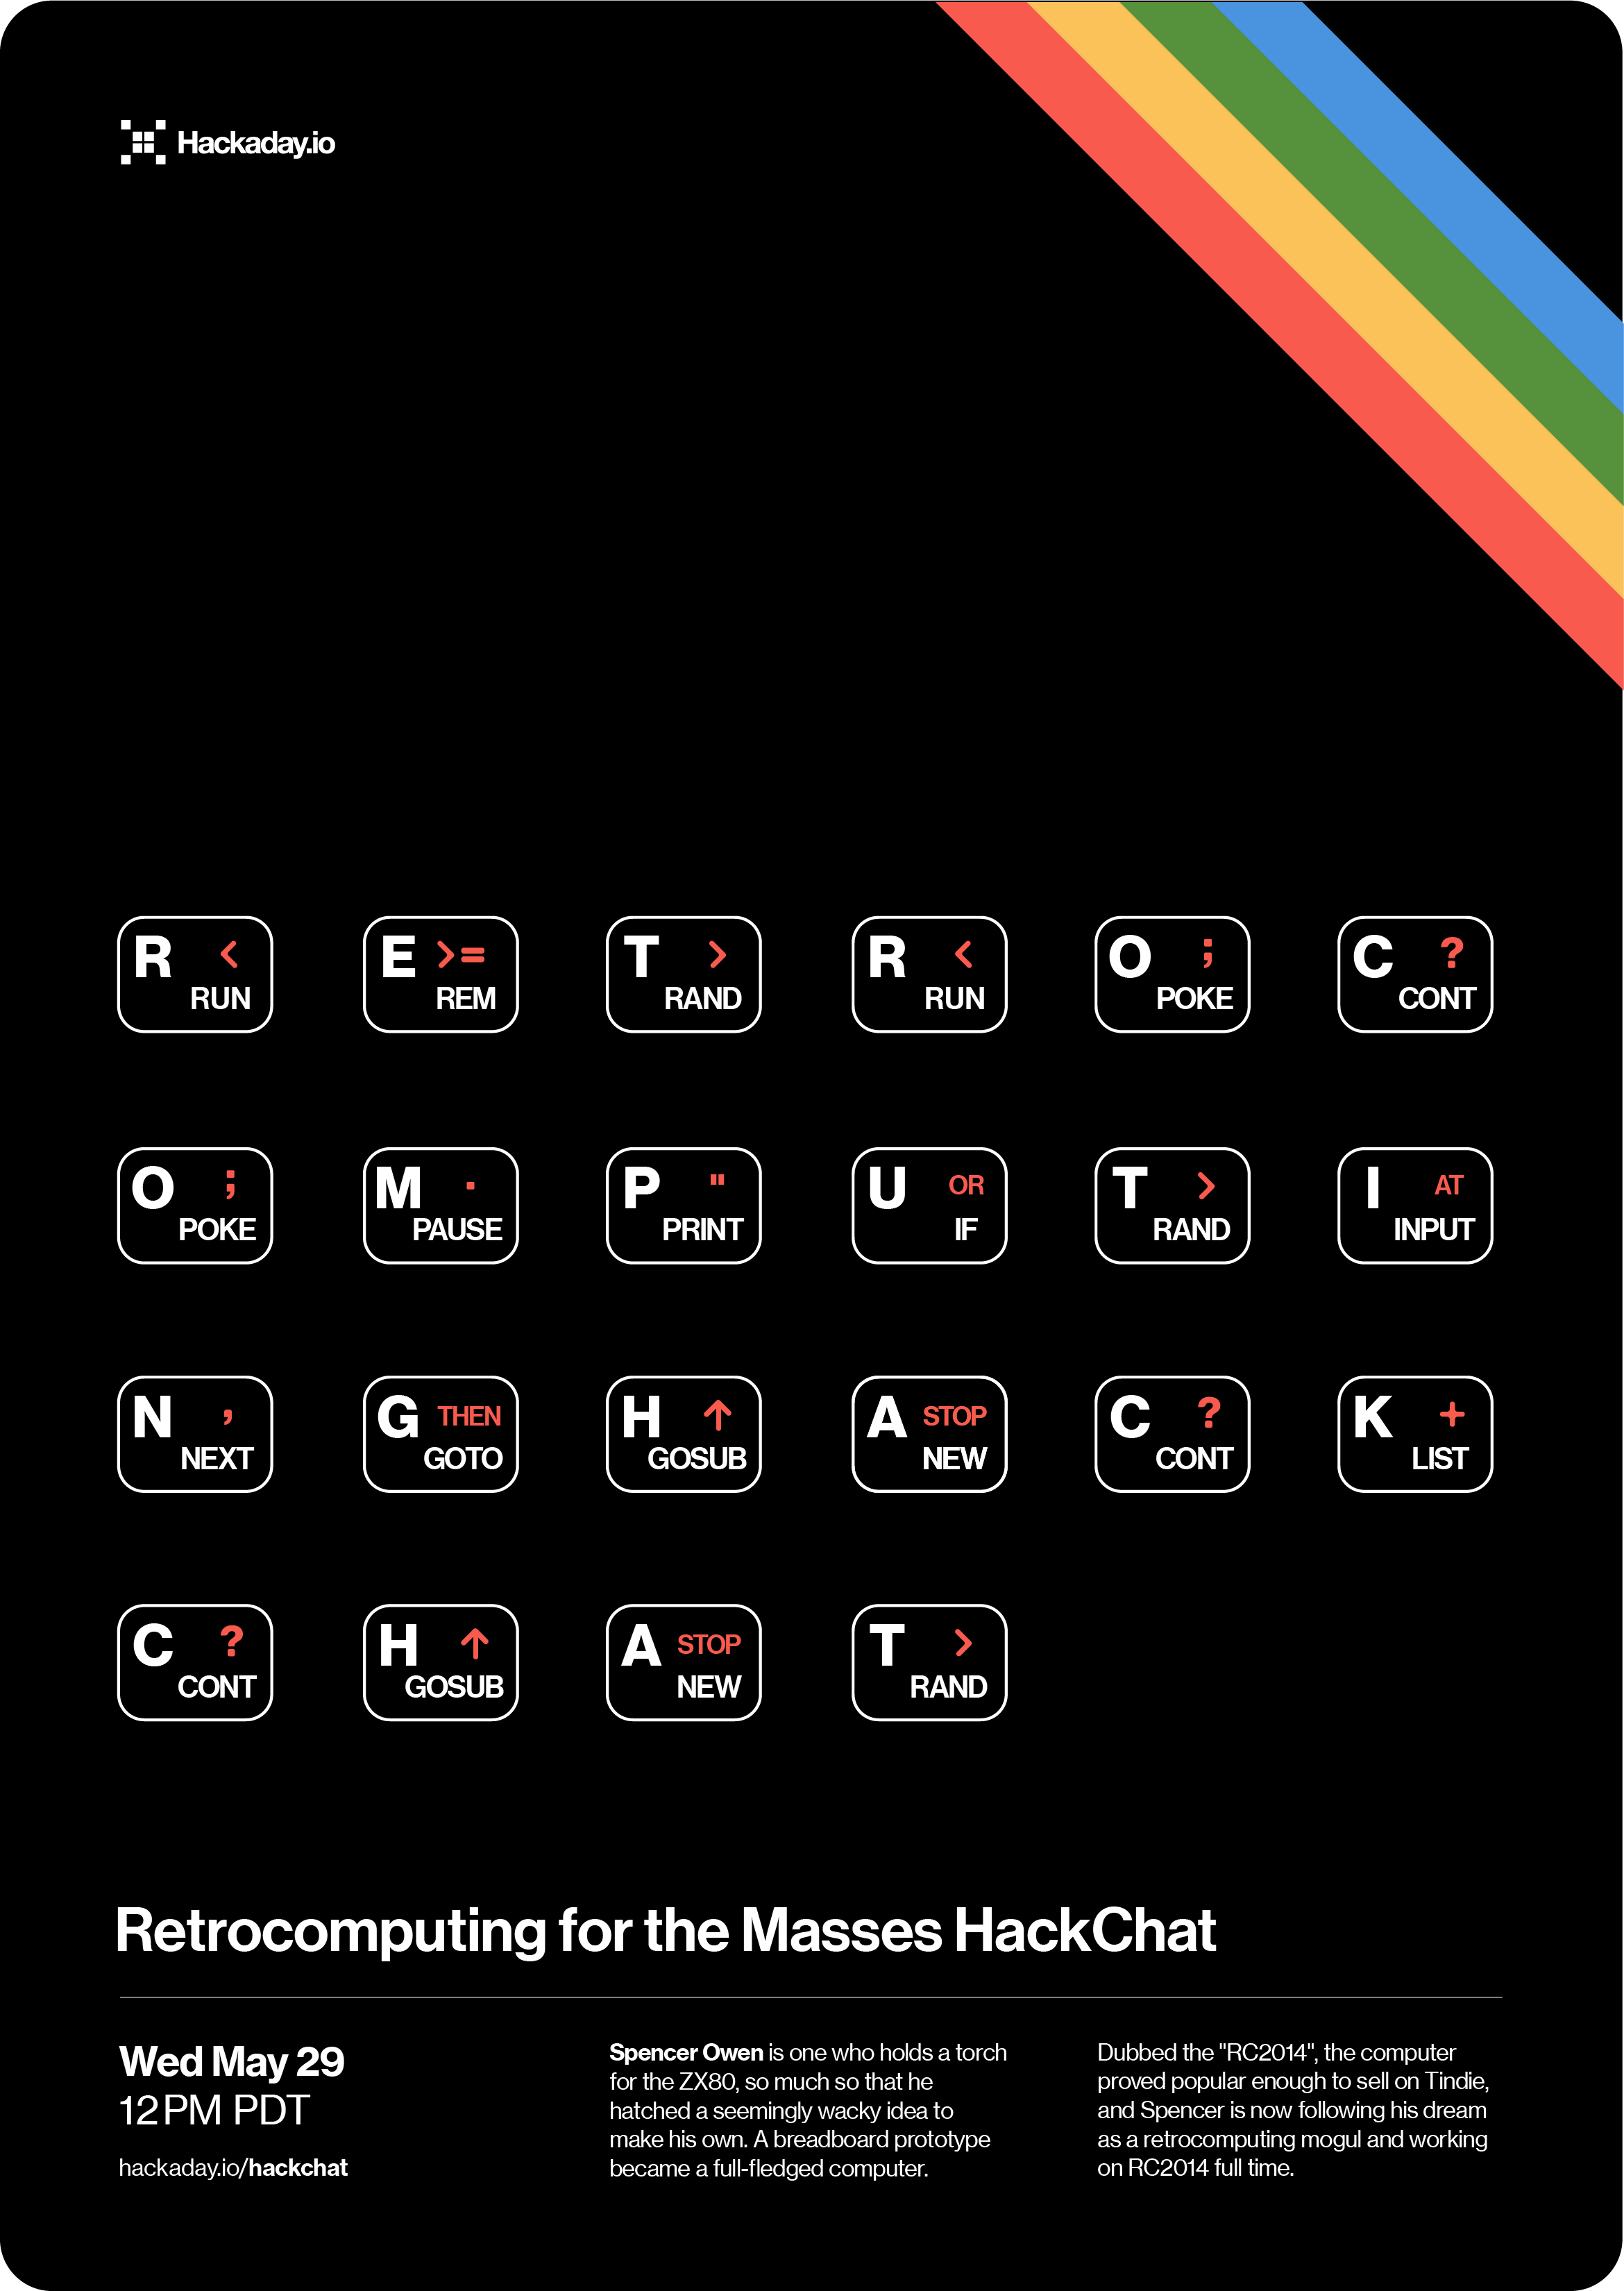
Spencer Owen is one who still holds a torch for the ZX80, so much so that in 2013, he hatched a seemingly wacky idea to make his own. A breadboard prototype of the Z80 machine slowly came to life over Christmas 2013, one thing led to another, and the “RC2014” was born.
The RC2014 proved popular enough to sell on Tindie, and Spencer is now following his dream as a retrocomputing mogul and working on RC2014 full time. He’ll be joining us to discuss the RC2014, how it came to be, and how selling computing nostalgia can be more than just a dream.
Click that speech bubble to the right, and you’ll be taken directly to the Hack Chat group on Hackaday.io. You don’t have to wait until Wednesday; join whenever you want and you can see what the community is talking about.
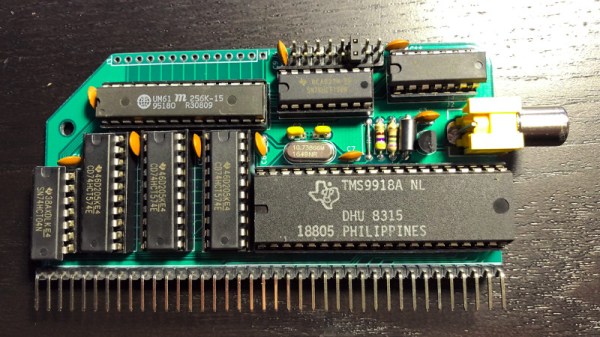
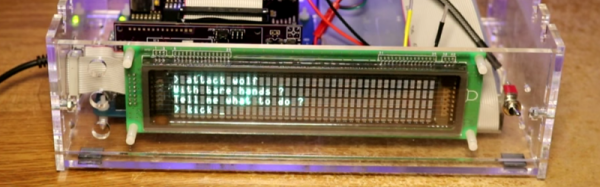
One of the outliers in the home computer wars of the early 1980s was the Texas Instruments TI99/4A. It may not have had the games library of its rivals and its TMS9900 processor may not have set the world on fire with its registers-in-RAM architecture, but its range of support chips included one whose derivatives would go on to delight subsequent generations. If you had an MSX or one of the 8 or 16-bit Sega consoles, the TMS9918A graphics chip provided the architecture that sat behind Sonic in his adventures.
A few decades later, there is still significant interest in this classic chip. [J.B. Langston] has an RC2014 retrocomputer, and wishing to play MSX demos upon it, has created a TMS9918A-based graphics card for the RC2014 bus. The success of the board hinges upon a circuit showing how to interface the 9918A to SRAM, and since it is mapped to the same ports as its MSX equivalent it should in theory be compatible with Z80 demos written for that platform. He’s already achieved some success with that aim, as can be demonstrated by the video we’ve placed below the break of the Bold MSX demo running on an RC2014.
Classic Z80 computers tend to run CP/M. If you’re a purist you’ll be happy with that because that’s certainly what most serious Z80 computers ran back in the day. However, for actual use, CP/M does feel dated these days. Linux is more comfortable but isn’t likely to run on a Z80. Or is it? Linux borrows from Unix and back in the 1980s [Doug Braun] wrote a Unix-like OS for the Z80 called UZI. There have been lots of forks of it over the years, and a project called FuzixOS aims to make a useful Z80 Unix-like OS.
Of course, 1980 Unix was a lot different from modern-day Linux, but it is still closer to a modern system than CP/M. Fuzix also adds several modern features like 30 character file names and up-to-date APIs. The kernel isn’t just for the Z80, by the way. It can target a variety of older processors including the 6502, the 6809, the 8086, and others. As you might expect, the system can fit in a pretty small system.
The video below shows [Scott Baker’s] RC2014 computer running Fuzix. You’ll see it looks a lot like a Linux system, although that analogy only goes so far.
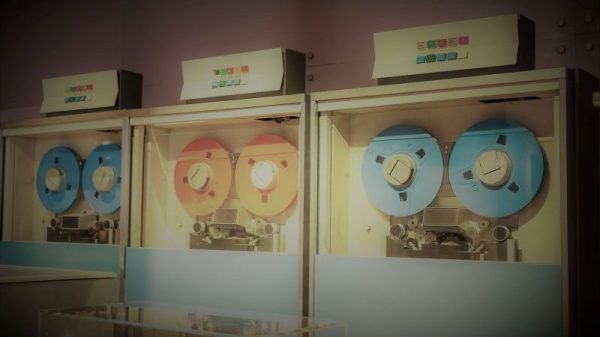
For people under a certain age, the 8 inch floppy disk is a historical curiosity. They might just have owned a PC that had a 5.25 inch disk drive, but the image conjured by the phrase “floppy disk” will be the hard blue plastic of the once ubiquitous 3.5 inch disk. Even today, years after floppies shuffled off this mortal coil, we still see the 3.5 inch disk as the save icon in so many of our software packages.
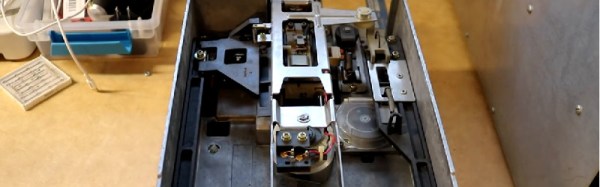
For retro computing enthusiasts though, there is an attraction to the original floppy from the 1970s. Mass storage for microcomputers can hardly come in a more retro format. [Scott M. Baker] evidently thinks so, for he has bought a pair of Qume 8 inch floppy drives, and interfaced them to his CPM-running RC2014 Z80-based retrocomputer.
He goes into detail on the process of selecting a drive as there are several variants of the format, and interfacing the 50 pin Shuggart connector on these drives with the more recent 34 pin connector. To aid in this last endeavour he’s created an interface PCB which he promises to share on OSH Park.
The article provides an interesting insight into the control signals used by floppy drives, as well as the unexpected power requirements of an 8 inch drive. They need mains AC, 24VDC, and 5VDC, so for the last two he had to produce his own power supply.
He’s presented the system in a video which we’ve put below the break. Very much worth watching if you’ve never seen one of these monsters before, it finishes with a two-drive RC2014 copying files between drives.
As hackers and makers we are surrounded by accessible computing in an astonishing diversity. From tiny microcontrollers to multi-processor powerhouses, they have become the universal tool of our art. If you consider their architecture though you come to a surprising realisation. It is rare these days to interface directly to a microprocessor bus. Microcontrollers and systems-on-chip have all the functions that were once separate peripherals integrated into their packages, and though larger machines such as your laptop or server have their processor bus exposed you will never touch them as they head into your motherboard’s chipset.
A few decades ago this was definitely not the case. A typical 8-bit microprocessor of the 1970s had an 8-bit data bus, a 16-bit address bus, and a couple of request lines to indicate whether it wanted to talk to memory or an I/O port. Every peripheral you connected to it had to have some logic to decode its address and select it when you wanted to use it, and all shared the processor’s bus. This was how those of us whose first computers were the 8-bit machines of the late 1970s and early 1980s learned the craft of computer hardware, and in a world of Arduino and Raspberry Pi this now seems a lost art.
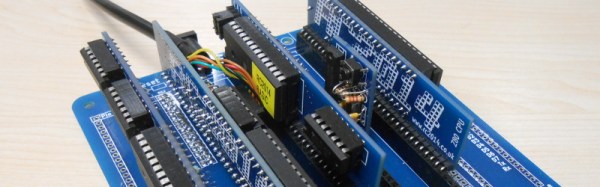
The subject of today’s review then provides a rare opportunity for the curious hardware hacker to get to grips with a traditional microprocessor bus. The RC2014 is a modular 8-bit computer in which daughter cards containing RAM, ROM, serial interface, clock, and Z80 processor are ranged on a backplane board, allowing complete understanding of and access to the workings of each part of the system. It comes with a ROM BASIC, and interfaces to a host computer through a serial port. There is also an ever-expanding range of further peripheral cards, including ones for digital I/O, LED matrixes, blinkenlights, a Raspberry Pi Zero for use as a VDU, and a small keyboard.
 The front panel allows you to view and alter the contents of memory with nothing more complex than toggle switches and LEDs, just like on the early microcomputers of the 1970s. If you’ve ever wanted to learn how a computer works on the most basic level, single-stepping through instructions and reading them out in binary is a great way to do it.