When you run into old hardware you cannot restore, what do you do? Toss it? Sell it for parts? If you’re [TME Retro], you hide a high-end mini PC inside an Amstrad-shaped sleeper build.
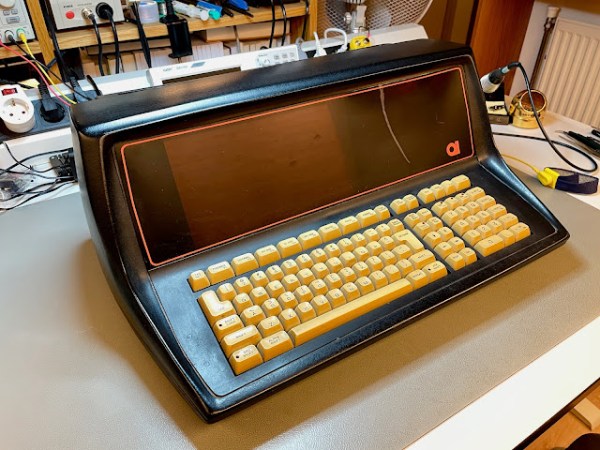
The donor laptop is an Amstrad ALT-286 with glorious 80s styling that [TME Retro] tried to save in a previous video. Even with help from the community there was no saving this unit, so we can put away the pitchforks and torches. This restomod is perhaps the best afterlife the old Amstrad could have hoped for.
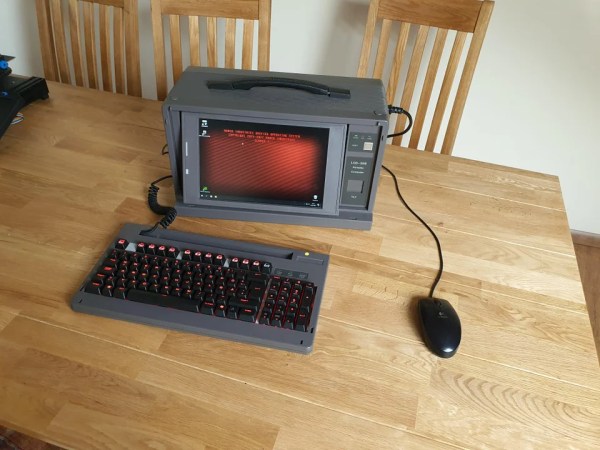
At first [TME Retro] was going to try and fit an iPad Pro screen, but it turned out those don’t have the driver-board ecosystem the smaller iPads do, so he went with a non-retina LCD panel from Amazon instead. Shoving an LCD where an LCD used to live and sticking an expensive mini-PC inside a bulky 80s case is not the most inspiring of hacks, but that’s not all [TME Retro] did.