The trick to producing great 3D printing time-lapse animations is to ensure that the extruder has moved out of the frame each time a photo is taken — which usually requires OctoPrint to be controlling both the camera and printer. But [NirL] managed to bodge up a system to get the same result with a spare limit switch, a resistor, his mobile phone, and an old set of earbuds. Not bad for some spare parts and a little extra G-Code.
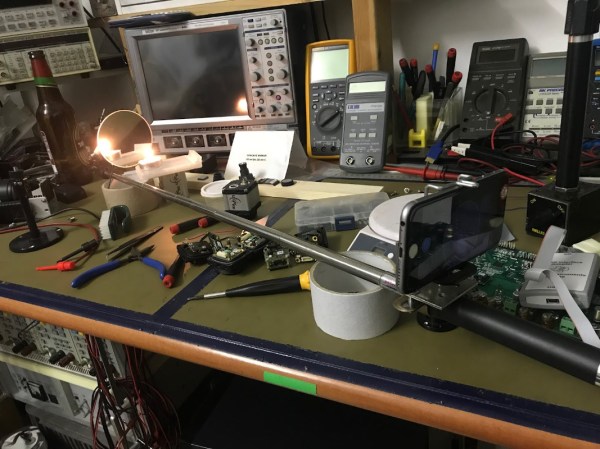
Inserting custom G-Code to park the print head at regular intervals takes care of standardizing the printer’s movements; there’s even a post-processing extension in Cura that makes this easy. As for triggering the camera, [NirL] was inspired by the remote shutter button on a selfie stick. By positioning a physical switch in such a way that the print head pushes it every time it (briefly) parks, a photo gets taken for every layer. Essentially the same thing Octolapse does, just with fewer parts.
To create the DIY remote shutter button, [NirL] used a spare limit switch, resistor, and cannibalized an old set of earbuds for the cable and 4-conductor 3.5 mm audio plug. Most phones and camera apps trigger the shutter when they receive a Vol+ signal through the audio plug, which is done by connecting MIC and GND through a 240 Ohm resistor.
In this way a photo is snapped for every layer, giving [NirL] all that is needed to assemble a smooth animation. Sure, it ties up a mobile phone for the duration of the print, but for just a few spare parts it does the job. You can see the project in action in the video, embedded just under the page break.
As mentioned, the usual way to implement effortless time-lapses is by using the Octolapse plugin for OctoPrint, which creates silky smooth animations without the typical blur of time-lapses.
Continue reading “Making 3D Print Time-lapses With Old Earphones And A Few Spare Parts”