Embedded Dashboard Definitely Displays Data

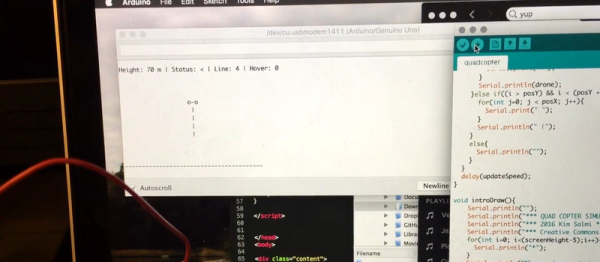
Oftentimes, we’ll find ourselves using an PC attached to a project for serial debugging. Other times, we’ll be squinting at a status LED trying to remember the flash code we invented. This embedded dashboard from [hgrodriguez] aims to land somewhere in the middle.

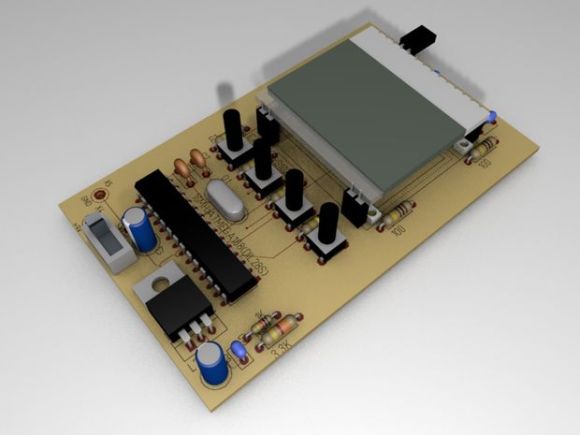
The dashboard features LEDs, several 5×7 matrix displays, and will also mount a small OLED display as well. Everything onboard is driven by an ItsyBitsy board, featuring an Atmega32u4 microcontroller. Data can be fed to the ItsyBitsy via UART, SPI, or eventually, I2C as well.

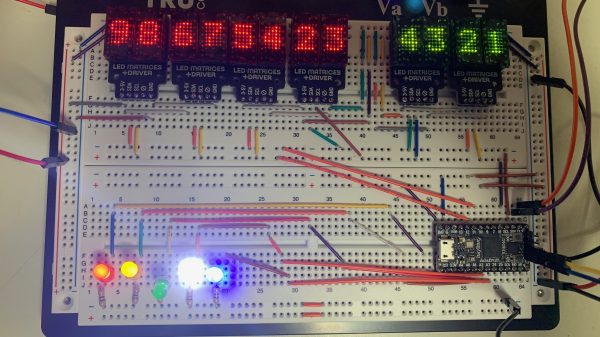
With the ItsyBitsy handling actually driving the various displays, your project only need send out debug data over one of the listed interfaces. The ItsyBitsy will then display your byte values or word values on the matrix displays, flash the LEDs as required, and so on.

The result is a useful little console that can show you what’s going on in the brain of your microcontroller project. It’s no substitute for a full serial terminal, but it could definitely come in handy when you need to get eyes on a few variables in RAM!

Flash And Debug ESP8266 Boards On Android

Have an ESP8266 development board such as the NodeMCU or Wemos D1? You’re currently reading Hackaday, so probably. Got an Android device kicking around? Also seems fairly likely. In that case, you should check out ESP8266 Loader by [Bluino Electronics]. This recently released application lets you not only flash new binaries to any ESP8266 board using the FTDI, PL2303, CH34X and CP210X USB chipsets, but also offers a serial monitor for debugging on the go.

You’ll need a USB OTG cable to get your ESP board jacked in to your Android device, but you don’t need root or even to fiddle with the development settings. Here at the Hackaday R&D Dungeon we had somewhat mixed success getting a random selection of Android devices to work fully; all of the ones tried could at least open the serial monitor and read what a pre-programmed ESP was saying, but not all of them could successfully program a board.

Even on the devices where programming worked, it was slow. Just a basic LED blinking Sketch took long enough to write to our test Wemos D1 Mini that we contemplated getting a snack. But still, it shows a lot of promise for managing devices in the field, especially if you don’t have over the air update enabled in your code.

We especially liked that ESP8266 Loader helpfully downloaded a bunch of example binaries, many of which could be of practical use. There are programs for toggling the different GPIO pins on the board, creating Wi-Fi access points, and even a basic web server. With these in hand, you could actually do some testing and diagnostic work right from your mobile device.

This isn’t the first time we’ve seen an ESP8266 team up with a mobile device, but generally speaking, the magic is done over WiFi or Bluetooth.

Arduino Quadcopter Game Uses Serial Monitor

Every new generation of computers repeats the techniques used by the earlier generations. [Kim Salmi] created an ASCII-based quadcopter simulation game using an Arduino that displays on the Arduino serial monitor. The modern twist is the controller: an accelerometer supplements the joystick for immersive play. And of course there are flashing LEDs.

An Arduino Uno provides the processing power and drives the serial monitor. A joystick and a Hitachi H48C accelerometer are mounted on a breadboard and wired to the Uno. The tilting of the accelerometer controls the height and left-right motion of the quadcopter on the screen. The joystick sets the the ‘copter in hover mode and lowers a ‘rescue’ line. Another LED warns when the maximum height, the vertical limit of the screen, is reached. The joystick also selects one of the three quadcopters, which have different performance characteristics.

There’s a video after the break. [Kim] provides the source code so  you use it as a reference for handling the joystick and accelerometer inputs.

More proof that what is old is new.  Continue reading “Arduino Quadcopter Game Uses Serial Monitor”

Serial Monitor Without A PC

serial01

A serial monitor is an easy way to debug your projects. As we step through code, it’s nice to see a “Hey! I’m working, moving to next thing!” across the monitor, and not so nice to see nothing – the result of a bug that needs debugging. This has always meant needing a PC loaded with your favorite serial terminal program close at hand.

Most of the time this is not an issue, because the PC is used to compile the code and program the project at hand. But what if you’re in the field, with a mission of fixing a headless system, and in need a serial monitor? Why lug around your PC when you can make your own External Serial Monitor!

[ARPix] built this fully functional serial monitor based on an Atmega328 and a 102 x 64 LCD display. While it doesn’t have a keyboard port like this microcontroller based serial terminal, tact switches allow access to the user interface to start and stop the reading and set the baud rate. The Atmega328 has 2K of SRAM, which is needed for the project. Apparently, 1K was not enough to handle all the data. All code, schematics and a very well done parts layout are available, making this sure to be your next weekend project!