[Igor] made a VU meter with LEDs using 8 LEDs and 8 comparators. This is a fast way to get one of 8 bits to indicate an input voltage, but that’s only the equivalent of a 3-bit analog to digital converter (ADC). To get more bits, you have to use a smarter technique, such as successive approximation. He shows a chip that uses that technique internally and then shows how you can make one without using the chip.
The idea is simple. You essentially build a specialized counter and use it to generate a voltage that will perform a binary search on an unknown input signal. For example, assuming a 5 V reference, you will guess 2.5 V first. If the voltage is lower, your next guess will be 1.25 V. If 2.5 was the low voltage, your next guess will be 3.75 V.
The process repeats until you get all the bits. You can do this with a microcontroller or, as [Igor] shows, with a shift register quite simply. Of course, you can also buy the whole function on a chip like the one he shows at the start of the video. The downside, of course, is the converter is relatively slow, requiring some amount of time for each bit. The input voltage also needs to stay stable over the conversion period. That’s not always a problem, of course.
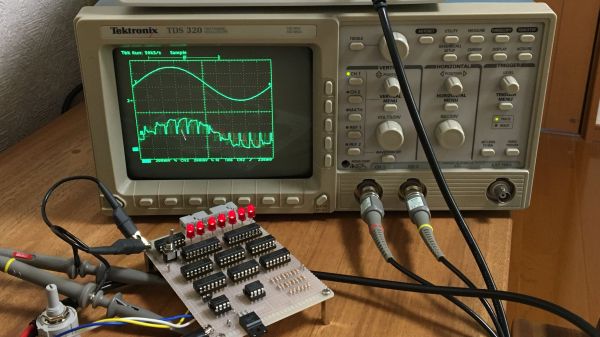
If that explanation didn’t make sense, watch the video. An oscilloscope trace is often worth at least 1,000 words.
There are, of course, many ways to do such a conversion. Of course, when you start trying to really figure out how many bits of resolution you have or need, it gets tricky pretty fast.
Continue reading “Approximating An ADC With Successive Approximation”