[] decided to build his own thermocouples from bare wire. [Illya] is interested in measuring the temperature of Liquid Nitrogen and for this he needed T-type probes. While you can buy these for about 20 bucks, he felt this was too expensive for what is essentially two pieces of wire and decided to build his own.
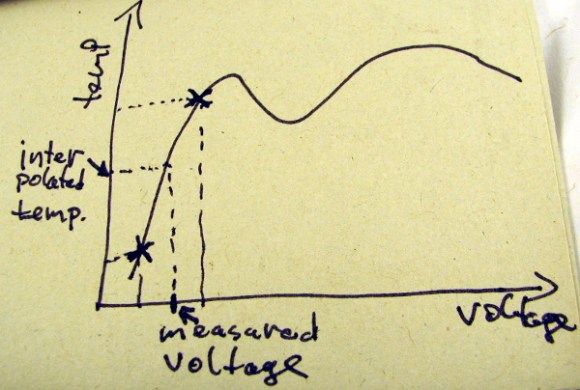
Thermocouples use the Seebeck effect, when a piece of metal is hot at one end, and cold at the other the electrons in the hot end will be more energetic and migrate towards the cold end, creating a voltage. While this migration occurs in single metal, it can’t easily be measured (as the voltage will be the same as the measurement point). For that reason thermocouples use two metals in which the migration occurs at different rates. This difference creates an overall migration in one direction, and a voltage can be measured which correlates to the temperature where the metals meet. Thermocouples are extremely common and have many applications.
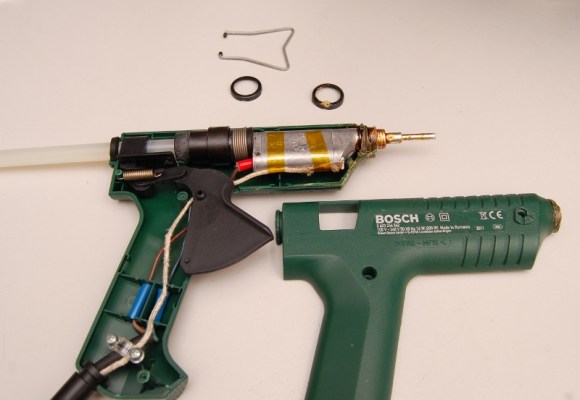
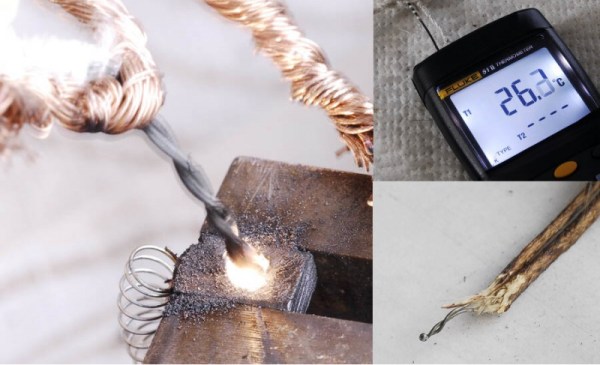
In order to make his thermocouples [Illya] needed to weld the two metals together, and knocked together a quick welding rig using a PC power supply and graphite electrode from a powertool. The graphite electrode is important as it prevents oxidization during the welding process.
The process worked well, and [Illya] was able to make both K and T-type thermocouples and successfully measure temperatures down to -190 degrees C. Awesome work [Illya]!