Original Controller Ports In Custom Case Means Retro Gaming In Style

Some careful measuring and a little extra effort can be all that separates what looks like a hack job from a slick end product, and that is apparent in [Eric Sorensen]’s classy retrogaming rig, complete with ports for original console controllers.

Neatly housing these components in a case makes all the difference.

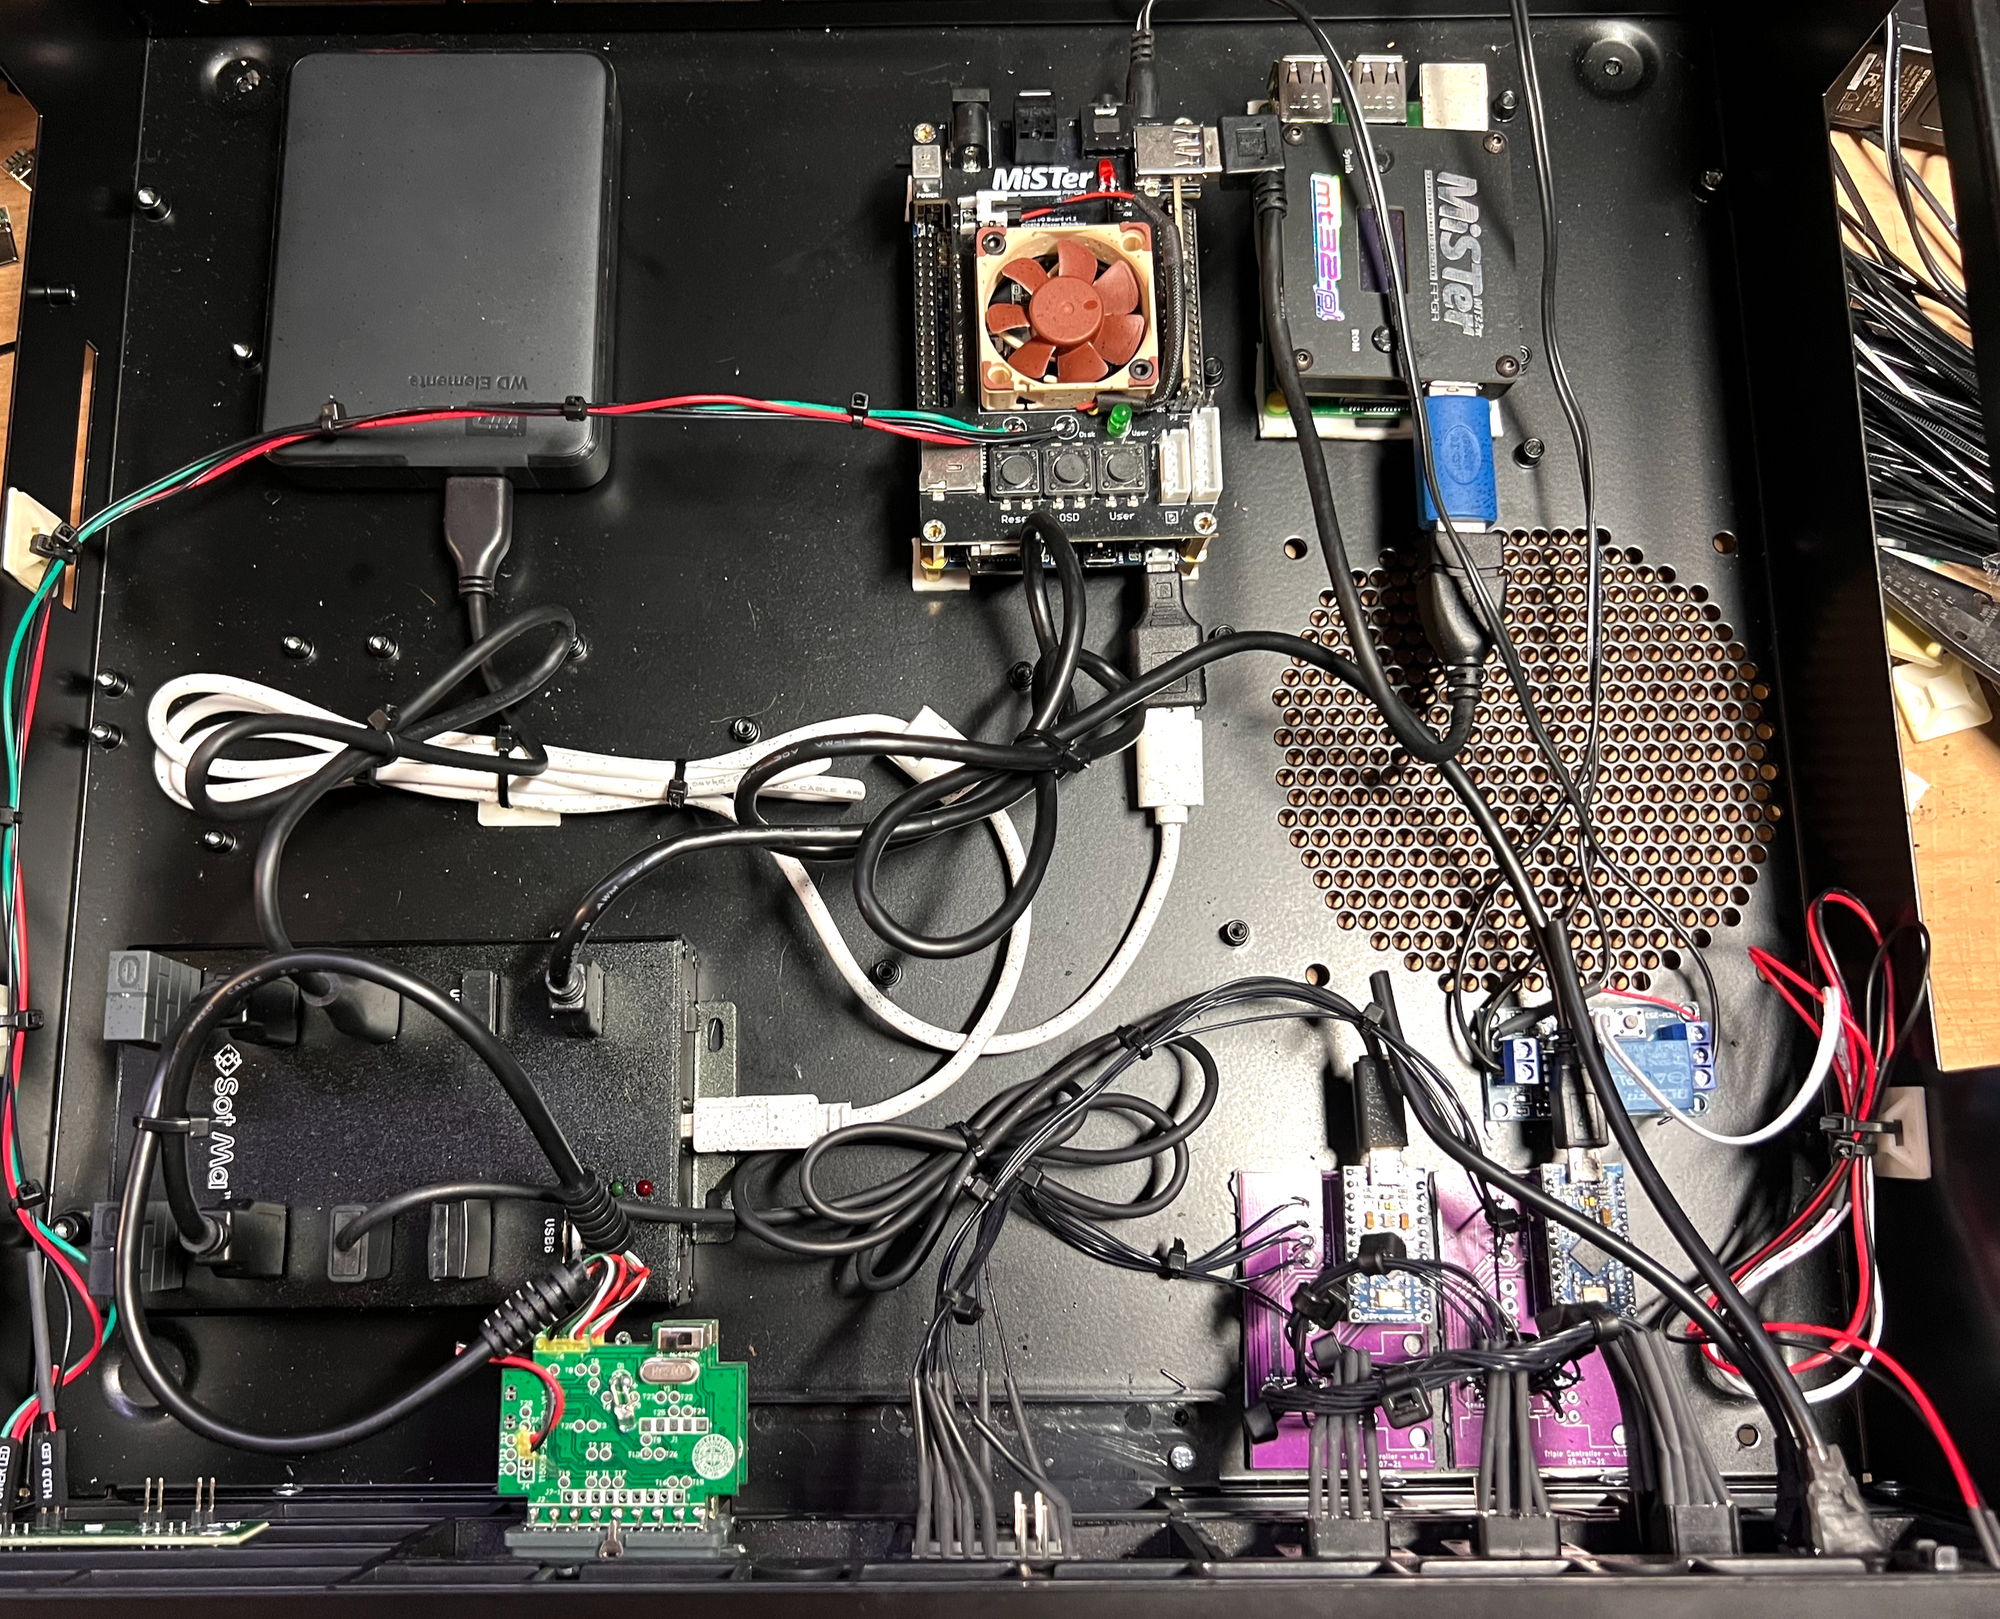
[Eric] likes his vintage gaming, and was terrifically pleased with MiSTer, an open-source project that recreates various classic computers, game consoles and arcade machines using modern FPGA-based hardware. Of course, what makes retro gaming even better is using a platform’s genuine original controllers, which just takes a little extra hardware and wiring.

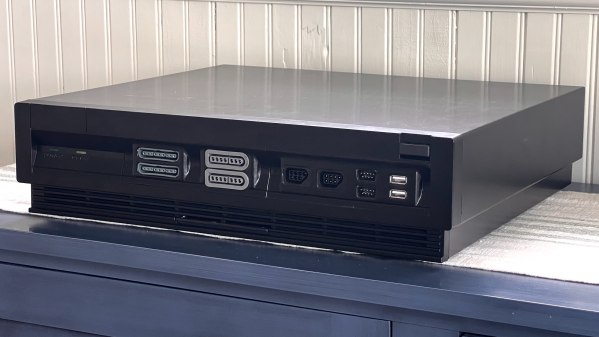
But [Eric] found that all the required accessories and peripherals started to look awfully cluttered. He solved this issue by packing everything carefully into a specialty PC case called the Checkmate A1500 Plus, which gives off a strong 80s design vibe. As a bonus, the front panels are all removable and that’s where [Eric] decided to house the custom controller ports.

First [Eric] carefully measured each controller connector to create CAD models, then designed matching front panels to house the connectors and 3D printed them. Once that was done, post-processing the panels was a long process of apply Bondo, sand, paint, and repeat as needed. The results looks fantastic, and this project is a prime example of how aesthetics and finish can matter.

Find yourself in a similar situation? [Tom Nardi] has shown us all that 3D prints don’t have to look 3D-printed, and careful application of paint and primer can really put the ‘pro’ in prototyping.

Computer Space Flies Again

[Sean] from Classic Arcade Repairs fixes classic arcade machines, and he got a request to repair a very special machine. It’s Computer Space, the first commercial arcade cabinet ever made, and loosely based on Spacewar! This grand-daddy of coin-op was a literal barn find, and was in pretty bad shape after sitting for years. All the parts appeared to be original, making them 50 years old. As you can imagine, that combination didn’t bode well for the health of the components. There’s a couple hours of footage here, but it’s invaluable troubleshooting advice, and very cool to see such an old machine being worked on.

Part one is the intro, and [Sean] started with an HP logic analyzer, just probing the many TTL chips on the board looking for floating or otherwise suspicious outputs. Figure out the obviously faulty chips and replace each with a socket and new chip. Just about every diode in the machine needed replacing.

Part two of the repair starts with a broken trace repair, and the discovery that all the ceramic capacitors on the boards were leaky. The interesting thing is that a multimeter tested those caps as having the correct capacitance, but a dedicated leak tester discovered the problem.

Part 3 shows the process of running the remaining chips through a logic tester, which found more problematic ICs. In some cases, a chip would only sometimes test as working. And strangely, one of the new, replacement chips turned out to have a problem. Though as a commenter pointed out, it could be a falling edge vs rising edge variation of the logic chips to blame. Or maybe the new chips were counterfeit. Hard to nail down.

Part 4 starts with a gotcha moment, where one of the first repairs to the board was a misstep. What appeared to be a damaged trace, was actually a factory modification (a bodge cut?). Then a lucky break really helped out, where only half of one of the 7476 chips was in use, and one of the chips on hand was only half working. Put the dead bit into the unused slot, and the machine really started to behave.

Part 5 is the victory lap, where all the components finally arrived, and everything starts working on the bench. How cool to see the old machine bleeping and blooping again.