Using An Angle Grinder As A Bench Grinder

angle-grinder-bench-grinder

[Saeid Momtahan] made a couple of attachments that let him use his angle grinder as a bench grinder. It may be better to refer to it as a bench motor, as he uses both a grinding wheel and a wire brush while showing off his project.

The attachments come in two parts. The first is a piece of square tube that runs parallel to the body of the grinder on the side opposite the handle. This doubles as a larger gripping area when using it as an angle grinder, as well as giving him something to clamp in his bench vise. The second attachment serves as a rest for the work piece. Above you can see him brushing some rusty stock clean with the wire attachment.

It’s nice to have the option of doubling up a tool’s tasks rather than buying yet another item that may not get used all that much. We also love the idea of building your own tools. If you don’t have a welding rig to fabricate these add-ons here’s a li-ion battery based system to get you thinking.

Continue reading “Using An Angle Grinder As A Bench Grinder”

Crown Earns You The Title King Of The Junkyard

crown-king-of-the-junkyard

[Greg Shikhman] wanted to use the school tools one more time before graduation. After hitting up some local motorcycle shops around town for parts he fashioned this crown for himself.

He didn’t pay ‘the iron price‘ as the motorcycle roller chain is waste material anyway. Chains do wear out and these were left over after being replaced with new ones. He first cleaned them up with a bit of WD-40 solvent, xylene, and soapy water to cut through the grime. There was also a layer of black oxide which normally keeps them from rusting which he peeled off with a dunk in some hydrochloric acid.

Chains are flexible and this would have made for a disheveled looking crown. The fix involved using an aluminum form the size of his head to keep the crown in round while he did his TIG welding. A double row of polished steel ball bearings take the place of jewels. As if the ten-pounder wasn’t painful enough he added four rings of bicycle chain as accents which he admits makes the thing unwearable because they dig into his noggin. We still don’t think that’s a good enough excuse to post about the project and not include an image of him wearing the thing during the junkyard coronation.

It would be fun to see a follow-up king-ring with similar LED features as that engagement ring but using this heavy-metal design style.

Make Your Own Plastic Friction Welder

[Fran] shows us how to build a plastic friction welder. It’s a method of connecting plastic pieces. While it’s new to us, apparently this type of tool was given to kids about forty years ago to use with craft project (when plastic was all the craze).

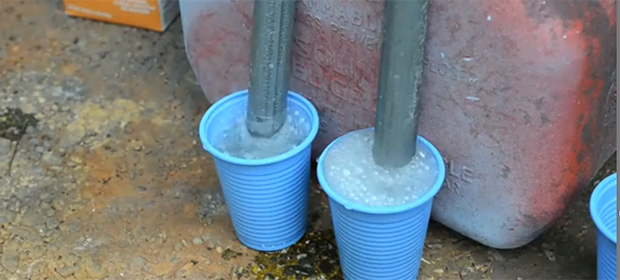
The tip of the friction welder is a styrene rod. If it’s spun fast enough the friction will cause the material to heat to the melting point, depositing a bead of styrene into the joint. The tool seen here is a cheap DC rotary tool acquired from Harbor Freight. It really did a horrible job, but [Fran] discovered that it was the power supply that was under-rated. When she replace the wire that feeds it and used her bench supply it spit out 16,000 rpm without any trouble. The welding rods can be found at the craft store and fit the chuck of the tool quite nicely. You can see her demo in the video after the break. The seam she’s working on comes out very strong, surviving a slew of violent whacks on the workbench.

We’ve seen a few other methods of welding plastic. One used a tool much like a soldering iron, the other depends on ultrasonic waves and clamping pressure.

Continue reading “Make Your Own Plastic Friction Welder”

Welding With Over A Hundred A123 Lithium Cells

a123-cell-powered-welder

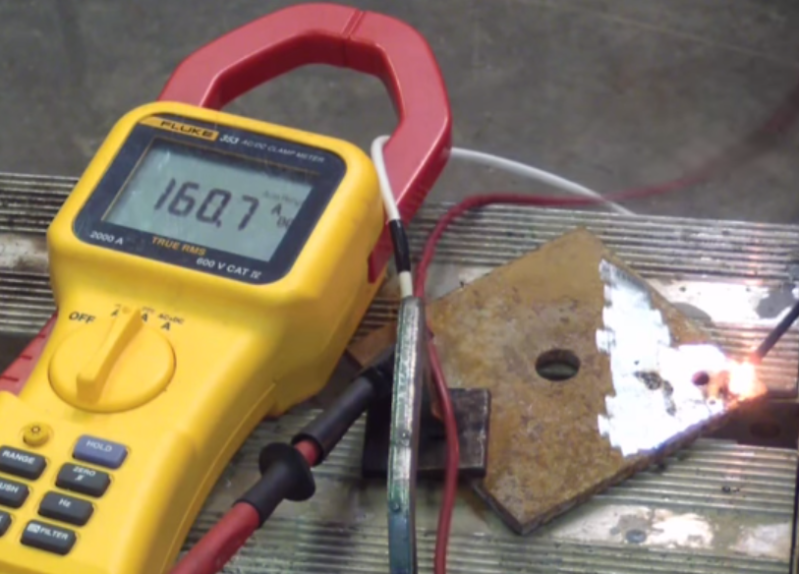
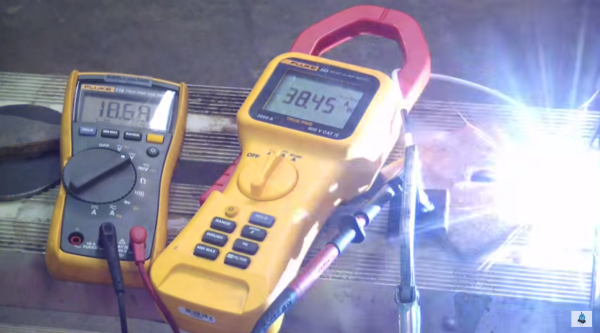
[Doctor Bass] needed to do some welding on his electric bicycle. The problem is that he’s never welded before and doesn’t have any tools for it. As you can see, that didn’t stop him. He used a bicycle battery made from reclaimed DeWalt A123 cells to power his diy welding rig.

He has a huge adjustable resistor which is responsible for limiting the current. 80 Amps seems to work the best with the welding rods he’s chosen. It is worth noting that when he shows off each part of the welder (see the clip after the break) the color of the wire used for positive and negative leads is opposite of convention. His positive wiring is black while his ground connection is red.

To get the welding under way he connects a jumper-cable-like clamp to his work piece which serves as the positive electrode. To hold the welding rod he drilled a hole in a pair of vice grip pliers and bolted on the negative lead. This way the end of the welding rod can be clamped in the vice grips while his other hand guides the tip. So far he’s still practicing, but it looks like he’s nearly ready to take on the job at hand.

Continue reading “Welding With Over A Hundred A123 Lithium Cells”

Kayak To Sailboat Conversion Shows How To Weld Plastics

This kayak to sailboat conversion is well done and makes for an interesting project. But even if you’re not going to be hitting the water on one of your own, the construction techniques are a useful resource to keep in mind. Many of the alterations were done with a plastic welding iron.

[RLZerr] shows off the materials that went into the build right at the beginning of the video which you’ll find after the break. His kayak is made of High Density Polyethylene and he uses other HDPE scraps, PCV parts, and even some aluminum to make everything. To weld HDPE together he uses a plastic welding iron that is like a cross between a soldering iron and a hot glue gun. It has a pad tip that gets hot enough to melt the plastic, but also includes a channel through which additional HDPE filament can be fed to bulk up the connections.

Additions to the kayak include a centerboard, rudder, and mast. The sail is a plastic tarp attached to the PVC mast which has been stiffened with a wooden shovel handle in its core. The rudder and centerboard are aluminum attached to PVC pipes using JB weld. The boat catches the wind easily, but without outriggers [RLZerr] must be careful not to let a big gust swamp him.

Continue reading “Kayak To Sailboat Conversion Shows How To Weld Plastics”

Augmented Reality Welding Mask

There are so many good ideas crammed into this project its hard for us to believe this isn’t already widely used for critical welding applications. Traditional welding masks simply filter out light to protect the welder’s eyes. This mask doesn’t have a window in it at all. Instead, the mask includes two cameras on the outside and two LCD screens on the inside. It filters light by processing the video which lends itself to that grab-bag of features we mentioned earlier.

Possibly the best of the system is its ability to selectively filter the brightness of the weld. What this means is that areas outside of the welding arc appear at a normal brightness level, whereas before they would have been greatly dimmed. A demonstration of augmented reality is also shown, where a computer monitors the welding surface, giving the welder a target to follow and measuring the distance between the weld and the filament. The video mentions that an FPGA would be well suited for the image processing, making us think this could be produced at a reasonable cost. After all, they already use X-ray machines for some welds, we’d bet a set of these helmets could be supplied to a crew at a similar cost.

[via Reddit]

Building A Coal Forge

We don’t get to see Blacksmith hacks around here too often. But even if they were rolling in on a weekly basis we think this one would be considered the special expanded edition with full-color centerfold. The sixty-five images in this coal forge build log are all commented and just begging to steal your attention for part of the afternoon.

The build mostly involves fabricating a system for injecting air into the forge and providing a mechanism for evacuating the waste ash. [BillDaCat] starts with a 3″ pipe as the ash dump, adding a latching door used to empty it when full. He then welds together a metal trough with a slotted bottom to hold the fiery fury, attaching the ash dump below. He uses a plasma cutter to add an opening in the upper portion of the ash dump for a blast gate.

If you’re excited about his build you should also check out the metal pour and the induction furnace.

[via Reddit]