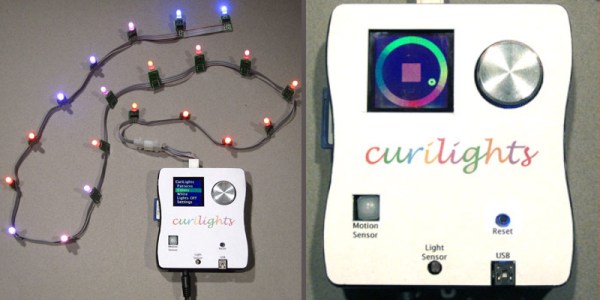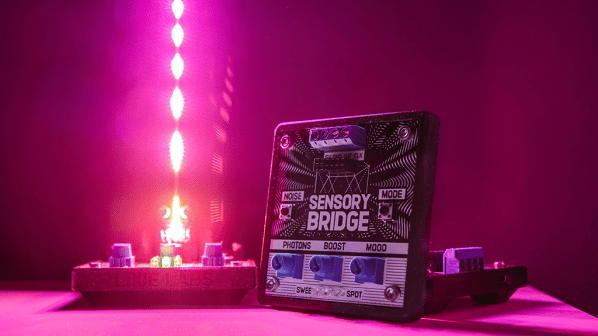
[Lixie Labs] are no strangers to creating many projects with LEDs or other displays. Now they’ve created a low latency music visualizer, called the Sensory Bridge, that creates gorgeous light shows from music.
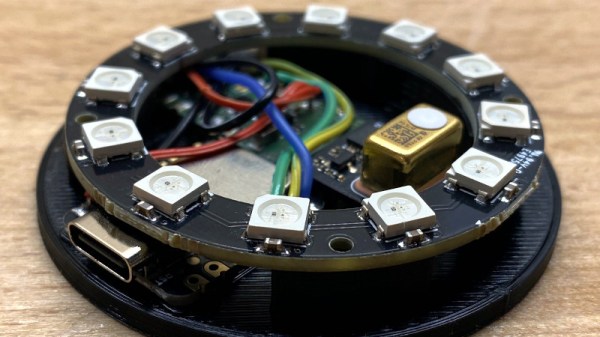
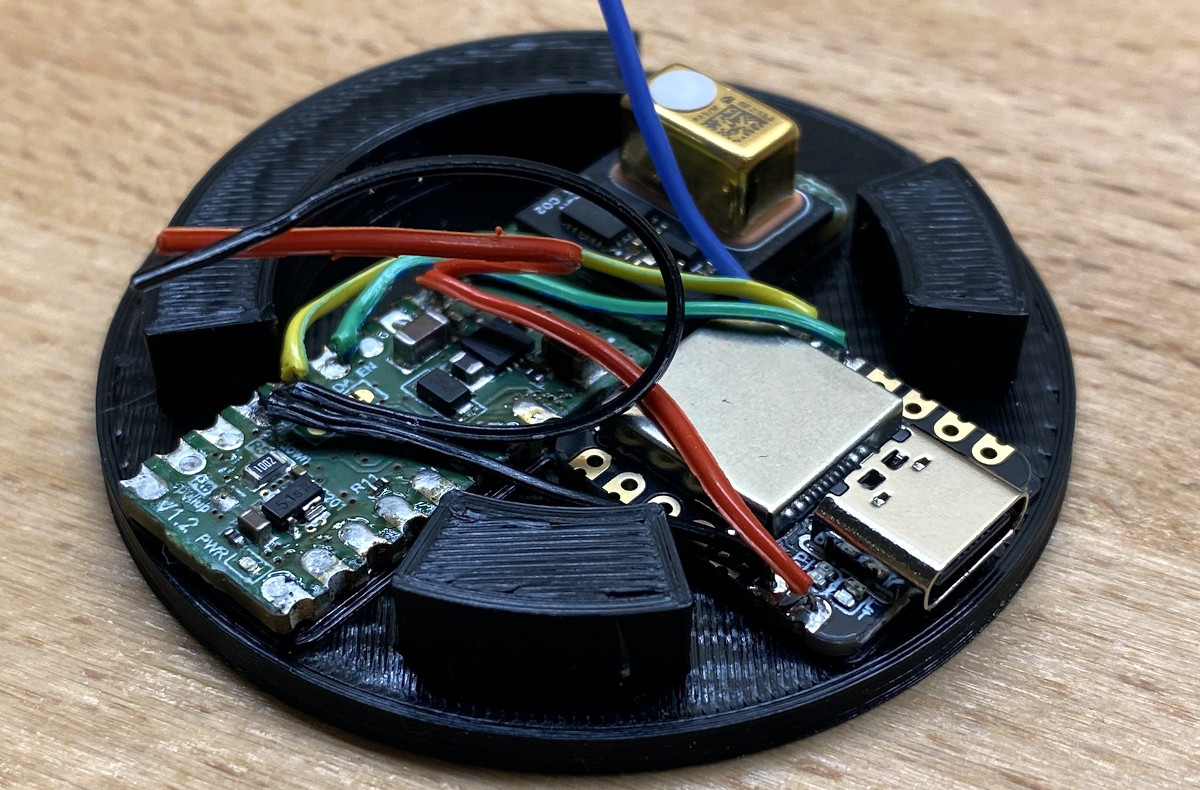
The Sensory Bridge has the ability to update up to 128 RGB LEDs at 60 fps. The unit has an on-board MEMS microphone that picks up ambient music to produce the light show. The chip is an ESP32-S2 that does Fast Fourier Transform trickery to allow for real-time updates to the RGB array. The LED terminal supports the common WS2812B LED pinouts (5 V, GND, DATA). The Sensory Bridge also has an “accessory port” that can be used for hardware extensions, such as a base for their LED “Mini Mast”, a long RGB array PCB strip.
The unit is powered by a 5 V 2 A USB-C connector. Different knobs on the device adjust the brightness, microphone sensitivity and reactivity of the LED strip. One of the nicer features is its “noise calibration” that can record ambient sound and subtract off the background noise frequency components to give a cleaner music signal. The Sensory Bridge is still new and it looks like some of the features are yet to come, like WiFi communication, accessory port upgrades and 3.5 mm audio input to bypass the on-board microphone.
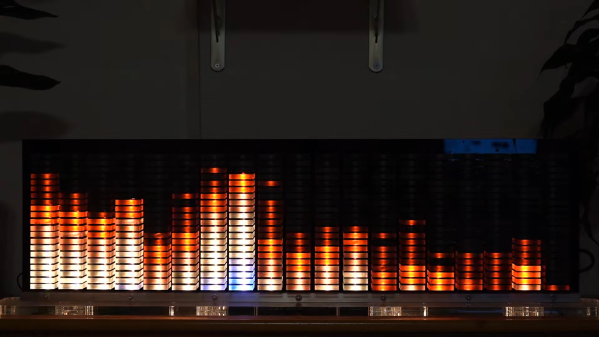
The stated goals of the Sensory Bridge are to provide an open, powerful and flexible platform. This can be seen with their commitment to releasing the project as open source hardware, providing firmware, PCB design files and even the case STLs under a libre/free license. Audio spectrum analyzers are a favorite of ours and we’ve seen many different iterations ranging from ones using Raspberry Pis to others use ESP32s.
Video after the break!
Continue reading “The Sensory Bridge Is Your Path To A Desktop Rave”