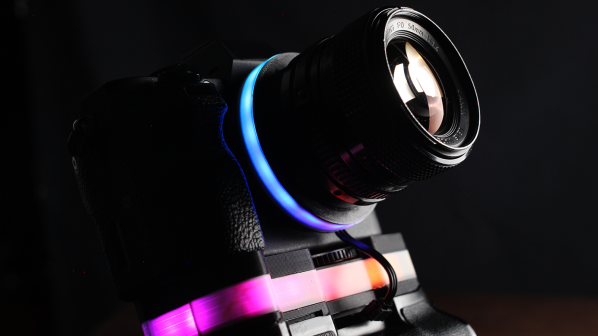
RGB LEDs can be found on everything from motherboards to sticks of RAM these days. [dslrdiy] wanted to bring this same visual flair to his camera setup, so built what he’s calling the world’s first RGB camera grip.
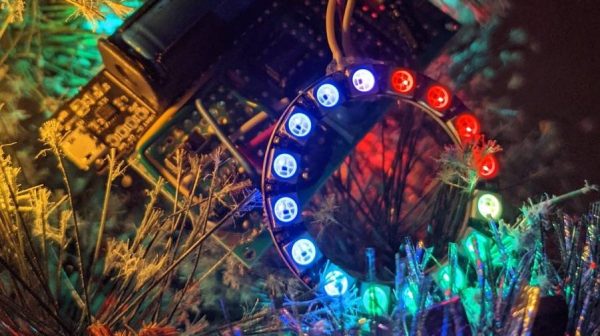
The build is based on an existing off-the-shelf camera grip. It’s disassembled for the build, with a pair of 18650 lithium batteries installed inside as a power supply. They run a small DC-DC converter, which powers a Raspberry Pi Zero and a WS2812B LED strip which provides the lovely colorful lighting effects. The LEDs light up a translucent spacer installed in the camera grip solely for the purpose of aesthetics.
So far, so straightforward. However, [dslrdiy] also implemented one more useful feature. The Pi Zero is able to scrape photos from the camera, and automatically load them on to a Windows network share. That’s a nice zero-fuss way to get pictures off your camera when you return to your home network.
We’re not sure too many professional photographers will rush after the RGB grip, as it’s often poor practice to introduce strange uncontrolled colorful lights into a scene. However, the wireless tethering feature does seem attractive depending on your usual workflow. Video after the break.
Continue reading “A WiFi RGB Camera Grip Is Probably Not Ideal For Night Shoots”