How To Make A Larger Air-Cored Inductor

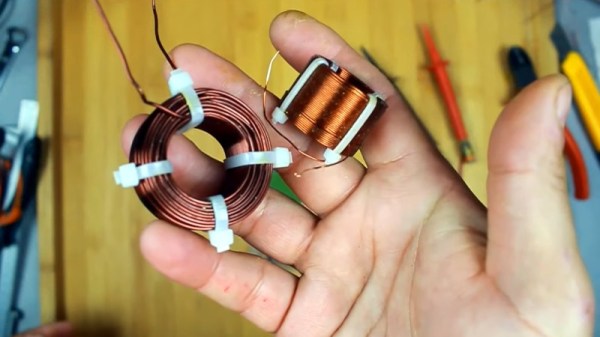
Radio amateurs often have a love-hate relationship with home-made inductors, sharing all kinds of tips and tricks as to how the most stable nanohenry inductor can be wound. But there’s another group in the world of electronics with an interest in high-quality inductors, namely the audio enthusiasts. They need good quality inductors with a values in the millihenries, to use in loudspeaker crossover networks. [Homemade Audio] takes us through their manufacturing process for these coils, and the result is a watchable video resulting in some very well-made components.

The adjustable former is a machined aluminium affair of which we’re treated to the full manufacture. It’s likely the same results could be achieved with a 3D printed reel. The free-as-in-beer Coil64 on Windows is used to calculate the dimensions and number of turns, and it’s set up on a jig with a cordless screwdriver doing the winding. The best technique for flat layers of turns is explained, and a coat of varnish is put on each completed layer. We’re guessing this is to stop the coil “singing” at audio frequencies.

With a set of cable ties holding it together the result is a very tidy component. It’s adjusted a few turns to get the right value with an LCR meter, however experience tells us that a tiny percentage either way won’t harm the resulting network too much. If you make your own speakers, the video below the break could be extremely useful.

Need a loudspeaker primer? We have just the article for you.

Continue reading “How To Make A Larger Air-Cored Inductor”

IPod HiFi Gains New High Notes

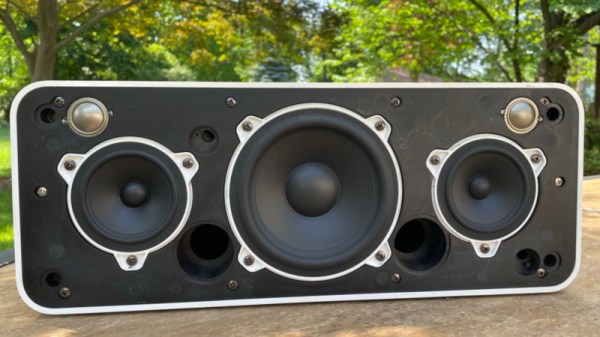
The iPod HiFi was a stereo speaker add-on produced by Apple in the mid-2000s for their iPod range, a $300-plus speaker cabinet with twin drivers per channel, an iPod dock, aux, and TOSLINK interfaces. It’s caught the eye of [Jake], in particular one posted on Reddit that had an extra set of tweeters to improve the HiFi’s lackluster treble. The question was that it might have been an Apple prototype, but lacking his own [Jake] set out to replicate it.

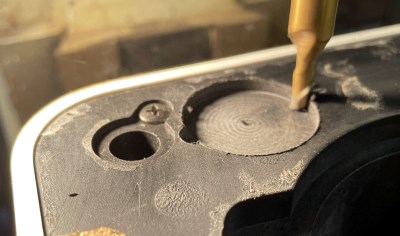
The job he’s done is to a high quality. The baffle has first 3D scanned, and then recesses were milled out of it so the tweeters could be press-fit in. He’s driving them through a simple LC crossover circuit taken from the speaker drive, and reports himself happy with the result.

Unfortunately, we still don’t know whether or not the Reddit original was an Apple prototype or not. We’d be inclined to say it isn’t and praise the skills of the modder who put the tweeters in, but in case it might be we’d point to something that could deliver some clues. The iPod HiFi didn’t use a passive crossover, instead it had a DSP and active crossover, driving four class D amplifiers. If you find one with tweeters and they’re driven from the DSP through an extra pair of amplifiers then put it on eBay as a “RARE BARN FIND APPLE PROTOTYPE!” and make a fortune, otherwise simply sit back and enjoy the extra treble a previous owner gave it.

Of course, some people baulked at the price tag of the Apple speaker, and made their own.

DSP 01: Real, Legit Audiophile Goodness

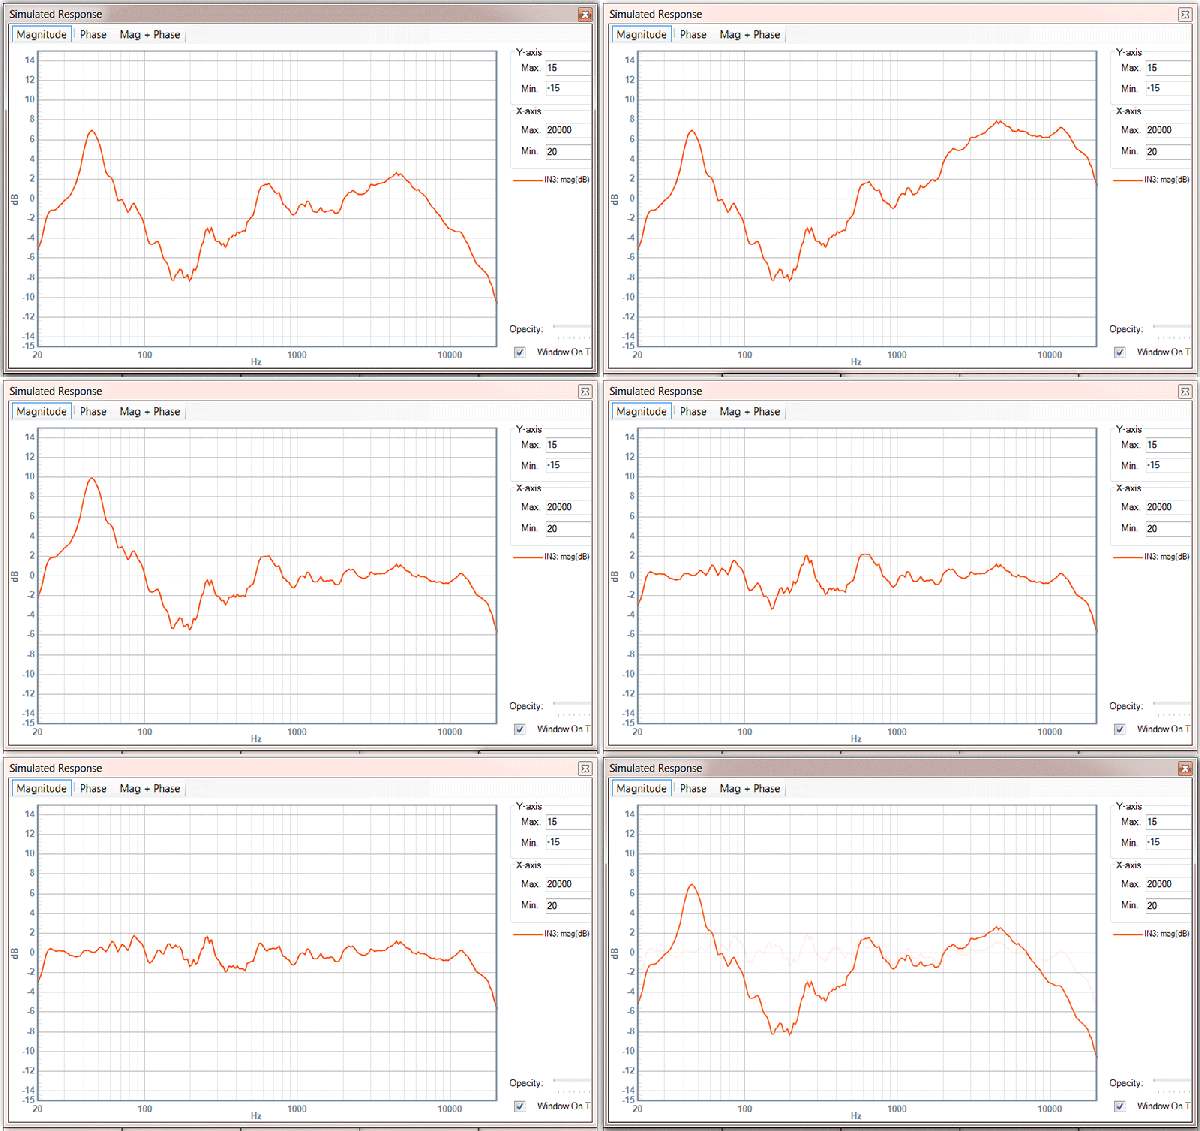
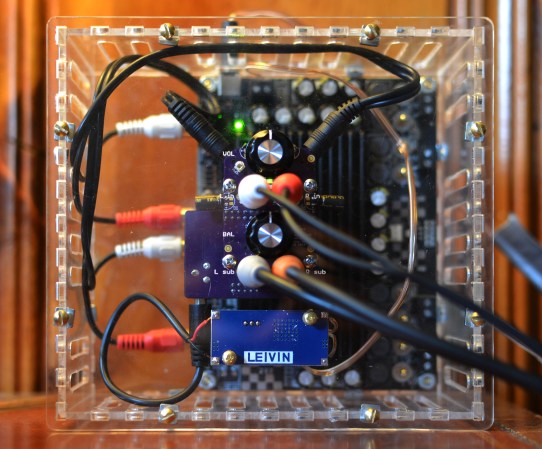
About six months ago, we saw [tshen2]’s work on the DSP 01, a 2-input, 6-output DSP and crossover for extreme audiophiles, and we’re not talking about oxygen free rooms here. The DSP 01 turns a USB audio output into six outputs that will give you perfectly flat eq across bass, mids, and highs, integrates with a 6x100W amplifier, and compensates for room noise. There was a huge update to the project recently and [tshen] is more than happy to share the details

Getting to this phase of the project hasn’t been without its problems. To get the DSP communicating to a computer through a USB port, [tshen2] found a potential solution in the CP2114 USB to I2S Bridge. This device should function as a USB audio sink, translating digital audio into something the DSP understands. This chip did not work in [tshen]’s design. The CP2114 simply does I2S wrong; the I2S spec says the clock must be continuous. This chip implements I2S with a SPI, firmware, and a few other things, making it incompatible with to-spec I2S.

While there was some problems with getting audio in to the device, the core of the device has remained unchanged. [tshen2] is still using the Analog Devices DSP, with the interesting SigmaStudio being used to compensate for the frequency response of the room. This real, legit, science-based audiophile territory here, and an impressive development for a field that – sometimes understandably – doesn’t get the respect it deserves.

A Hackable Hi-Fi Audio DSP

DSP 01 Hi-fi Signal Processor


Audiophiles tend to put analog systems on a pedestal. Analog systems can provide great audio performance, but they tend to be quite costly. They’re also hard to tinker with, since modifying parameters involves replacing components. To address this, [tshen2] designed the DSP 01.

The DSP 01 is based around the Analog Devices ADAU1701. This DSP chip includes two ADCs for audio input, and four DACs for audio output. These can be controlled by the built in DSP processor core, which has I/O for switches, buttons, and knobs.

[tshen2]’s main goal with the DSP 01 was to implement an audio crossover. This device takes an input audio signal and splits it up based on frequency so that subwoofers get the low frequency components and tweeters get the higher frequency components. This is critical for good audio performance since drivers can only perform well in a certain part of the audio spectrum.

Analog Devices provides SigmaStudio, a free tool that lets you program the DSP using a drag-and-drop interface. By dropping a few components in and programming to EEPROM, the DSP can be easily reconfigured for a variety of applications.

Fully Integrated HiFi Studio Monitor

Studio Monitor and PCB

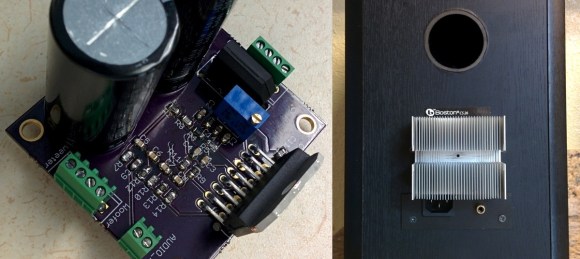
Have you ever wanted to build a high quality audio crossover and amplifier? [Rouslan] has put a lot of thought into making his dual amplifier studio monitor both high quality and simple to build.

With a concise schematic, a meaningful block diagram, and simulation results to boot, his well-written post has everything you need to build self-powered bi-amped speakers based on the LM4766 from Texas Instruments. It is great to see simulations which verify the functionality of the circuit, this can go a long way when working with complicated analog filters and audio circuitry. For those of you who do not have access to PSPICE (an expensive professional simulation tool), [Rouslan] uses LTspice from Linear Technology. TINA-TI from Texas Instruments is another great free alternative.

Additionally, [Rouslan] goes over the typical issues one has with a bi-amplifier studio monitor, such as phase misalignment and turn-on pop, and then provides a solution. Note that his project is powered by 20VAC, which requires an external transformer to convert the 120VAC in the wall to 20VAC. Be careful with high voltages! In the future, adding a high quality voltage regulator will most likely increase the performance.

His post finishes up with a very clean circuit board, which he ordered from OSH Park. With such a complete design, there is nothing keeping you from building your own. Go out and put that old speaker sitting in your basement to good use!

If you don’t have an old speaker sitting around, check out these very cool DIY speakers.

Audio Crossover Back In Service


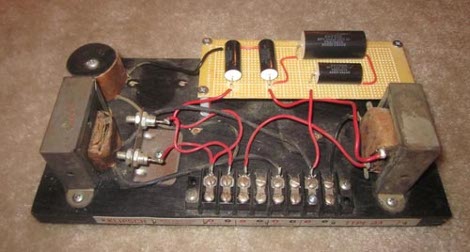
Audio Crossovers are an essential tool for any high end speaker system. Because most individual loudspeakers are unable to cover the entire spectrum of audible sound as well as multiple drivers are, it is necessary to split the input signal into low and high frequency parts. When a friend of [Anthony]’s was about to send off a classic Klipsch AA Crossover to be repaired professionally, [Anthony] insisted it was possible to save some money and do it himself.

The oil can capacitors of the Crossover had gone bad, so a new set of metalized polypropylene capacitors were ordered to pick up the task. After carefully removing the old caps, [Anthony] assembled the new set on a breadboard, and mounted the board to the old Crossover base (along with some tasteful McDonalds straw spacers). The entire process is detailed on his blog, and we are sure his friend saved a good deal by this home repair method. Capacitor issues are a common problem in repairing electronics new and old alike, and always a great place to start looking when devices start acting funny.

Broken Laptop Recovered Using An Arduino

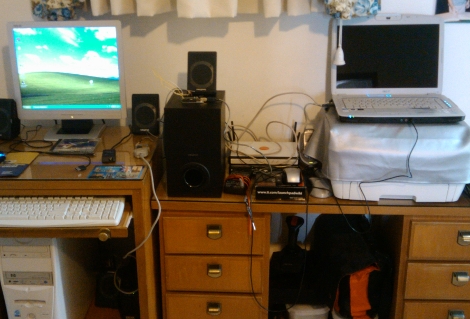
We see Arduino boards used in a lot of projects but we’ve never thought of using one as a USB crossover cable. That’s basically what [Jack the Vendicator] did to get his broken laptop running. When his video card stopped working he found himself unable to access the laptop. Newer machines don’t have a serial connector, which could have been used for a serial terminal, so he was at a bit of a loss since neither SSH nor VNC were installed. But he thought he might be able to use the Arduino as a serial terminal connector over USB. He plugged the Arduino into the laptop, and connected a USB serial converter from his desktop computer to the Arduino’s serial pins. In effect he’s just taking advantage of the FTDI chip, translating those signals back into USB on either end. Once he booted the headless laptop it took just a couple of blindly typed commands to get SSH running in order to regain control.