If I asked you to find the area of a square, you would have no problem doing so. It would be the same if I asked you to find the volume of a cone or rectangle or any other regular shape. You might have to turn to Google to get the proper formula, but it would be a trivial process nonetheless. But what if I asked you to find the volume of some random vase sitting on a kitchen counter? How does one go about finding the volume of irregular shapes?
One way would be to fill the vase with much smaller objects of a known volume. Then you could add up the smaller volumes to get an estimate of the total volume of the vase. For instance, imagine we fill the vase with marbles. A marble is a sphere, and we can calculate the volume of each marble with the formula 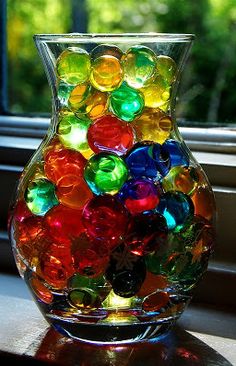 4/3πr3. We count all of our marbles and multiply the total by the volume of a single marble and arrive at our answer. It is not perfect, however. There is a lot of empty space that exists between the marbles as they fill the vase. We are forced to conclude that our estimated volume will be lower that the actual volume.
It would be about this time when our good friend Isaac Newton would ask the question “What if you made the marbles smaller?” Reducing the size of each marble would reduce the empty space that exists between them as they pile up in the vase, giving us a more accurate total volume. But how small? Is there a limit to how small we can make them? “Do not trouble yourself with the limit.” says [Newton]. “You will find that as you make the marbles smaller and smaller, you will begin to converge on a single number – and that number will be the exact volume of your vase.”
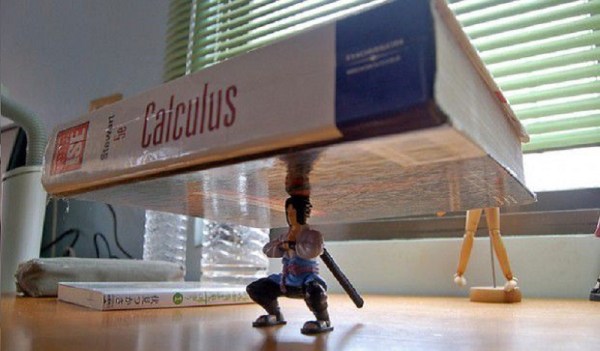
Reducing the size of the marble to get a more exact volume demonstrates the idea of the integral – one of the two fundamental principles of The Calculus. The other principle is known as the derivative, which we explained in our previous article by taking a very careful and tedious examination of an arrow in flight. In this article, we shall take the same approach toward the integral. By the end, you will have a fundamental understanding of what the integral is, and more importantly, how it works. Our vase example gives you a good mental image of what the integral is all about, but it is hardly a fundamental understanding of it. Just how do you make those marbles smaller? To answer this question, let us look again at one of Zeno’s moving arrows.
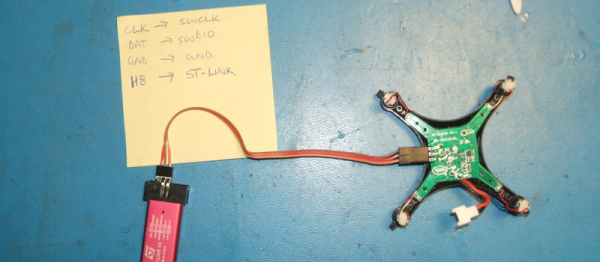
Continue reading “How To Find A Lost Drone With The Integral” →

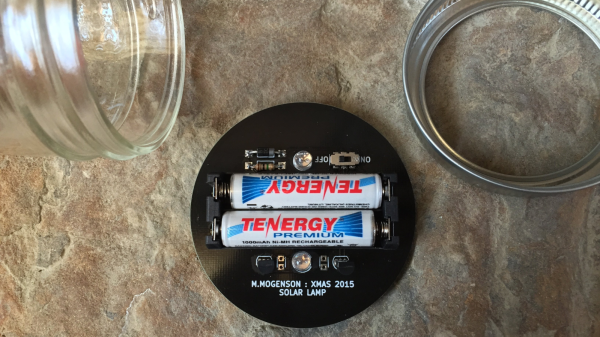
 flickering LEDs inside a standard Mason Jar, to give away to friends and family for the holidays. Given it’s simplicity and through-hole design, it’s an ideal project for a “learn to solder” class or for those wanting to get started with building some really simple electronics. There’s just a handful of parts and putting it together shouldn’t take long. Given that he’s made available all of the