While he couldn’t quite come up with the cash to buy one in their hayday, [Bruno Antunes] has always been fascinated with the Amiga. When PCs got fast enough he used emulators like UAE to get a taste of the experience, but it was never quite the same thing. Not until he found the MiST anyway, which uses an FPGA to implement several retro computers such as the Apple II, Atari, and of course his beloved Amiga.
The only downside for [Bruno] was that the MiST has no network interfaces. To get onto the Internet, he had to install an ESP8266 inside the device and spend some quality time tweaking various software settings to get everything talking to each other. The end result is a BBS hosted on an Amiga 1200, that’s running on an FPGA, that’s connected to WiFi via an ESP8266. What a time to be alive.
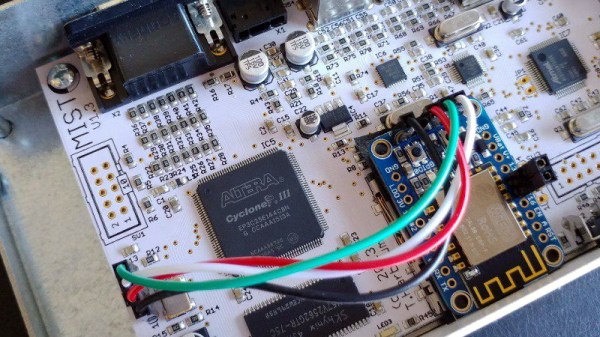
 Adding the ESP8266 to the MiST was actually quite straightforward, as there’s an unpopulated serial port header right on the board. Though [Bruno] cautions this header has been removed as of version 1.4 of the device, so if you’re in the market for an FPGA retro box and might want to get it online at some point, that may be a detail to keep in mind. The ESP is running a firmware which implements Serial Line IP (SLIP); which allows you to use TCP/IP over a serial port, albeit very slowly.
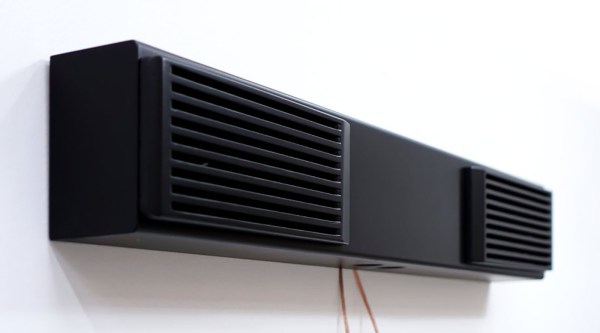
The hardware implant went well enough, but unfortunately [Bruno] found the ESP8266 was unable to communicate through the thick metal case of the MiST. He enlisted his girlfriend to make a new papercraft enclosure for the MiST that the ESP could talk though, and it even has the added benefit of glowing thanks to the internal LEDs. We probably would have just got one of the ESP modules that includes an external antenna, but to each their own.
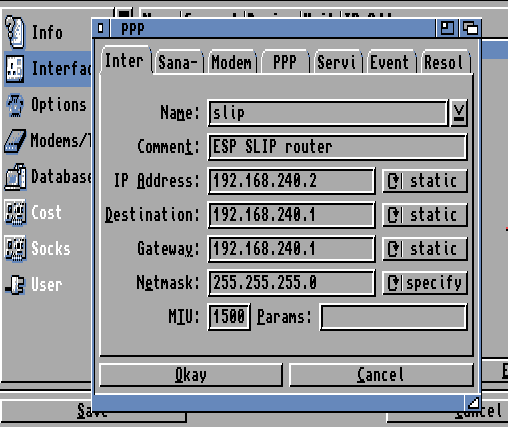
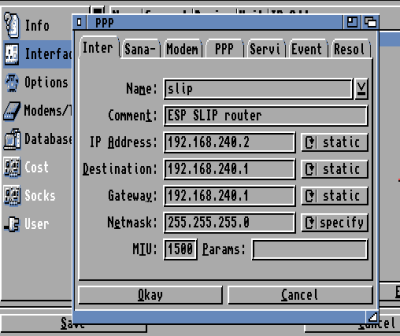
With the hardware taken care of, the rest of the considerable write-up details how he got the Amiga operating system to talk to the Internet through the SLIP connection. He goes over everything from setting the system time with NTP to getting a Telnet daemon installed. As you might expect, this involves installing a number of additional software packages, but [Bruno] is kind enough to provide links for everything you’ll need.
We’ve seen the ESP8266 used to get other retro computers onto the modern Internet before, but it’s usually through the use of an external device. This internal modification is very clean, and seems like a no-brainer for anyone who owns a MiST and a soldering iron.
Continue reading “Amiga In The MiST Gets Online With An ESP8266” →