Magic Morse Arduino Trainer

cover_IMG408

Magic Morse is a mathematical algorithm that [Ray Burnette] wrote a few years ago to make it easy to send and receive Morse code. When he first wrote it, he designed it for a PIC, but since then he has re-written it to use as a training program for the Arduino platform.

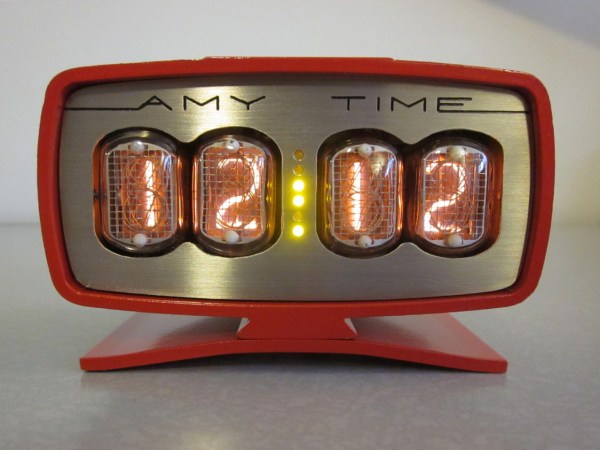
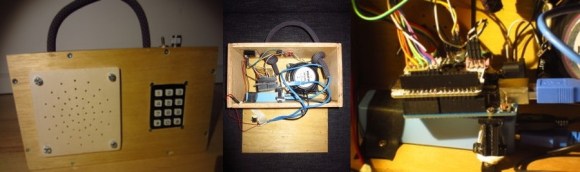
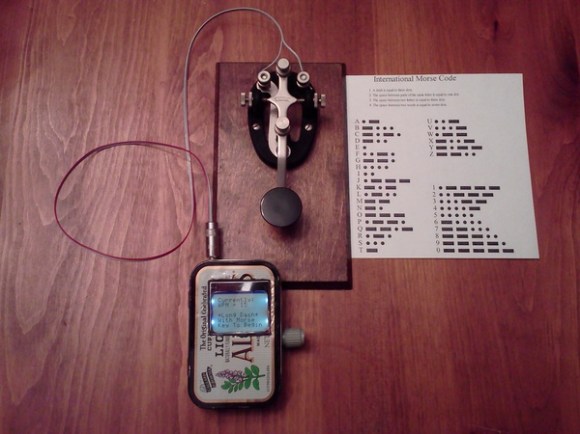
It can run on the Uno, Nano, Pro Micro, or even home-brew Arduino boards. He’s demonstrating the program with a Nokia 5110 LCD, but has also included code for the typical 2×16 LCD displays. The Magic Morse algorithm is copyrighted, but he has released the Arduino code as open source in an effort to get people using Morse code once again — it is pretty awesome.

So how does it work? The algorithm assigns weights to the “dits” and “dahs” as received — when there is a longer pause, the algorithm creates a pointer which calls the character out of an array stored in the EEPROM. He’s included an example of this in Excel on his page.

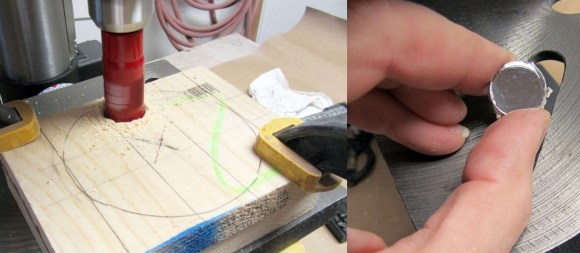
Now you have no excuses about learning Morse code! Oh and if you don’t have a fancy telegraph key (the switch), [Ray’s] also published a handy method of making your own Morse code key out of popsicle sticks and magnets.

$1 Coin Cell Charger

Sure, coin cells usually last a long time — but do you really want to buy new ones and throw the old ones out? The LiR2032 coin cell is a rechargeable lithium battery, for which you can build a charger at around $1.

The 5 minute hack starts with a TP4056 lithium charging circuit, which is a great DIY board designed to charge high-capacity cells at about 1A. Luckily, it is pretty easy to modify the board to charge lower capacity batteries. It’s just a matter of replacing resistor R4, and a little bit of soldering! Continue reading “$1 Coin Cell Charger”

Nixie-ify Me Necklace

big-nixie

[Armilar] wanted to cheer up his friend who was going through a rough spot at the time — she really likes Dieselpunk, so he decided to improvise a Dieselpunk themed photo shoot for her. We’re assuming they had other costumes and props, but [Armilar] had this idea to make a nixie tube pendant for a while, he’d just have to expedite the build process to have it ready!

What he managed to whip up the day of the shoot looks amazing considering the time involved, if not just a little bit ill-advised. There may or may not be 200VAC running around his friend’s neck.

He’s using an electroluminescent driver rated for 5VDC to 100VAC, over-powered to 12VDC, resulting in about 200VAC, which is just enough to make the nixie glow a nice warm orange. In an effort to minimize the size of the pendant, he had to keep the battery and driver hanging off the back of the necklace.

Continue reading “Nixie-ify Me Necklace”

Retro Modern Nixie Clock

[Reboots] is a humble hacker who enjoys nixie tubes. So when he saw an old General Electric battery charger for sale at a hamfest, he thought: “that case would make a nice clock…”

He was first exposed to nixie tube clocks a few years ago when his brother gave him a DIY nixie clock kit from [Peter Jensen’s] website TubeClock.com — it was an easy build, and worked very well. It also introduced him to a unique driver for nixie tubes, an HV5622 high-voltage shift register made by Supertex inc. Compared to the traditional (and rare) 74141 nixie driver chips or discrete transistor drivers, the HV5622 is much smaller, requires less microcontroller I/O’s, and is not as picky when it comes to powering it.

The nixie tubes he chose for the project came from a lot sale on eBay, Russian surplus IN-12 tubes. He even managed to find an english datasheet for them!

Continue reading “Retro Modern Nixie Clock”

Cheap (Free?) Mirror Replacement For Your CO2 Laser

hdd mirrors

You know what’s expensive? Those little tiny little mirrors used in laser cutters — and they don’t last forever either! What if we told you it’s possible to make your own for free, using a broken hard drive?

[Tim Wehr] read about using HDD platters as mirrors on BuildLog.net, and decided to try it out for himself to see how well they work. He quickly salvaged an old hard drive and removed the ever so shiny platters. Using a few pieces of wood he clamped the platter and then cut circles out of it using a metal hole saw — the edges are a bit rough, so we’d recommend you invest in a diamond hole saw if you’re planning on trying this.

Some denatured alcohol polishing later and a bit of filing on the edges, and he had a replacement mirror. He then performed two tests using both the original and the HDD mirror on his CO2 laser. Almost identical cutting power. In fact, [Tim] muses that the HDD mirror looks like it cut slightly better even! Not bad!

[Thanks Riva!]

Hackintosh Mac Pro Replica Using A Trash Can

An anonymous German case modder decided to poke fun at the new Mac Pro… by making his own Hackintosh Pro out of a trash can!

For whatever reason the German forum it spawned in is a little bit secretive, but [Dschijn] of tonymacx86.com got permission to share the build on the creator’s behalf — and it is absolutely glorious.

The beautiful exterior is a Authentics Lunar 6L trash can, painted a vibrant pink — complete with a fake Apple logo. Inside is a Gigabyte Mini ITX motherboard, a Haswell i3 processor, a Radeon 7750, an SSD, a HDD, an ATX power supply, and an undisclosed amount of RAM. True to the Mac Pro, it features a central airflow design, with a fancy hand-crafted intake grate on the bottom.

While its technical specs fail to impress, it is remarkably similar in size to the real deal, varying by just under an inch.

[via Ars Technica]

MBox: A Child’s MP3 Player

mobx

For young children, music is a wonderful and exciting thing — but do you really want them playing with your phone, or worse yet, an iPod? [Arons] decided to make the MBox, an Arduino powered MP3 player.

He was inspired by hörbert, a very similar wooden MP3 player for children. Apparently it’s a great product, but it also costs 239€. We don’t blame him for wanting to make his own.

The MBox follows the same exterior design as hörbert — though we must admit, he could have spiced it up a bit! It uses an Arduino Uno at its core with a Freaduino MP3 music shield, capable of playing all the typical formats like MP3, MIDI, WAV, and even Ogg Vorbis. To amplify the sound he’s using a Mono Audio Amp Breakout board from SparkFun which drives an 8Ω loudspeaker. A mini USB power brick provides the juice, and a 12-digit keypad provides the ability to select music — each number plays from a different directory on the SD card.

[Arons’] daughter loves it, and he probably only spent a fifth of what the real hörbert costs!

[Thanks for the tip Renzo!]