Teardown: ChargeTab Emergency Phone Charger

If you own a modern smartphone, there’s an excellent chance that its battery has run dangerously low on you at least a few times. Murphy’s Law dictates that this will naturally occur at the worst possible moment, say when you need to make an important phone call or when you’re lost and need to navigate home.
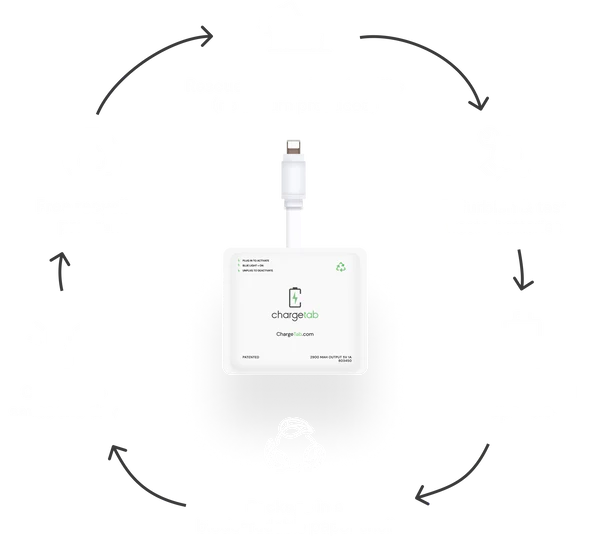
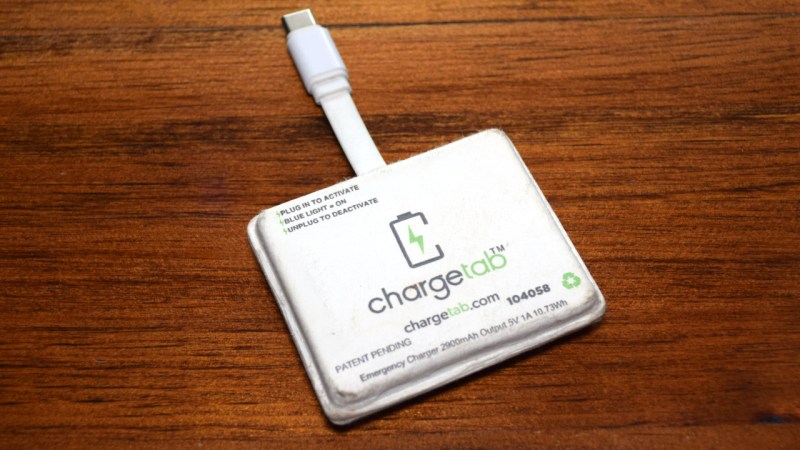
With this in mind, it’s not hard to see how a product like the ChargeTab would have a certain appeal. A small $10 USD device that you can keep in the car or pack in a bag that’s always available to charge your phone in an emergency.

Because it’s not meant to be used regularly — indeed it may never get used at all — it’s not completely unreasonable that such a device would only be good for one or two charges before its spent and must be replaced. It’s a bit like keeping a road flare in the car; it’s unlikely you’ll ever use the thing, but if you do, it only needs to work once.

But then what? According to ChargeTab, once the gadget has depleted its internal ~3,000 mAh battery it cannot be recharged and is no longer usable. Now to be fair, they specifically tell you to not throw it in the trash. They’ll send you a free return label to ship it back to them, at which point it will be refurbished and put back into circulation. The company argues that this recycling program, combined with the fact that the batteries inside the ChargeTabs were supposedly diverted from landfills in the first place, makes their entire operation eco-friendly.

Yet here we have a pair of ChargeTabs that were thrown in the regular garbage and would have taken a one-way trip to the local landfill if it wasn’t for the fact that I habitually dig through garbage cans like a raccoon. So let’s take a look at what’s inside one of these emergency phone chargers and if the idea is as green as the company claims.

Continue reading “Teardown: ChargeTab Emergency Phone Charger”
Calculator Battery Mod Lets You Go The Distance

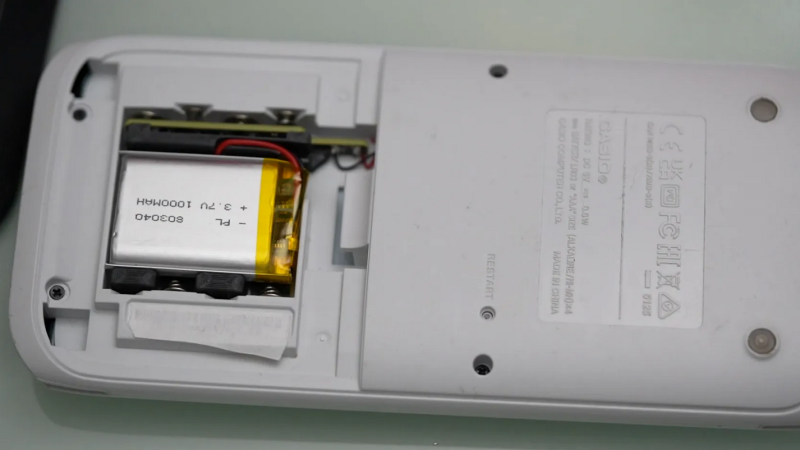
Disposable batteries seem so 1990s. Sure, it’s nice to be able to spend a couple of bucks at the drugstore and get a flashlight or TV remote back in the game, but when the device is a daily driver, rechargeable batteries sure seem to make more financial sense. Unfortunately, what makes sense to the end user doesn’t always make sense to manufacturers, so rolling your own rechargeable calculator battery pack might be your best option.

This slick hack comes to us from [Magmabow], who uses a Casio FXCG50 calculator, a known battery hog. With regular use, it goes through a set of four alkaline AA batteries every couple of months, which adds up quickly. In search of a visually clean build, [Magmabow] based the build around the biggest LiPo pillow-pack he could find that would fit inside the empty battery compartment, and planned to tap into the calculator’s existing USB port for charging. A custom PCB provides charging control and boosts the nominal 3.7-volt output of the battery to the 5-ish volts the calculator wants to see. The PCB design is quite clever; it spans across the battery compartment, with its output feeding directly into the spring contacts normally used for the AAs. A 3D-printed insert keeps the LiPo and the PCB in place inside the battery compartment.

Almost no modifications to the calculator are needed, other than a couple of bodge wires to connect the battery pack to the calculator’s USB port. The downside is that the calculator’s battery status indicator won’t work anymore since the controller will just shut the 5-volt output down when the LiPo is discharged. It seems like there might be a simple fix for that, but implementing it on such a small PCB could be quite a challenge, in which case a calculator with a little more room to work with might be nice. Continue reading “Calculator Battery Mod Lets You Go The Distance”

Is It Time To Retire The TP4056?

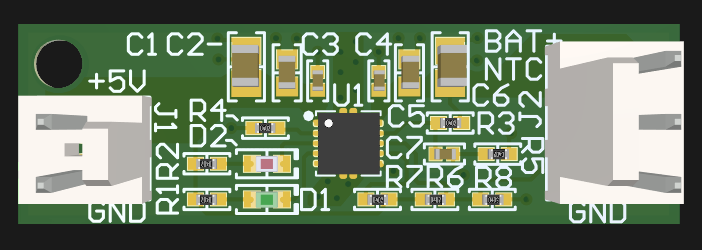
The TP4056 is the default charge-controller chip for any maker or hacker working with lithium batteries. And why not? You can get perfectly-functional knockoffs on handy breakout boards from the usual online sources for pennies. Betteridge’s Law aside, [Lefty Maker] thinks that it may well be time to move on from the TP4056 and spends his latest video telling us why, along with promoting an alternative.

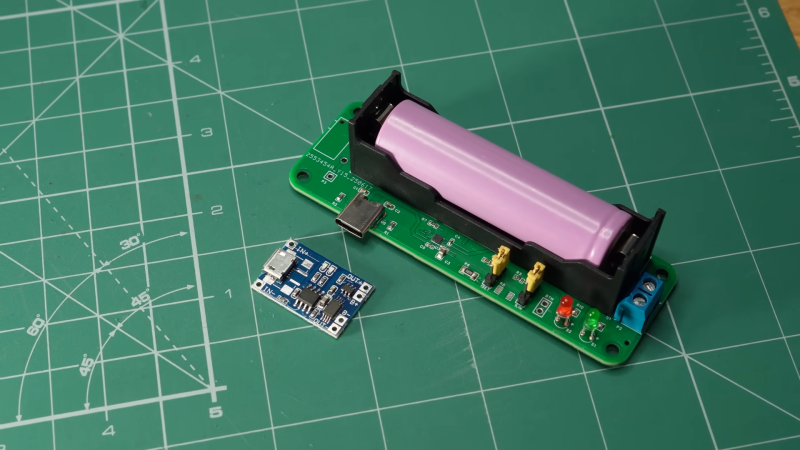
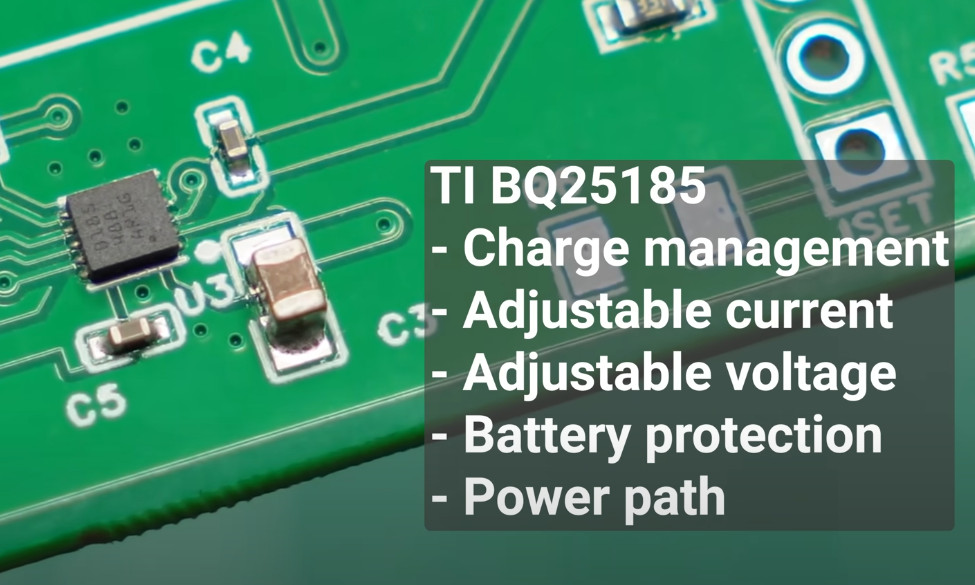
His part of choice is another TI chip, the BQ25185. [Lefty] put together his own charge controller board to show off the capabilities of this chip — including variable under- and over-charge protection voltages. Much of his beef with the TP4056 has less to do with that chip than with the cheap charge modules it comes on: when he crows about the lack of mounting holes and proper USB-PD on the knock-off modules, it occurs to us he could have had those features on his board even if he’d used a TP4056.

On the other hand, the flexibility offered by the BQ25185 is great to future-proof projects in case the dominant battery chemistry changes, or you just change your mind about what sort of battery you want to use. Sure, you’d need to swap a few resistors to set new trigger voltages and charging current, but that beats starting from scratch.

[Lefty Maker] also points out some of the advantages to making your own boards rather than relying on cheap modules. Namely, you can make them however you want. From a longer USB port to indicator LEDs and a built-in battery compartment, this charging board is exactly what [Lefty Maker] wants. Given how cheap custom PCBs are these days, it’s not hard to justify rolling your own.

The same cannot be said of genuine TI silicon, however. While the BQ25185 has a few good features that [Lefty Maker] points out in the video, we’re not sure the added price is worth it. Sure, it’s only a couple bucks, but that’s more than a 300% increase!

We’ve seen other projects pushing alternative charge controllers, but for now the TP4056 reigns as the easy option.

Continue reading “Is It Time To Retire The TP4056?”

Playing Around With The MH-CD42 Charger Board

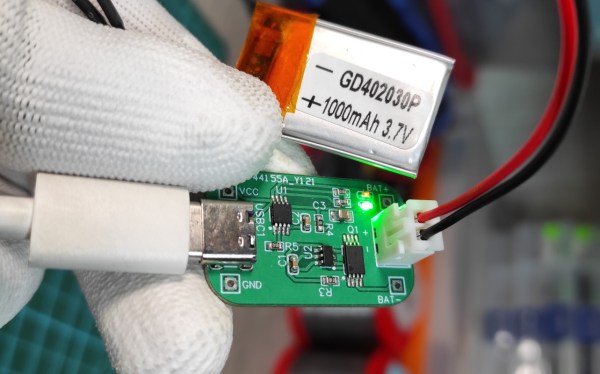
If you’ve ever worked with adding lithium-ion batteries to one of your projects, you’ve likely spent some quality time with a TP4056. Whether you implemented the circuit yourself, or took the easy way out and picked up one of the dirt cheap modules available online, the battery management IC is simple to work with and gets the job done.

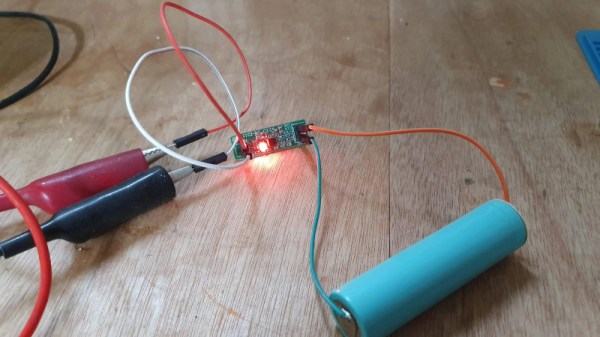
But there’s always room for improvement. In a recent video, [Det] and [Rich] from Learn Electronics Repair go over using a more modern battery management board that’s sold online as the MH-CD42. This board, which is generally based on a clone of the IP5306, seems intended for USB battery banks — but as it so happens, plenty of projects that makers and hardware hackers work on have very similar requirements.

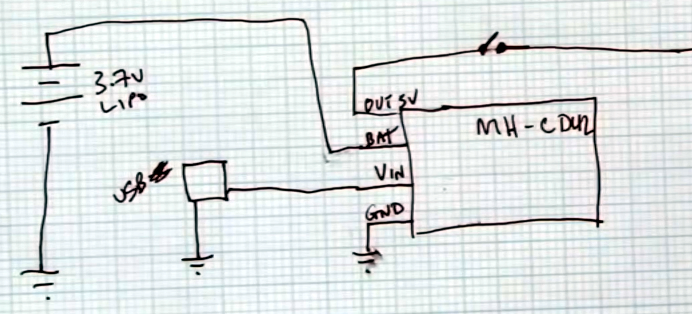
So not only will the MH-CD42 charge your lithium-ion cells when given a nominal USB input voltage (4.5 – 5 VDC), it will also provide essential protections for the battery. That means looking out for short circuits, over-charge, and over-discharge conditions. It can charge at up to 2 A (up from 1 A on the TP4056), and includes a handy LED “battery gauge” on the board. But perhaps best of all for our purposes, it includes the necessary circuitry to boost the output from the battery up to 5 V.

If there’s a downside to this board, it’s that it has an automatic cut-off for when it thinks you’ve finished using it; a feature inherited from its USB battery bank origins. In practice, that means this board might not be the right choice for projects that aren’t drawing more than a hundred milliamps or so.

Continue reading “Playing Around With The MH-CD42 Charger Board”

Lithium-Ion Batteries Power Your Devboards Easily

Last summer, I was hanging out with a friend from Netherlands for a week, and in the middle of that week, we decided to go on a 20 km bike trip to a nearby beach. Problem? We wanted to chat throughout the trip, but the wind noise was loud, and screaming at each other while cycling wouldn’t have been fun. I had some walkie-talkie software in mind, but only a single battery-powered Pi in my possession. So, I went into my workshop room, and half an hour later, walked out with a Pi Zero wrapped in a few cables.

I wish I could tell you that it worked out wonders. The Zero didn’t have enough CPU power, I only had single-core ones spare, and the software I had in mind would start to badly stutter every time we tried to run it in bidirectional mode. But the battery power solution was fantastic. If you need your hack to go mobile, read on.

Continue reading “Lithium-Ion Batteries Power Your Devboards Easily”

This Open Hardware Li-Ion Charger Skips The TP4056

There’s a good chance that if you build something which includes the ability to top up a lithium-ion battery, it’s going to involve the incredibly common TP4056 charger IC. Now, there’s certainly nothing wrong with that. It’s a decent enough chip, and there are countless pre-made modules out there that make it extremely easy to implement. But if the chip shortage has taught us anything, it’s that alternatives are always good.

So we’d suggest bookmarking this opensource hardware Li-Ion battery charger design from [Shahar Sery]. The circuit uses the BQ24060 from Texas Instruments, which other than the support for LiFePO4 batteries, doesn’t seem to offer anything too new or exciting compared to the standard TP4056. But that’s not the point — this design is simply offered as a potential alternative to the TP4056, not necessarily an upgrade.

[Shahar] has implemented the design as a 33 mm X 10 mm two-layer PCB, with everything but the input and output connectors mounted to the topside. That would make this board ideal for attaching to your latest project with a dab of hot glue or double-sided tape, as there are no components on the bottom to get pulled off when you inevitably have to do some rework.

The board takes 5 VDC as the input, and charges a single 3.7 V cell (such as an 18650) at up to 1 Amp. Or at least, it can if you add a heatsink or fan — otherwise, the notes seem to indicate that ~0.7 A is about as high as you can go before tripping the thermal protection mode.

Like the boilerplate TP4056 we covered recently, this might seem like little more than a physical manifestation of the typical application circuit from the chip’s datasheet. But we still think there’s value in showing how the information from the datasheet translates into the real-world, especially when it’s released under an open license like this.

Copy And Paste Lithium Battery Protection

Lithium batteries have, nearly single-handedly, ushered in the era of the electric car, as well as battery energy storage of grid power and plenty of other technological advances not possible with older battery chemistries. There’s just one major downside: these lithium cells can be extremely finicky. If you’re adding one to your own project you’ll have to be extremely careful to treat them exactly how they are designed to be treated using something like this boilerplate battery protection circuit created by [DIY GUY Chris].

The circuit is based around the TP4056 integrated circuit, which handles the charging of a single lithium cell — in this design using supplied power from a USB port. The circuit is able to charge a cell based on the cell’s current charge state, temperature, and a model of the cell. It’s also paired with a DW01A chip which protects the cell from various undesirable conditions such as over-current, overcharge, and over-voltage.

The best thing about this design isn’t the design itself, but that [DIY GUY Chris] built the circuit schematic specifically to be easily copied into PCB designs for other projects, which means that lithium batteries can more easily be integrated directly into his other builds. Be sure to check out our primer on how to deal with lithium batteries before trying one of your own designs, though.

Continue reading “Copy And Paste Lithium Battery Protection”