UNIX version 4 is quite special on account of being the first UNIX to be written in C instead of PDP-11 ASM, but it was also considered to have been lost to the ravages of time. Joyfully, we can report that the more than fifty year old magnetic tape that was recently discovered in a University of Utah storeroom did in fact contain the UNIX v4 source code. As reported by Tom’s Hardware, [Al Kossow] of Bitsavers did the recovery by passing the raw flux data from the tape read head through the ReadTape program to reconstruct the stored data.
Since the tape was so old there was no telling how much of the data would still be intact, but fortunately it turned out that the tape was not only largely empty, but the data that was on it was in good nick. You can find the recovered files here, along with a README, with Archive.org hosting the multi-GB raw tape data. The recovered data includes the tape file in SimH format and the filesystem
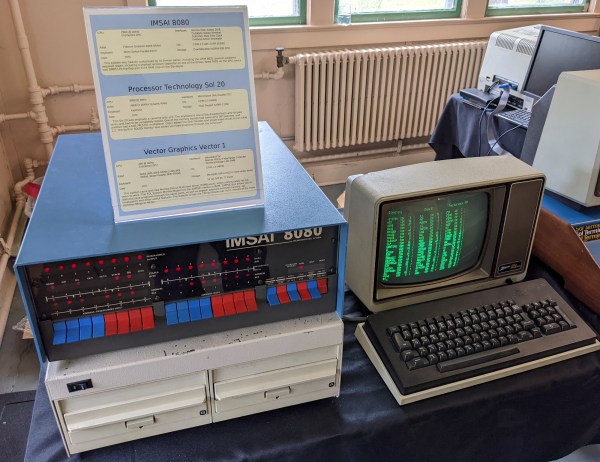
Suffice it to say that you will not run UNIX v4 on anything other than a PDP-11 system or emulated equivalent, but if you want to run its modern successors in the form of BSD Unix, you can always give FreeBSD a shot.