Levy’s Hackers: Heroes of the Computer Revolution is something like required reading for the hacker subculture, and Hackaday by extension. The first section of that book is all about early hackers and their adventures with the PDP-1 at MIT. The PDP-11 has earned a special place in hacker history for being the minicomputer used to write the first Unix. We’re always amazed to find how many of our readers have stories about programming PDP microcomputers, usually the PDP-11. Those of us young enough to have missed out on the PDP experience often have something of a second-hand nostalgia for the old machines. An exceptionally detailed article over at Ars Technica promises to get us started reliving the glory days, even if it is for the first time.
It turns out that there’s an emulator for the old minicomputers, the History Simulator, abbreviated SimH. The article gives step-by-step instructions to get the emulator running, booting Unix 2.11 on a virtual PDP-11. The fun doesn’t stop there. The write-up includes an intro the the PDP-11 hardware, and a crash-course to assembly programming for the beast. It’s a great look at how the stack, branching, and subroutines work under the hood. Most of it still applies to computing today, so it really is worth the read.
Looking for more PDP-11 lore? Check out our coverage of DEC’s history.
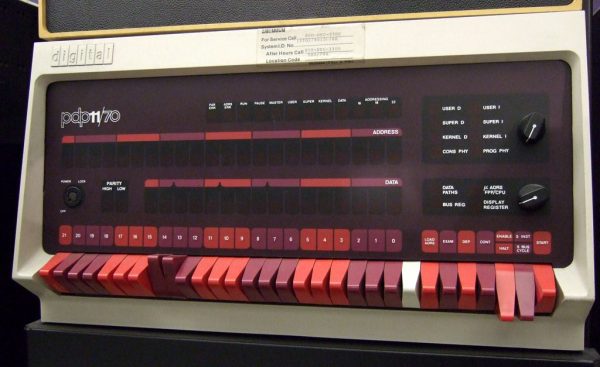
The image above is “PDP-11” by ToastyKen, and is licensed under CC BY 2.0![]()
![]()