With the Great Chip Shortage still delaying deliveries of new components, now might be a good time to look around your lab and inspect those piles of chips that you thought “might come in handy one day”. Chances are you’ll find a good stack of 74xx series logic, once ubiquitous but today mostly obsolete thanks to powerful microcontrollers and FPGAs. It would be a shame to let them go to waste, so why not use them to make a neat 1980s-style computer?
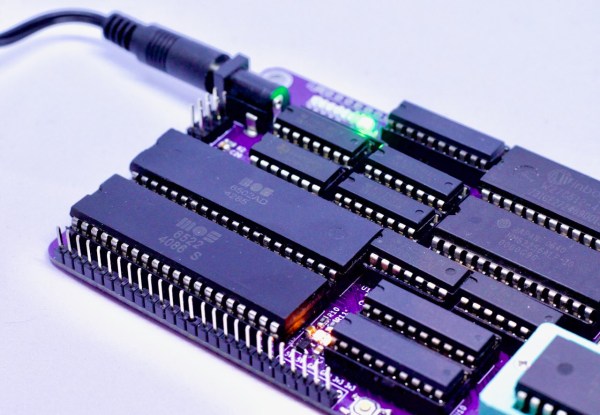
With this idea in mind, [Anders Nielsen] designed the ABN6502: a single-board computer based on the venerable 6502 processor, but with relatively modern interfaces like a VGA monitor output, a PS/2 keyboard connector and even a wireless module to simplify firmware uploads from a PC. One design requirement was to minimize the number of new components needed; the average hacker interested in building the ABN6502 will probably have many of the chips lying around somewhere in their workshop.
The component list reads like a typical bill of materials for a 6502-based computer, but comes with a lot of flexibility to allow for part subsititution. For the CPU, both the classic NMOS 6502 as well as the modern CMOS-based 65C02 are supported, along with their 6522 companion chip that provides I/O ports and timers. A ROM socket can hold either modern, fast flash chips or traditional but slow UV-erasable EPROMs.
Instead of using DRAM chips with their complicated refresh requirements, [Anders] went for 32 KB of SRAM to implement the main memory; unaffordable in the ’80s but easily available today. Standard 74xx series logic chips glue all the components together, again with several options to add or remove features as the user prefers. Pin headers bring out the I/O ports for easy connection to external peripherals.
The ABN6502’s software library is currently limited to a bootloader, but a complete development toolchain based on the CC65 compiler should make it easy to develop all kinds of programs on this platform. We’ve already featured the clever wireless ROM flashing system, as well as a demonstration of the 6502 driving RGB LEDs.