A Badge For AI-Free Content – 100% Human!

These days, just about anyone with a pulse can fall on a keyboard and make an AI image generator spurt out some kind of vaguely visual content. A lot of it is crap. Some of it’s confusing. But most of all, creators hate it when their hand-crafted works are compared with these digital extrusions from mathematical slop. Enter the “not by AI” badge.
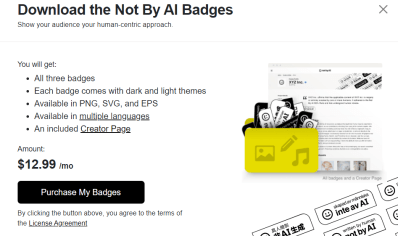
Screenshot from https://notbyai.fyi/business

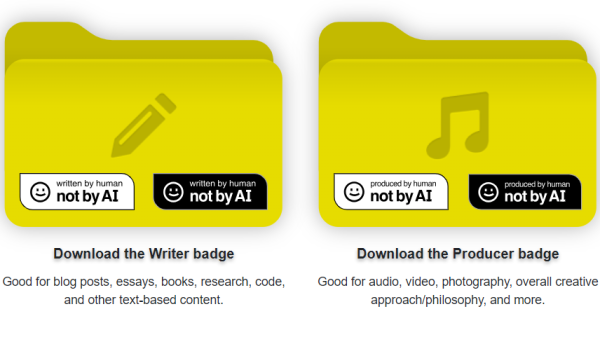
Basically, it’s exactly what it sounds like. A sleek, modern badge that you slap on your artwork to tell people that you did this, not an AI. There are pre-baked versions for writers (“written by human”), visual artists (“painted by human”), and musicians (“produced by human”). The idea is that these badges would help people identify human-generated content and steer away from AI content if they’re trying to avoid it.

It’s not just intended to be added to individual artworks. Websites that have “at least 90%” of content created by humans are invited to host the badge, along with apps, too. This directive reveals an immediate flaw—the badge would easily confuse someone if they read the 10% of content by AI on a site wearing the badge. There’s also nothing stopping people from slapping the badge on AI-generated content and simply lying to people.

You might take a more cynical view if you dig deeper, though. The company is charging for various things, such as a monthly fee for businesses that want to display the badges.

We’ve talked about this before when we asked a simple question—how do you convince people your artwork was made by a human? We’re not sure we’ve yet found the answer, but this badge program is at least trying to do something about the issue. Share your human thoughts in the comments below.

The Superconference Badge Hack Chat

Join us on Wednesday, December 20 at noon Pacific for the Superconference Badge Hack Chat with Elliot Williams and Voja Antonic!

There’s a lot to get excited about when October rolls around and you know Supercon is right around the corner. Catching up with old friends, making new ones, hanging out in the alley, catching the talks, and of course the food. But at the top of everyone’s list has to be The Badge. Finding out what cool bit of technology is going to be built into the badge and figuring out exactly how you’re going to hack it once you get your greedy mitts on it — now that’s excitement!

join-hack-chatThe 2023 Supercon badge was quite a hit, at least judging by all the cool hacks that people came up with. But what exactly went into getting this badge into everyone’s hands? A lot of work, that’s what, along with a lot of blood, sweat, and tears. And while there was plenty of work to go around and a lot of shoulders to the wheel, a lot of the work fell to Elliot and Voja. They’re going to be hopping into the last Hack Chat of the year to talk all about this amazing badge, from concept to conference, and all the hellish steps in between.

Our Hack Chats are live community events in the Hackaday.io Hack Chat group messaging. This week we’ll be sitting down on Wednesday, December 20 at 12:00 PM Pacific time. If time zones have you tied up, we have a handy time zone converter.

Adding Cellular Connectivity To The Hackaday Supercon Badge

Did you manage to make it down to Hackaday Supercon 2023? Maybe you did, and maybe you had a great time hacking away on the badge. [Dan] and ex-Hackaday alumnus [Mike Szczys] certainly did, with the guys from Golioth adding cellular connectivity to the hardware and developing a community art project.

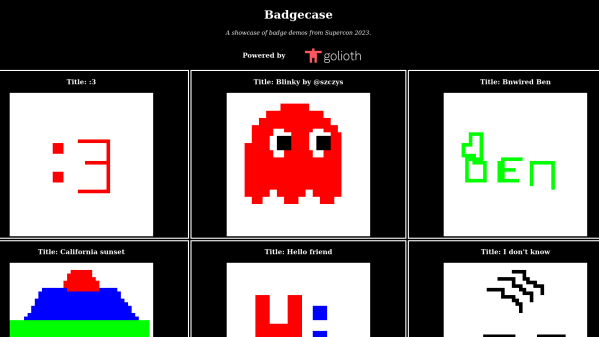
The badge was hooked up over I2C to a Golioth Aludel Mini, which is a prototyping platform featuring a Sparkfun nRF9160 cellular modem. A custom Micropython implementation was compiled for the badge so that the badge could act as an I2C peripheral to be queried by the Aludel Mini. The sketch app on the badge was tweaked to allow the small pictures it created to be be uploaded to a cloud site called Badgecase, programmed in Rust. Amusingly, it turns out the sketch app uses a rectangular workspace, though you only see a circular section of it on the Supercon badge’s awesomely round display.

Much of the hack is happening off-board from the badge itself, but it’s a neat piece of work that shows how easy cellular connectivity is to implement these days. We’ve seen some other great feats with the Vectorscope badge, and it looked great if you happened to 3D print a case for it, too. Video after the break.

Continue reading “Adding Cellular Connectivity To The Hackaday Supercon Badge”

Add Some Blinkenlights To Your Supercon Badge

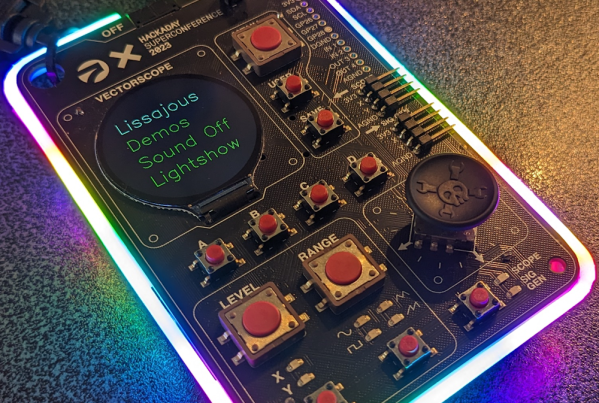
We’re not sure what is more amazing here: the glow of the blinkenlights themselves, the tedium involved in creating it, or the fact that [makeTVee] soldered 280 microscopic WS2812 LEDs while at Supercon.

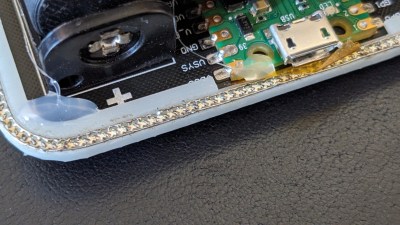
This hack began before the con when [makeTVee] designed the LED-diffusing frame in Fusion 360 and printed it in clear resin. Rather than solder the LEDs straight, the frame has 280 teeth that support each one at a 55° angle.

Not only does this look cool, it makes the bridging of DOUT to DIN much easier. That leaves GND and VCC to be painstakingly connected with 30 AWG wire. How, you might ask? With a little help from 3.5x magnifying glasses and the smallest soldering iron tip available, of course.

But that’s not all. Since 280 addressable LEDs need a lot of power, [makeTVee] also designed a holder for the LiPo battery pack that fits into the existing AA holders.

Want to see more awesome badge hacks? Check out the compendium.

A Look At All The Badge Hacks Of Supercon 2023

For those of you who’ve had the opportunity to join us in Pasadena for Supercon, you’ll know it’s a wild ride from start to finish. Singling out a single moment as our favorite is pretty much impossible, but certainly the Sunday Badge Hacking Ceremony has to rank up there. It’s the culmination of ~78 hours of intense hardware and software hacking, and that’s not even counting the pre-show work that attendees often put into their creations. Every year, without fail, this community manages to pull off badge hacks that are beyond anything we could have imagined — and we’re the ones who made the thing in the first place.

Unfortunately, in the mad rush, we’ve never had a chance to actually photograph the hacked badges and share them with the Hackaday readers. This year, at the urging of some of the badge hackers themselves, we were able to throw together a suitable overhead light at the last minute and actually snapped shots of each badge after it was presented to the audience.

The resulting images, sorted by badge hacking category, are below. While some proved difficult to photograph, especially with an impromptu setup, we’re happy to at least have a complete record of this year’s creations. Hopefully we’ll be able to improve on our technique for 2024 and beyond. If yours shows up, or if you’d like to share your appreciation, sound off in the comments below!

Continue reading “A Look At All The Badge Hacks Of Supercon 2023”

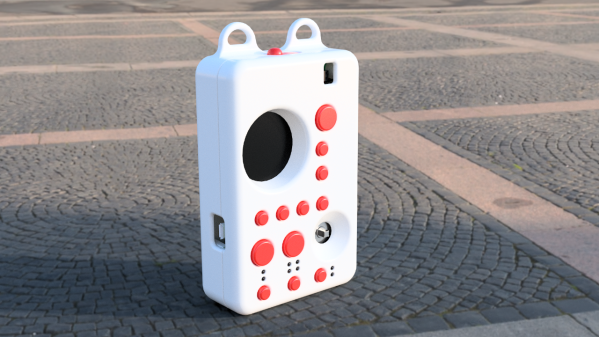
Render of the shell pictured standing on the pavement, with shell parts printed in white and button parts printed in orange

Packing For Supercon? Here’s A Printable Case For Your Badge

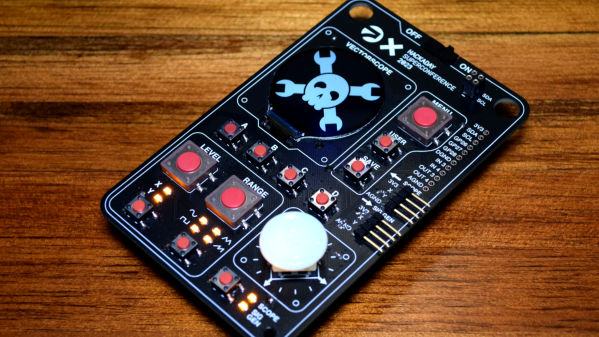
Hackaday Supercon 2023 is a week away, and if you’re still thinking about the equipment you need to take with you, here’s something you’ll want to print – a case for the Supercon 2023 badge that you will find inside of your goodie bag. This year’s Supercon badge is a gorgeous analog playground board we call Vectorscope, powered by an RP2040, MicroPython, and a ton of love for all of the creativity that we’ve seen you bunch express through the wonders of analog electronics. There’s a round LCD screen, SMD buttons galore, as well as some pokey through-hole headers, and if you’ve carried a badge around, you know that all of these can be a bit touchy! You’re in luck, though – just in time, [T.B. Trzepacz] brings us a 3D-printed shell.

Over on Hackaday Discord, we’ve been watching this shell go through multiple iterations throughout the past few days – the initial design pics appeared almost as soon as we published the PCB files for the badge! Yesterday, [T.B. Trzepacz] dropped by the Design Lab where we’ve been putting finishing touches on the badges, and armed with the real-world PCBs, made the final tweaks to the design – then gave us the go-ahead to spread the word.

This shell is practical but elegant and does a mighty fine job protecting both the badge and the wearer. Nothing is hidden away, from the buttons to the expansion headers, and the lanyard holes keep it wearable. At this time, grab the Basic 2 files – these should work for SLA and FDM printers alike, and they’re tolerant enough even for FDM printers below average. Pick your favourite color scheme, or go for one of the transparent SLA resins, and when you arrive at the Supercon, you’ll have a case you can rely on.

Want to give this case your own spin? Perhaps a Pip-Boy aesthetic or a Vectrex console vibe? Should you want to modify anything, the Fusion360 sources are right there, open-source as they ought to be. It’s been a pleasure watching this case design grow, and in case you’re looking to hire a skilled engineer in Berlin, [T.B. Trzepacz] is looking for work!

Simple Badge Is Simple, But It’s Yours

Making conference badges, official or unofficial, has become an art form. It can get pretty serious. #badgelife.

But DEFCON-goers aren’t the only people making fancy personalized nametags. Hams often had callsign badges going back as far as I can remember. Most were made of engraved plastic, but, at some point, it became common to put something like a flashing LED on the top of the engraved antenna tower or maybe something blinking Morse code.

Going back to that simpler time, I wanted to see if I could make my own badge out of easily accessible modules. How easy can it be? Let’s find out. Along the way, we’ll talk about multicore programming, critical sections, namespaces, and jamming images into C++ code. I’ll also show you how to hijack the C preprocessor to create a little scripting language to make the badge easier to configure.

Bottom Line Up Front

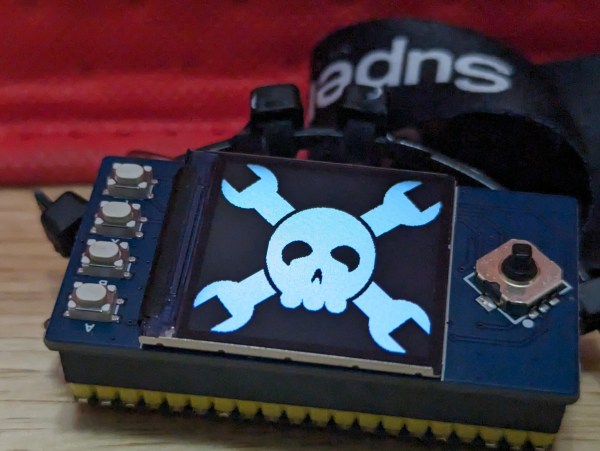
The photo shows the Pico badge. It has an RP2040 CPU but not a proper Raspberry Pi Pico. The Waveshare RP2040-Plus clone has a battery connector and charger. It also has a reset button, and this one has 16 MB of flash, but you don’t need that much. The LCD is also a Waveshare product. (This just happened to work out. I bought all of this stuff, and I don’t even know anyone at Waveshare.) The only other thing you need is a USB C cable and a battery with an MX 1.25 connector on it with the correct polarity. Hardware done! Time for software.

Continue reading “Simple Badge Is Simple, But It’s Yours”