So last week the SupplyFrame office Prusa i3 finally gave up the ghost — the z-axis threaded rods unwound themselves from their couplers and the whole thing fell apart. So we needed to get some better couplers as our tubing wasn’t going to cut the mustard anymore. Thankfully Pasadena is full of 3d printer people! Within a few blocks of our office we have New Matter, DeezMaker, and a soon to be announced 3d printer from ToyBuilderLabs.
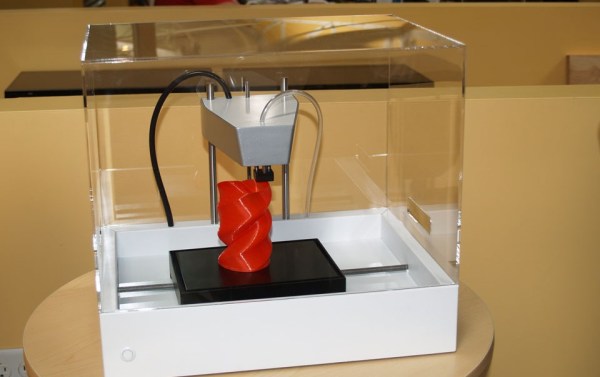
The one everyone is talking about right now is New Matter who recently announced an already successful fundraising campaign for the first run of their $250 3d printer, the MOD-t. This has been making the rounds recently due to its low price and stated aim of bringing 3d printing into the home of the masses (a tale as old as time, right?). It’s a lovely goal for sure, but they will definitely have their work cut out for them, but perhaps this is the team to make it happen? We decided to head over to their lab since it’s just around the corner from our office and see if we could get them to print some new couplers and maybe take a look at their printer while we were at it, videos and pictures after the break!
Continue reading “A Closer Look At New Matter’s MOD-t 3d Printer”


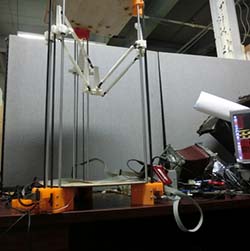 If you think about it, the RepRaps and other commercial 3D printers we have today are nothing like the printers that will be found in the workshops of the future. They’re more expensive than they need to be, and despite the RepRap project being around for a few years now, no one has cracked the nut of closed loop control yet. [mad hephaestus], [Alex], and [Will] over on the Hackaday Projects site are working on the future of 3D printing