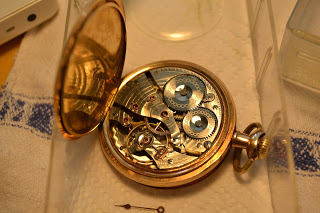
Until recently, watches have been entirely mechanical where each wheel, gear, and mechanism representing a milestone in our understanding of precision manufacturing and timekeeping.
Today it is nearly impossible to find watchmakers to service or repair vintage mechanical pocket and wristwatches, so we have to do it ourselves. Learn to repair vintage mechanical watches. You can do this and we’ll show you how.
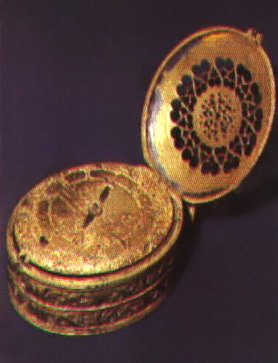
They tick, mechanical watches have a pulse. First created in the 16th century by locksmiths, these early watches could only resolve time down to the hour and for this reason displayed time with only one hour hand.
By the 18th century fusee technology enabled watches to achieve accuracies to within seconds.
Continue reading “Go Vintage! Learn To Repair And Restore Mechanical Pocket And Wrist Watches.”