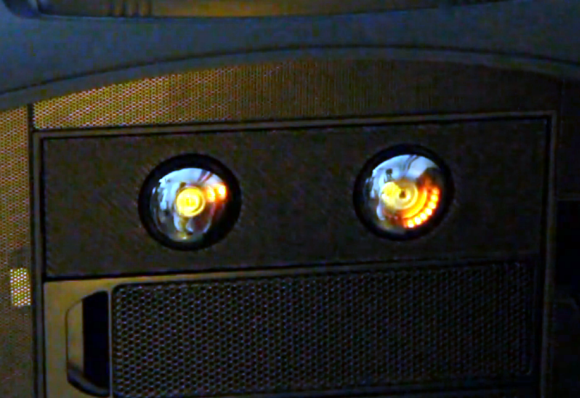
The two circular displays seen above are Dekatrons built into an optical drive enclosure. [Matt Sylvester] picked up a couple of different types of these tubes on eBay. He etched his own driver, and was able to control them with an Arduino. After a few months went by he decided to revisit the project to see if it would work as a CPU and RAM usage meter.
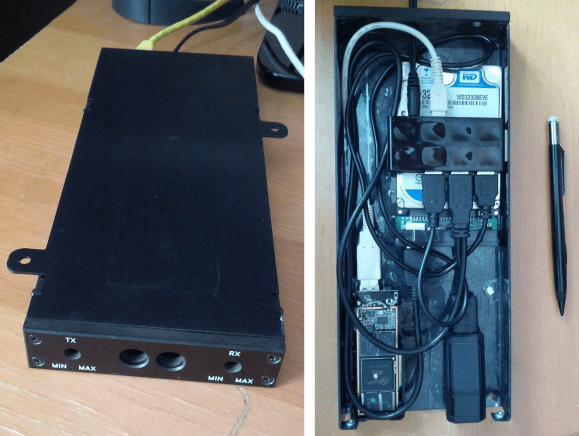
These tubes need high voltage to get the neon display glowing brightly. This raised some concerns about having those voltage levels inside of his PC, as well as the noise which may be introduced by the supply. To deal with those issues [Matt] gutted an old optical drive, using its case to physically isolate the circuitry, and some optoisolators to protect the logic connections. His driver board uses an ATmega328 running the Arduino bootloader. It connects to the PC using an FTDI USB to Serial cable. This makes it a snap to push the performance data to the display. It also has the side benefit of allowing him to reprogram the chip without opening the case.
If you can’t find one of these tubes for your own project consider faking it.
Continue reading “Drive Bay Form Factor Dual Dekatron Readouts For RAM And CPU Usage”