Sometime in the very distant future, the Universe will become the domain of black holes. Energy and entropy will be compressed into minuscule quantum fluctuations. Even in this domain of nothingness, there will still be one unassailable truth: you should not buy a 3D printer on Kickstarter.
We’re no strangers to failed 3D printer crowdfunding campaigns. Around this time last year, backers for the Peachy Printer, an inordinately innovative resin printer, found out they were getting a timeshare in Canada instead of a printer. This was unusual not because a crowdfunding campaign failed, but because we know what actually happened. It’s rare to get the inside story, and the Peachy Printer did not disappoint.
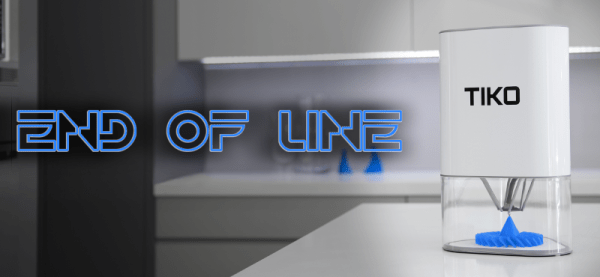
For the last few months, we’ve been watching another crowdfunding campaign on its long walk to the gallows. The Tiko 3D printer is another 3D printer that looks innovative, and at the time of the crowdfunding campaign, the price couldn’t be beat. For just $179 USD, the backers of the Tiko printer would receive a 3D printer. Keep in mind the Tiko launched nearly two years ago, when a bargain-basement printer still cost about $400. Fools and money, or something like that, and the Tiko 3D printer campaign garnered almost three million dollars in pledges.
Now, after almost two years of development, Tiko is closing up shop. In an update posted to the Tiko Kickstarter this week, Tiko announced they are laying off their team and winding down operations. It’s a sad but almost predictable end to a project that could have been cool. Unlike so many other failed crowdfunding campaigns, Tiko has given us a post-mortum on their campaign. This is how the Tiko became a standout success on Kickstarter, how it failed, and is an excellent example of the difference between building one of something and building ten thousand.
Continue reading “The Tiko Printer: What Happens When You Innovate Too Much” →