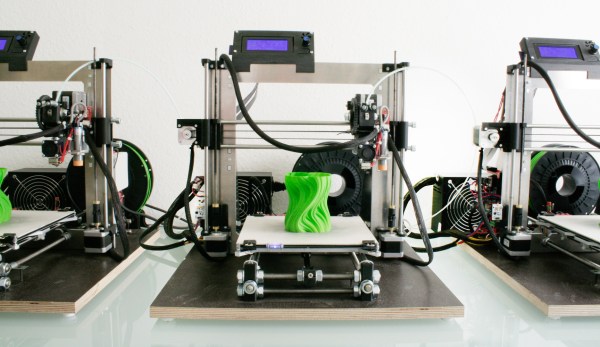
Now that the bottom end of the 3D printer market has been largely cleared of those garbage “Prusa i3 clone” models which used to infest it a few years ago, a new breed of ultra-cheap printer has taken their place. EasyThreed make a range of very small printers pitched as toys, and while they’re no great shakes by the standards of most Hackaday readers, they do at least work out of the box. For their roughly $75 price tag they deliver what you’d expect, but can such a basic machine be improved with a few upgrades? [Made with Layers] has taken a look.
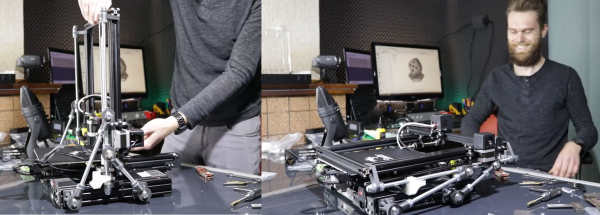
These printers have an all-plastic snap-together construction with a 10 cm by 10 cm bed and a set of small geared stepper motors driving their axes. He concentrates on stiffening the structure, upgrading those motors, and because he’s sponsored by a 3D printer electronics company, upgrading their controller.
The motors were replaced first with some NEMA 11 steppers, and then by some over-sized ones which maybe push the idea a little far. By moving the motors to a bracket he was able to free up their mountings to secure a 3D printed insert to stiffen the arms. Perhaps he’s pushing it a little for the video with the electronics upgrade, but we think there’s a happy medium with the smaller of the two motor upgrades and the stiffening.
So if you have an EasyThreed in your life it’s possible to upgrade it into something a little better, but it’s worth asking whether that $75 might be better spent in saving for a better machine in the first place. We’ve been curious about these tiny printers for a while though, and it’s interesting to have some more of our questions answered.