The difference between 3D printing and good 3D printing comes down to attention to detail. There are so many settings and so many variables, each of which seems to impact the other to a degree that can make setting things up a maddening process. That makes anything that simplifies the process, such as this computer vision pressure advance attachment, a welcome addition to the printing toolchain.
If you haven’t run into the term “pressure advance” for FDM printing before, fear not; it’s pretty intuitive. It’s just a way to compensate for the elasticity of the molten plastic column in the extruder, which can cause variations in the amount of material deposited when the print head acceleration changes, such as at corners or when starting a new layer.
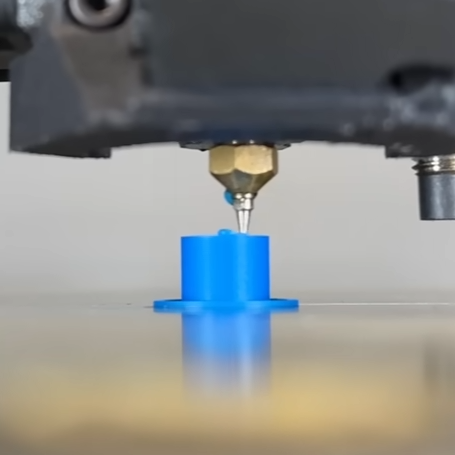
To automate his pressure advance calibration process, [Marius Wachtler] attached one of those dirt-cheap endoscope cameras to the print head of his modified Ender 3, pointing straight down and square with the bed. A test grid is printed in a corner of the bed, with each arm printed using a slightly different pressure advance setting. The camera takes a photo of the pattern, which is processed by computer vision to remove the background and measure the thickness of each line. The line with the least variation wins, and the pressure advance setting used to print that line is used for the rest of the print — no blubs, no blebs.
We’ve seen other pressure-advanced calibrators before, but we like this one because it seems so cheap and easy to put together. True, it does mean sending images off to the cloud for analysis, but that seems a small price to pay for the convenience. And [Marius] is hopeful that he’ll be able to run the model locally at some point; we’re looking forward to that.
Continue reading “Cheap Endoscopic Camera Helps Automate Pressure Advance Calibration”